Use the Spoke in a Flow
Overview
In this activity, you will use the new Spoke in a Flow.
Instructions
- Click on the Home button to return to the main page of flow designer
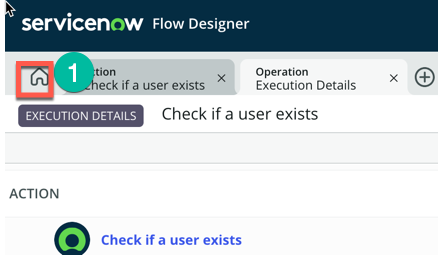
In the following steps, we just want to show a builder can consume/use the new Spoke Action that we have created.
- Click on Create New (1) then Subflow (2)

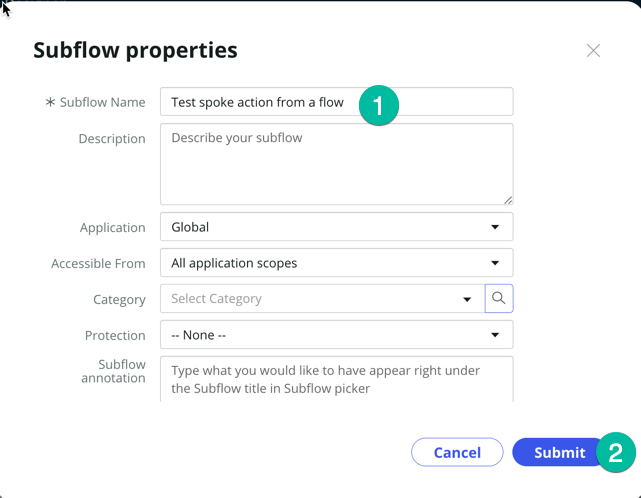
- Enter a Subflow name (put the name you want) and click submit (leave all other field with default values)note
Typically a builder would create a new flow or subflow in his own Application Scope, but for a quick test in a lab instance it doesn't matter we can save it in the Global scope.
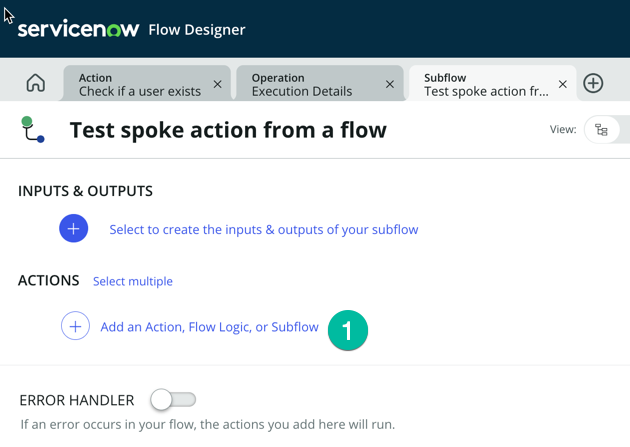
- A new tab will open for your new subflow, under ACTIONS Click Add an Action, Flow Logic or Subflow (1)
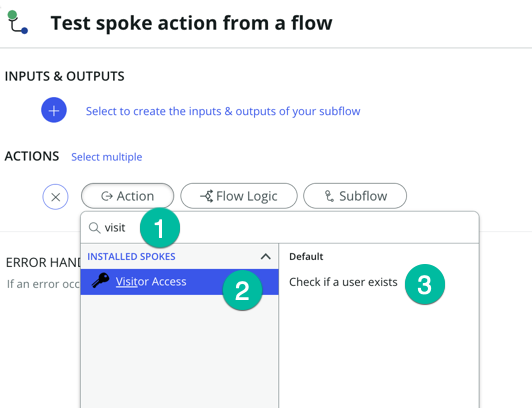
- Select Action then type Visit, this should display your new spoke Visitor Access (2), click on it then click the action Check if a useer exists (3)
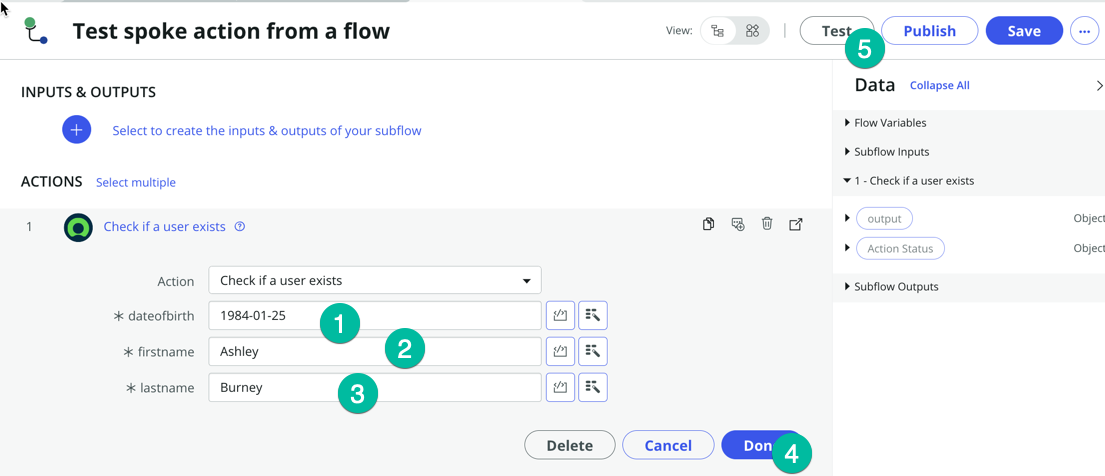
Now we can pass the value to the action, here we are going to hardcode values just for test purposes, typically we would lookup a record in ServiceNow and pass values from that record to the action. We will cover that in detail in the optional section of the lab.
Field Value dateofbirth 1984-01-25 firstname Ashley lastname Burney Using the values from the table above, set the dateofbirth (1). firstname (2). lastname (3) then click Done (4) and click the Test button.
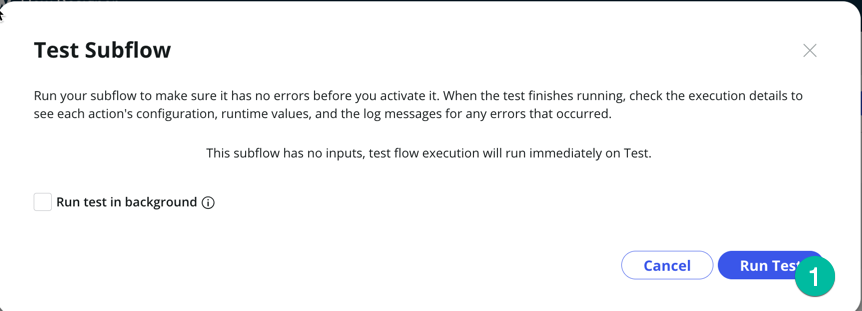
- Then click Run Test (1)
- Click Your Test has finished running, View the subflow exectution details

Recap
In this lab, we've learned how to create a new Spoke using the Spoke Generator, allowing us to integrate ServiceNow with an external application featuring a usable API. In the optional section of this lab, we will delve into more advanced concepts of Flow Designer/Ihub and demonstrate how to employ the value retrieved from the Spoke action to update a record in ServiceNow.
With the Spoke Generator, you no longer need to manually configure the REST Step and JSON Parser Step; the Spoke action generated by the Spoke Generator handles this automatically for you.