4.2 Configure the Workspace
The Workspace Builder empowers users of all skill sets to build a custom workspace in a no-code environment. With this builder, you can quickly create a workspace and configure its layout, lists, and record pages. If you need access to more advanced functionalities and configurations, you can open the workspace in UI Builder from within this builder.
A lot has been pre-configured for us. We'll make a couple of changes to improve it.
Let's help the business users visualize quickly cases by priority.
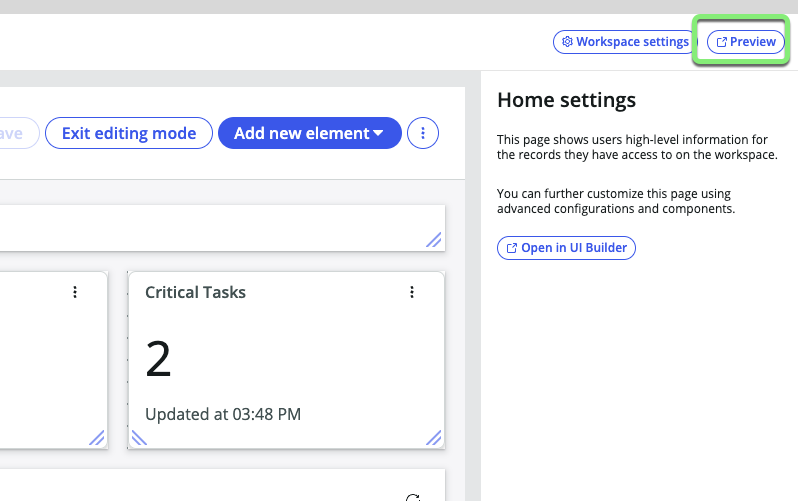
- Click the Preview button in the upper right to open the workspace in a new browser tab.
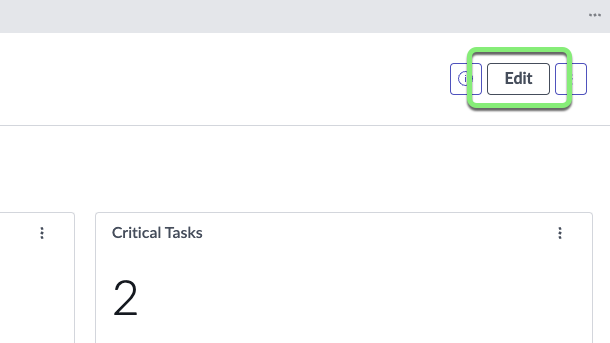
- Go into Edit Mode by clicking the Edit button
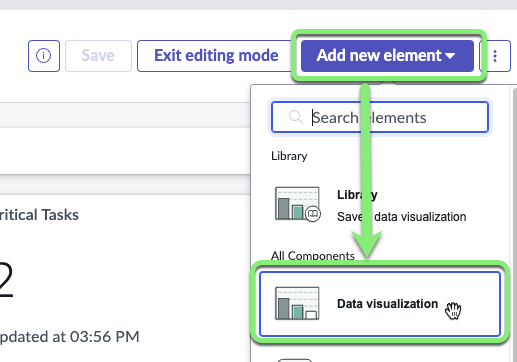
- Add a new Data Visualization.
- Click on Add new element.
- Select Data visualization.
- Scroll down, the component has been added at the bottom of the page.
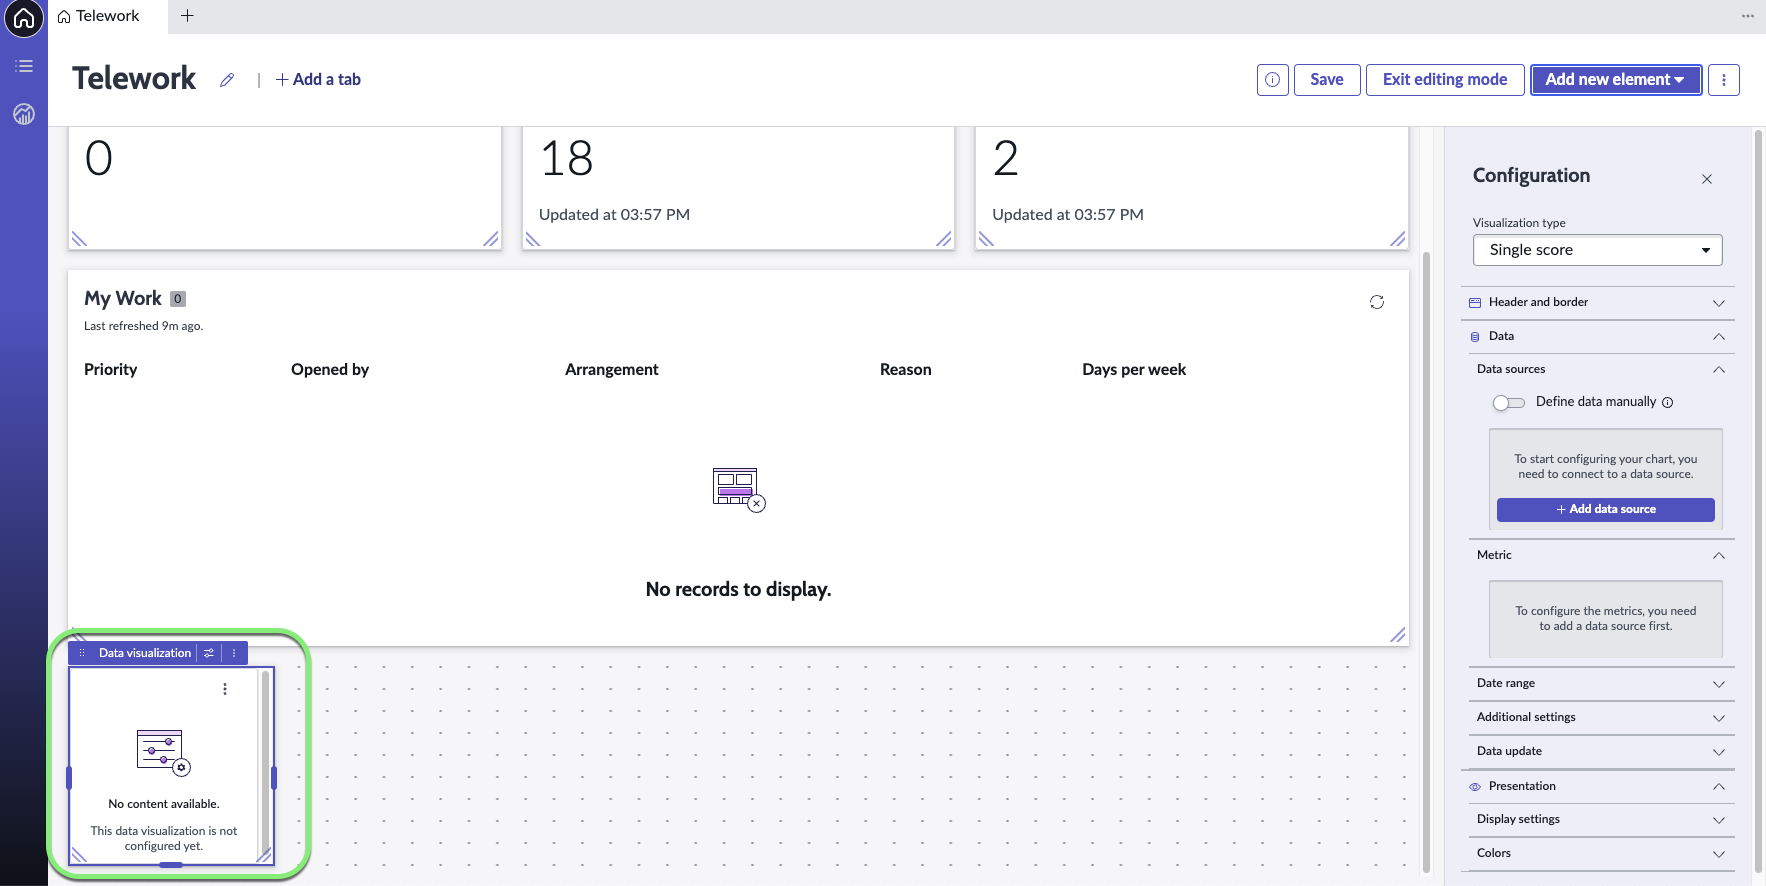
- Drag and drop the new data component from the bottom of the dashboard to right above the My Work section and size it to expand across the screen.
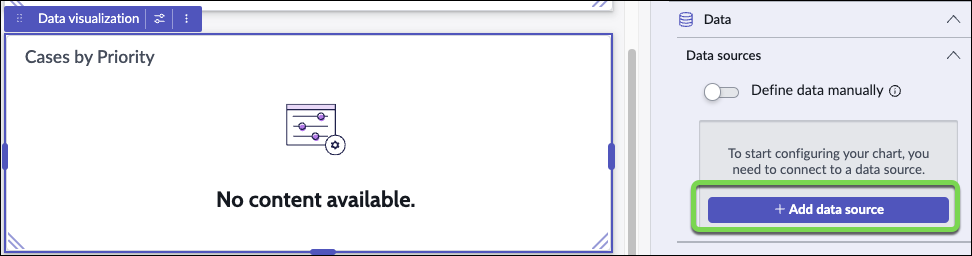
- On the new component, click the configure icon
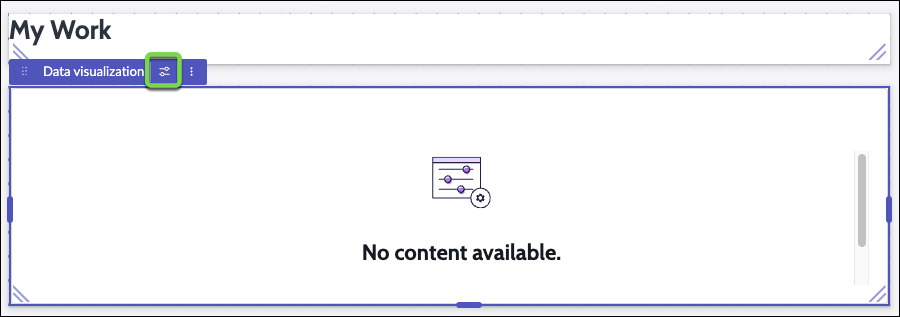
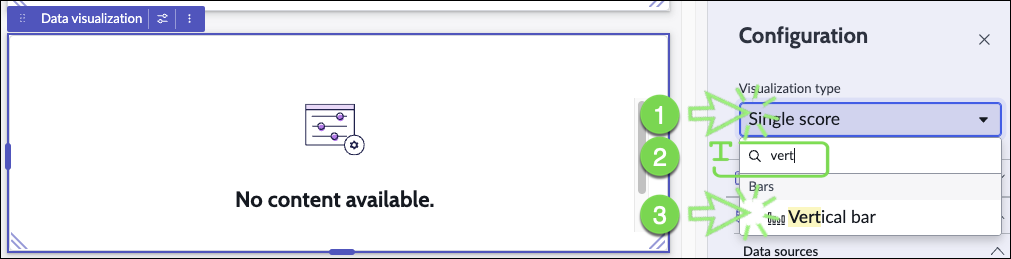
In the configuration panel:
(1) Click the Visualization Type Dropdown
(2) type "vert"
(3) select Vertical bar.
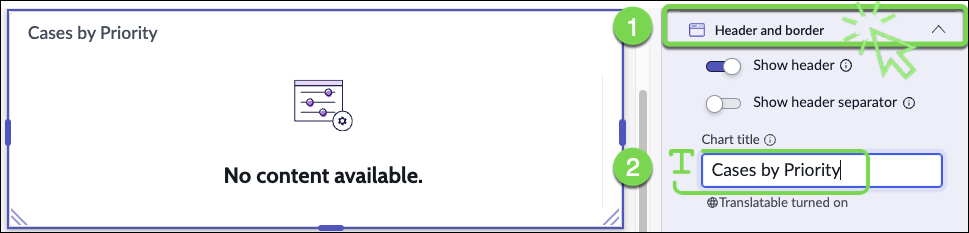
- Click on Header and border to expand that section,
- type "Cases by Priority" in the Chart Title field.
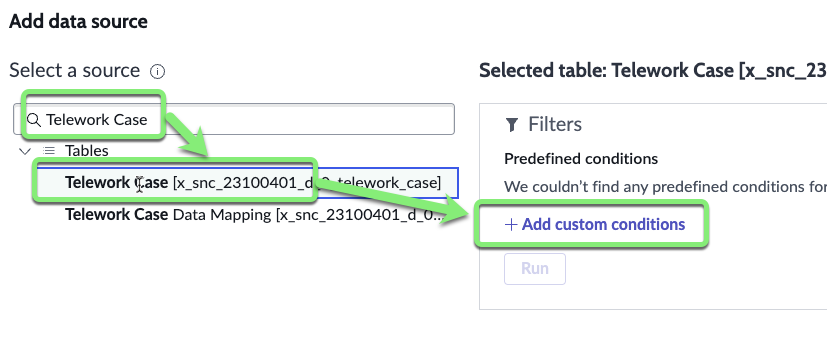
- Under Data sources, click + Add data source.
- Type Telework Case in the "Select a source" field.
- Click Telework Case in the search results.
- Click + Add custom conditions.
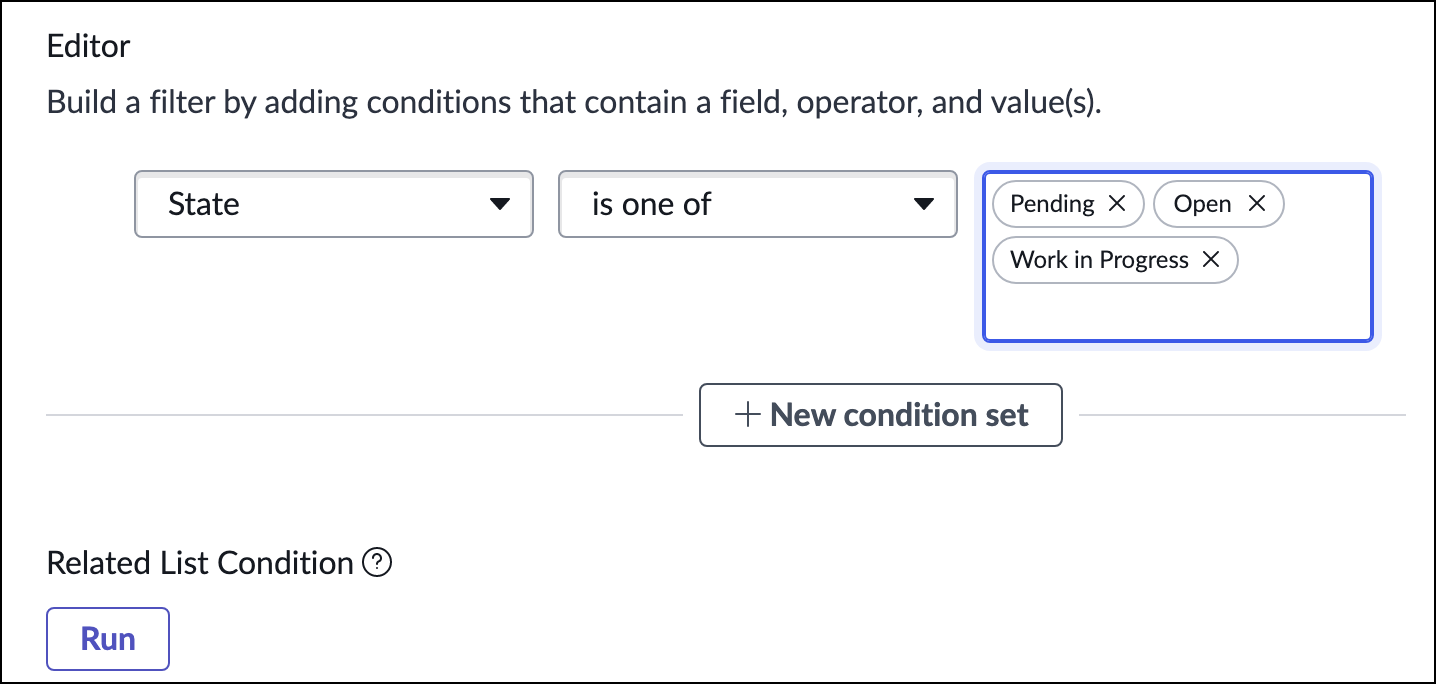
- We want to see only the non-closed cases.
- Set State is one of Pending, Open, Work in Progress.
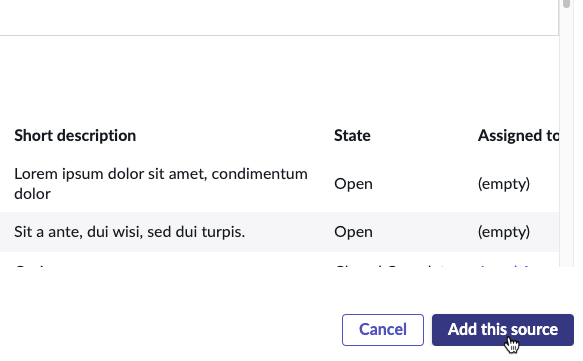
- Click Add this source in the bottom right.
- Set State is one of Pending, Open, Work in Progress.
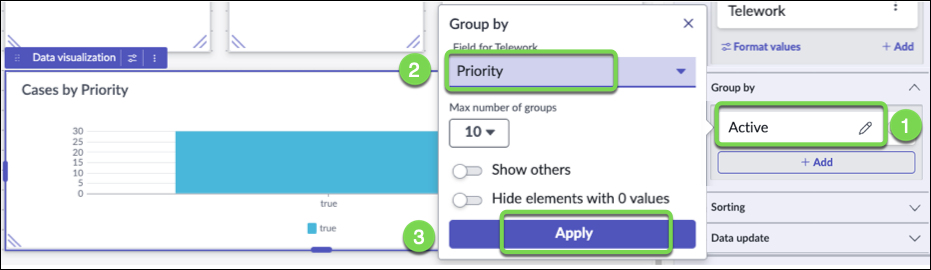
- In the Group by section,
- Click the pencil icon next to Active.
- Set Priority for the Group by.
- Click Apply.

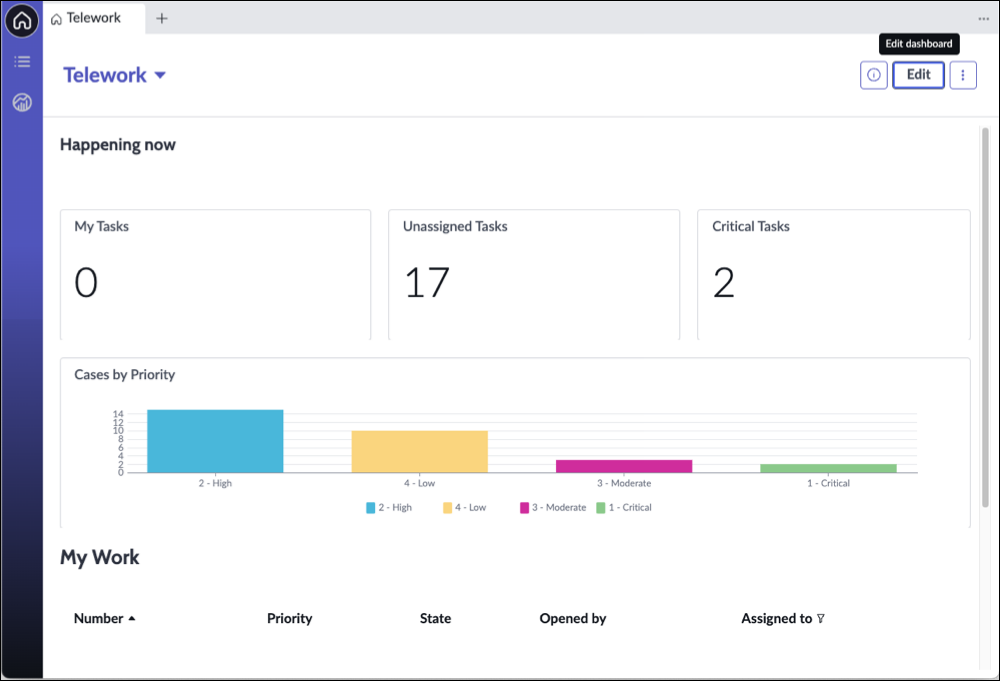
- On the top right, Click Save then Exit Edit Mode

And voilà, your new dashboard!
Exercise Recap
In this exercise, we learned how to create a custom workspace and used the the Workspace Builder to display key performance indicators and organize information in ways that benefit our users.