Add Flow and Approval
Utilizing Record Producers on an Employee Center Portal allows consumers (employees) to connect with a departmnet and to access the services the department provides. Workspaces provide a Dept-specific view for service fulfillment for department users.
Now we will utilize Flow Designer to build a workflow to standardize the way that the department processes requests. We will configure the workflow to execute whenever a Dept Request is submitted. This workflow will request an approval from a Group of Users designated as Dept Request Approvers.
- Exit App Engine Studio and return the platform.
Select All.
Type sys_user_group.list in the Filter Navigator textbox and press the Enter key.
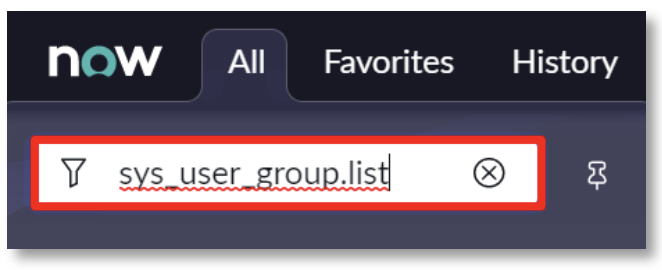
- The Groups list view will load displaying the existing Groups.
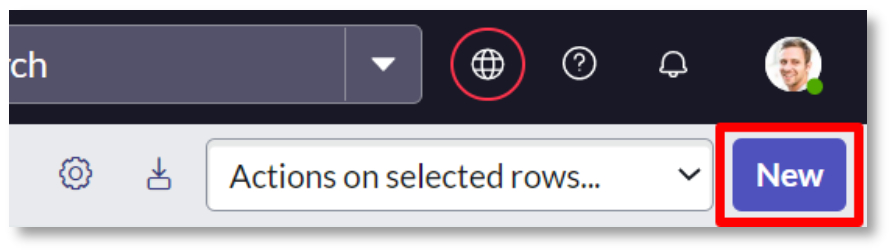
Select the New option in the upper right.
- Enter Dept Request Approvers in the Name field.
Right-click in the gray bar at the top of the form view and select Save.

- Select the Group Members tab. Select the Edit button to add members.

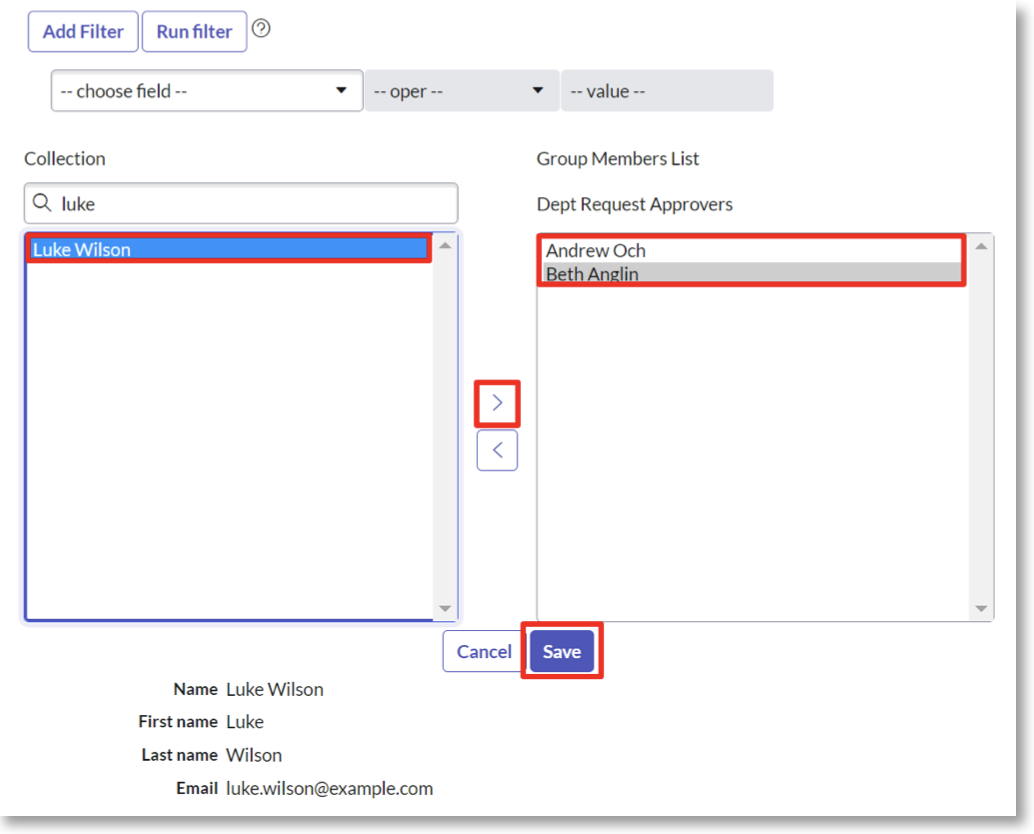
- Search for Users on the left side of the slush bucket. Use the [>] button to select add the User to the group. Add:
- Andrew Och
- Beth Anglin
- Luke Wilson
Select Save
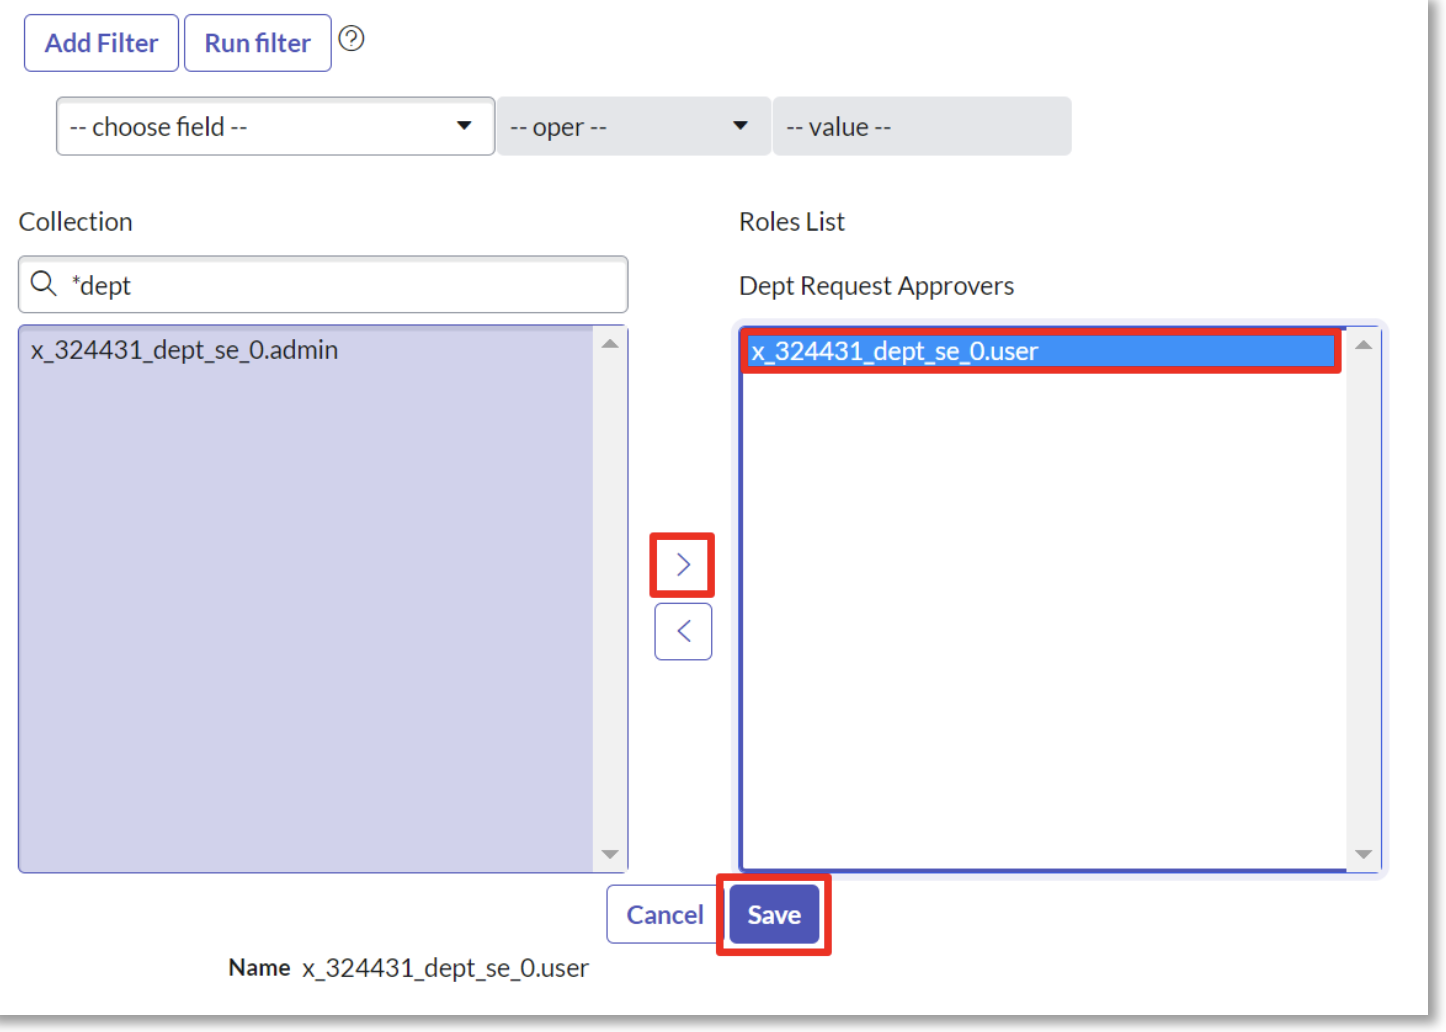
- Repeat the steps to add a Role to the Group. This will grant access to the Dept Request Approvers members.
Select the Roles tab.
Add the user role for the Dept Services app. (Your role will have a slightly different prefix)
- Return to the Dept Services app in App Engine Studio.
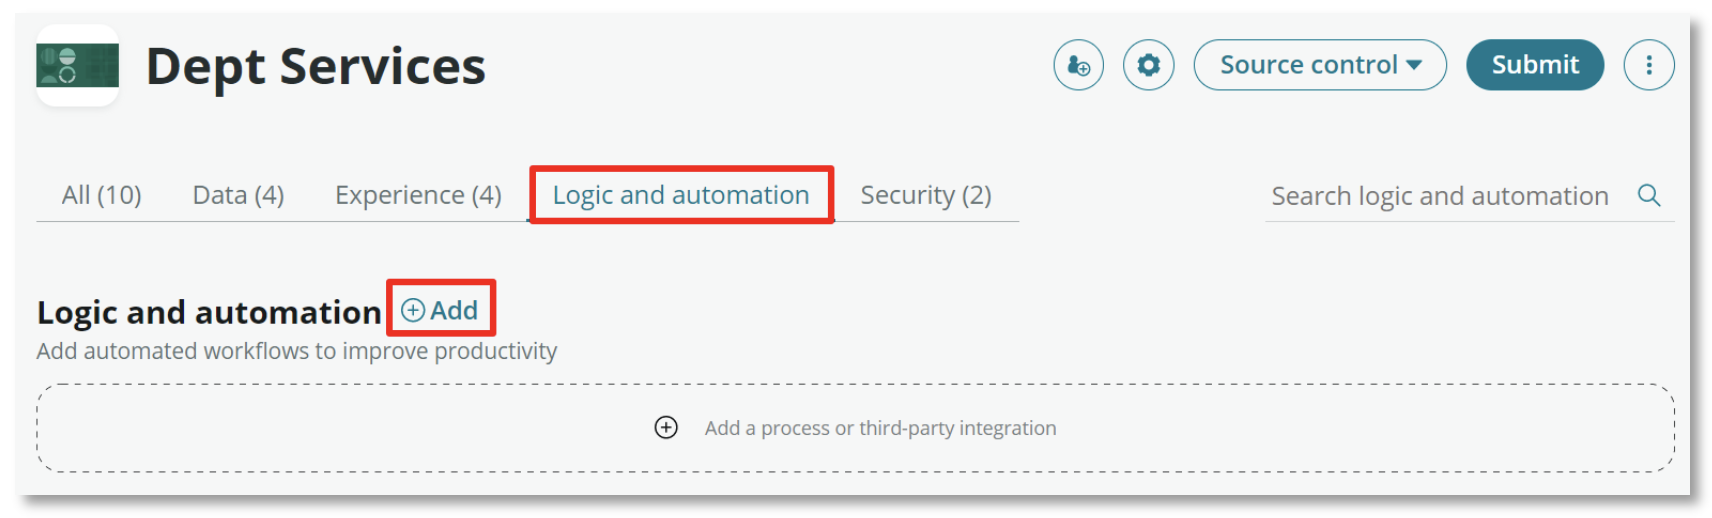
Select the Logic and automation tab.
Select the (+) Add option next to the Logic and Automation header.
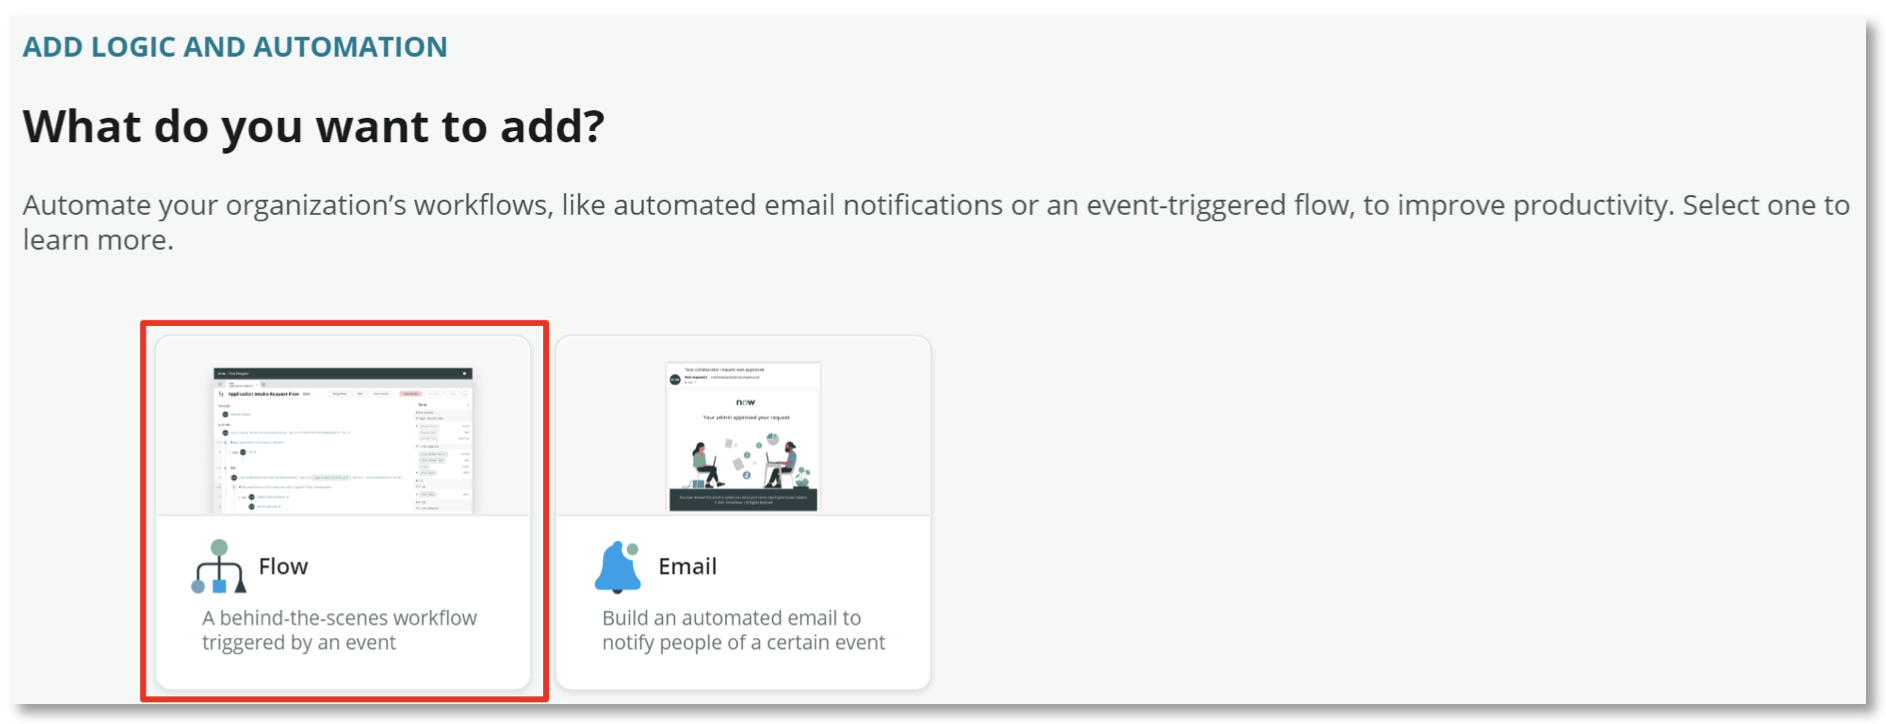
- Select Flow when the next screen appears.
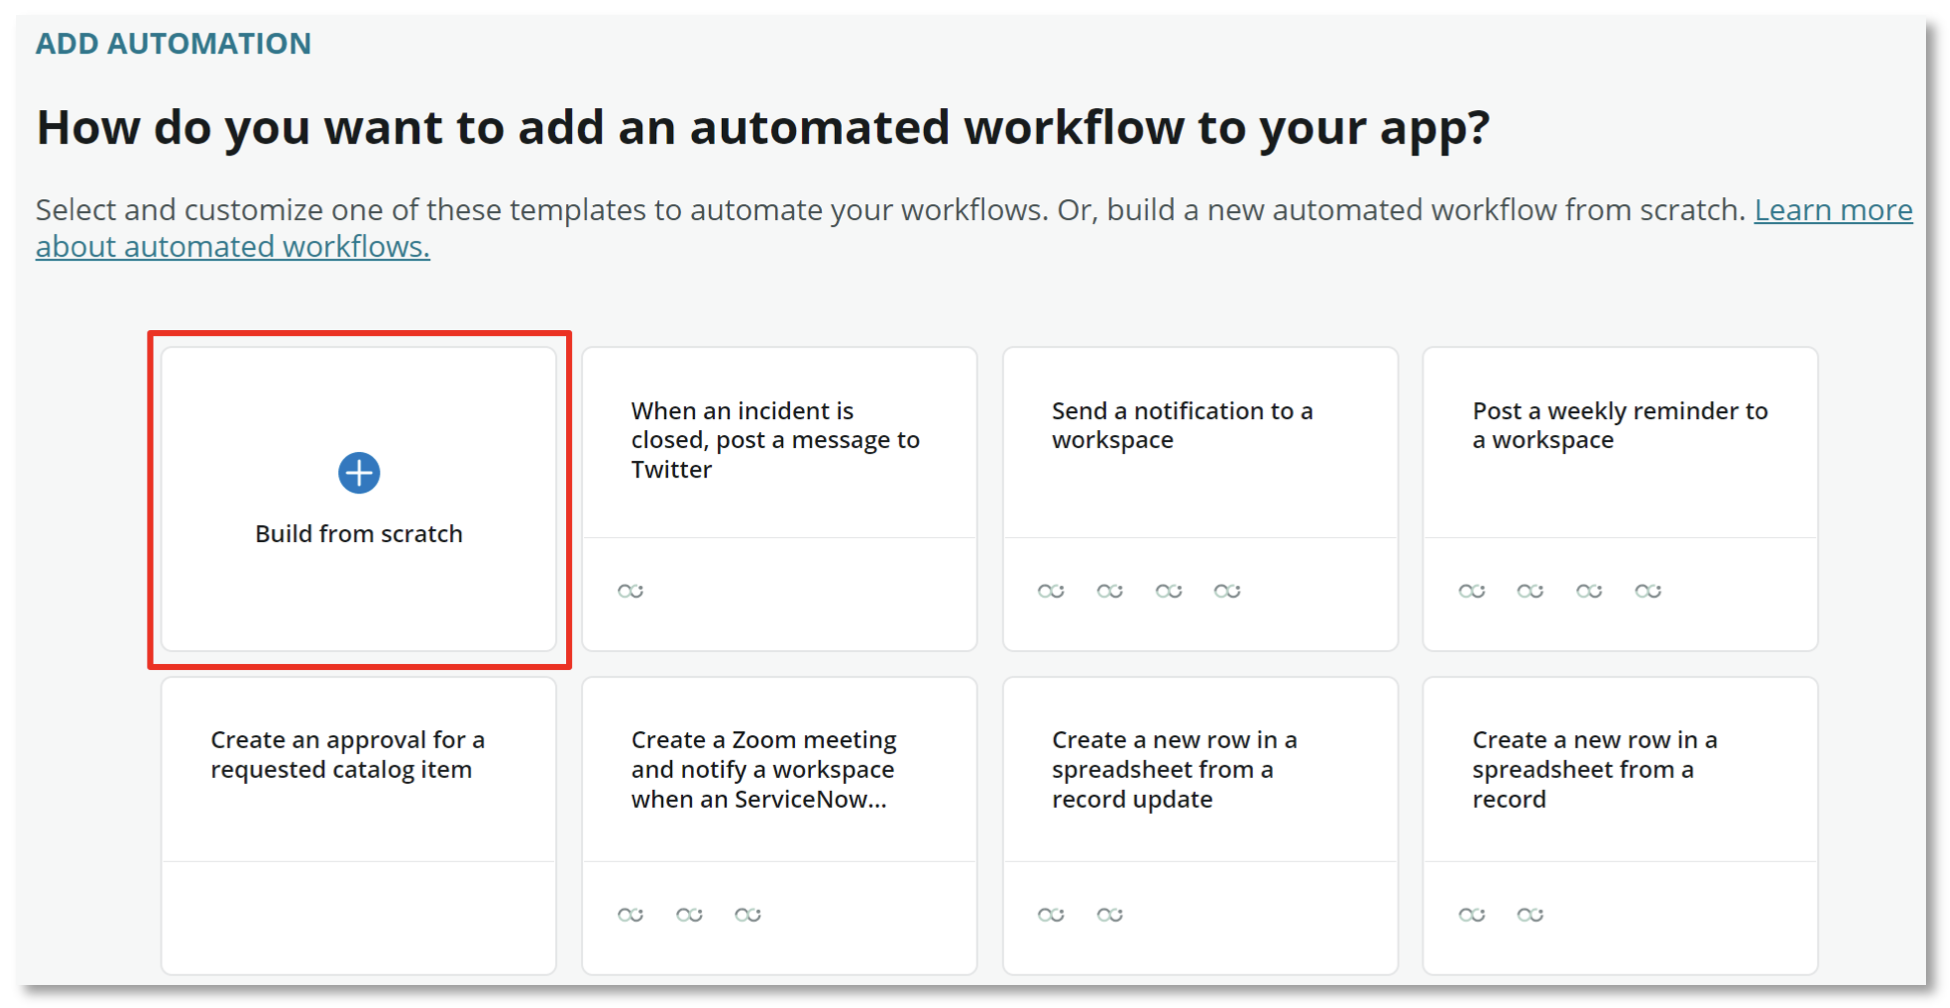
- Select Build from scratch, you will not be using a flow template in the Dept Services app.
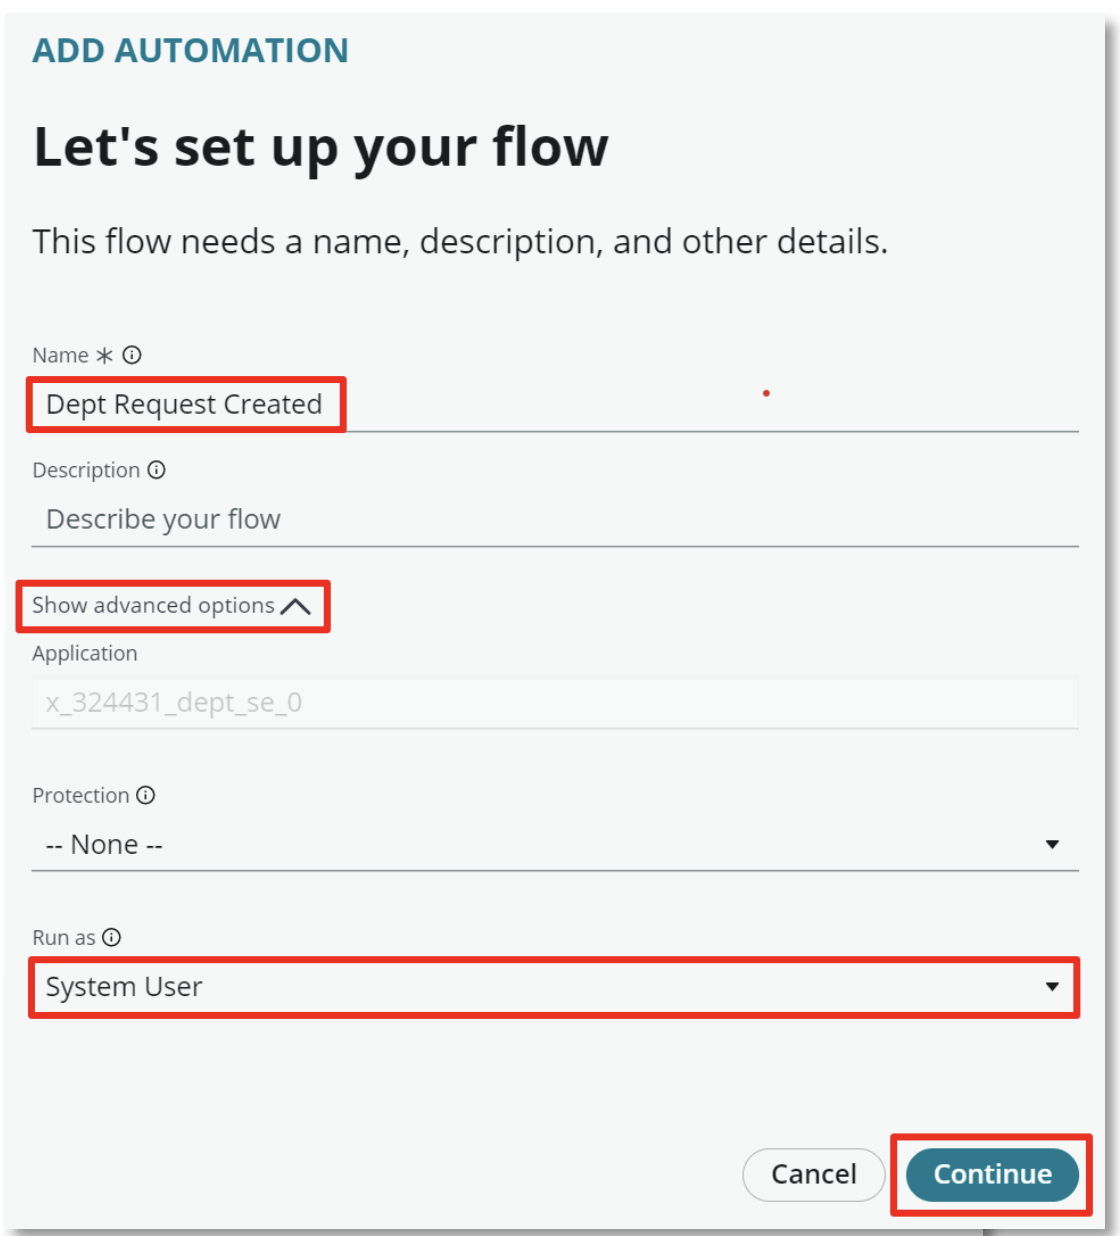
- Enter Dept Request Created in the Name field
Select Show advanced options
Change Run as to System User
Select Continue
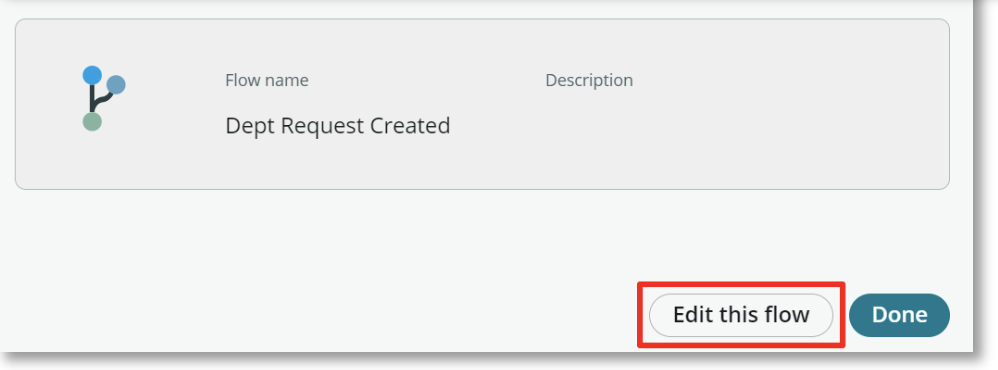
- Select Edit this flow once the flow is ready
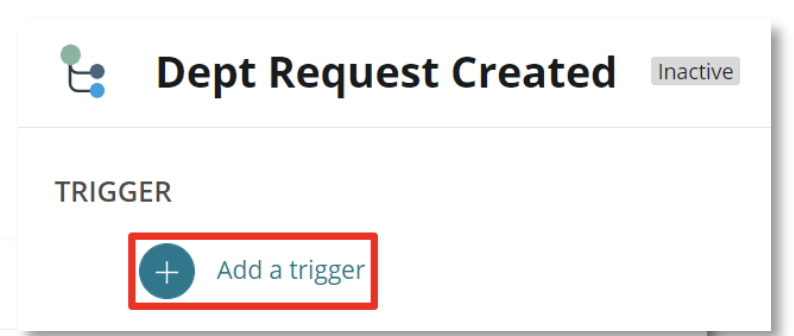
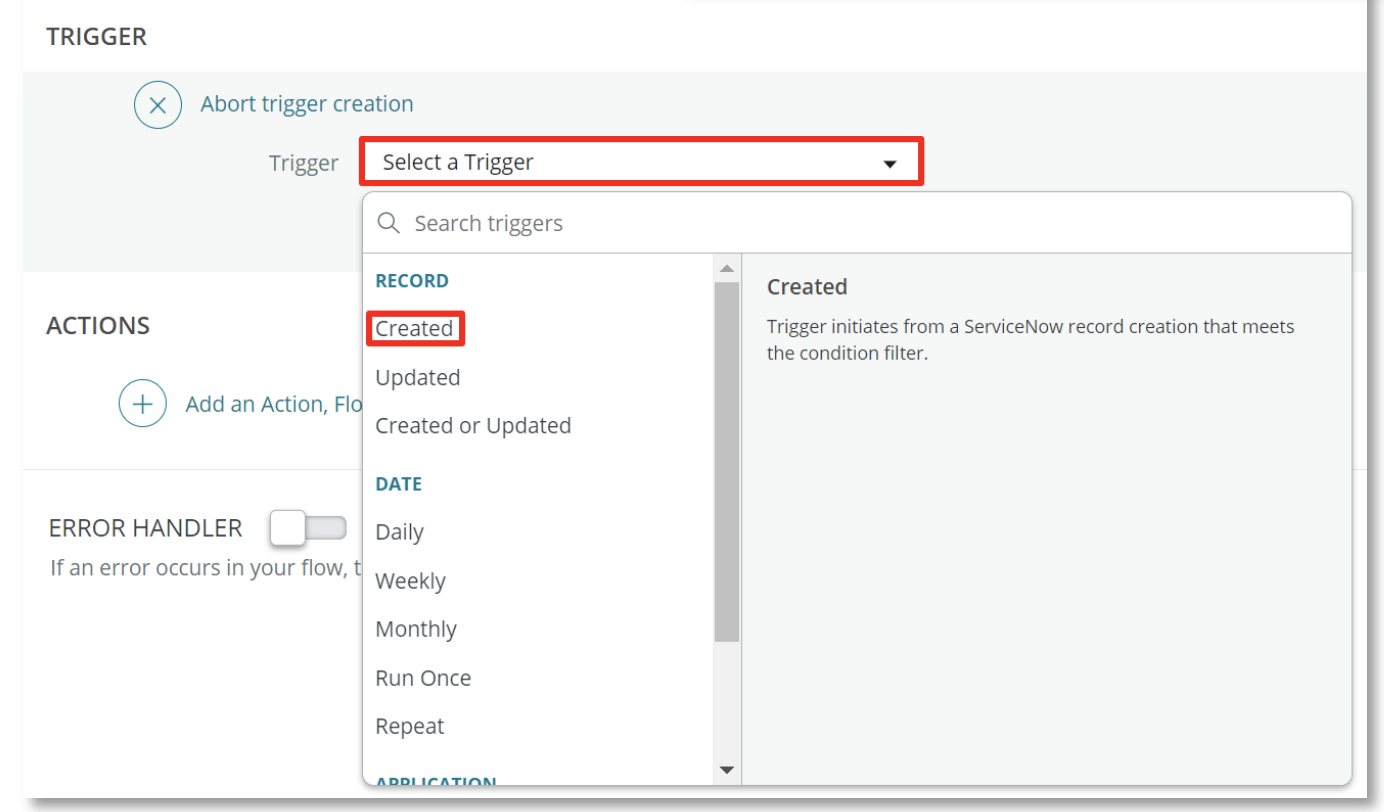
- Select (+) Add a trigger. Set the Trigger to Created
- Set the Table to Dept Request.

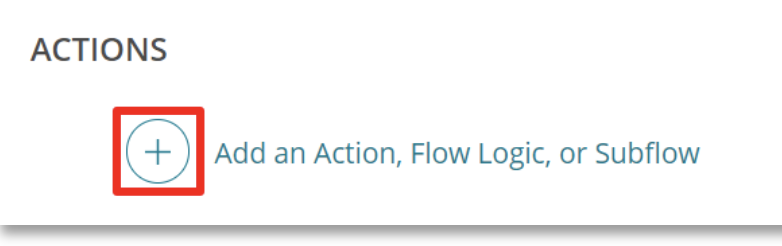
- Select (+) Add an Action, Flow Logic, or Subflow.
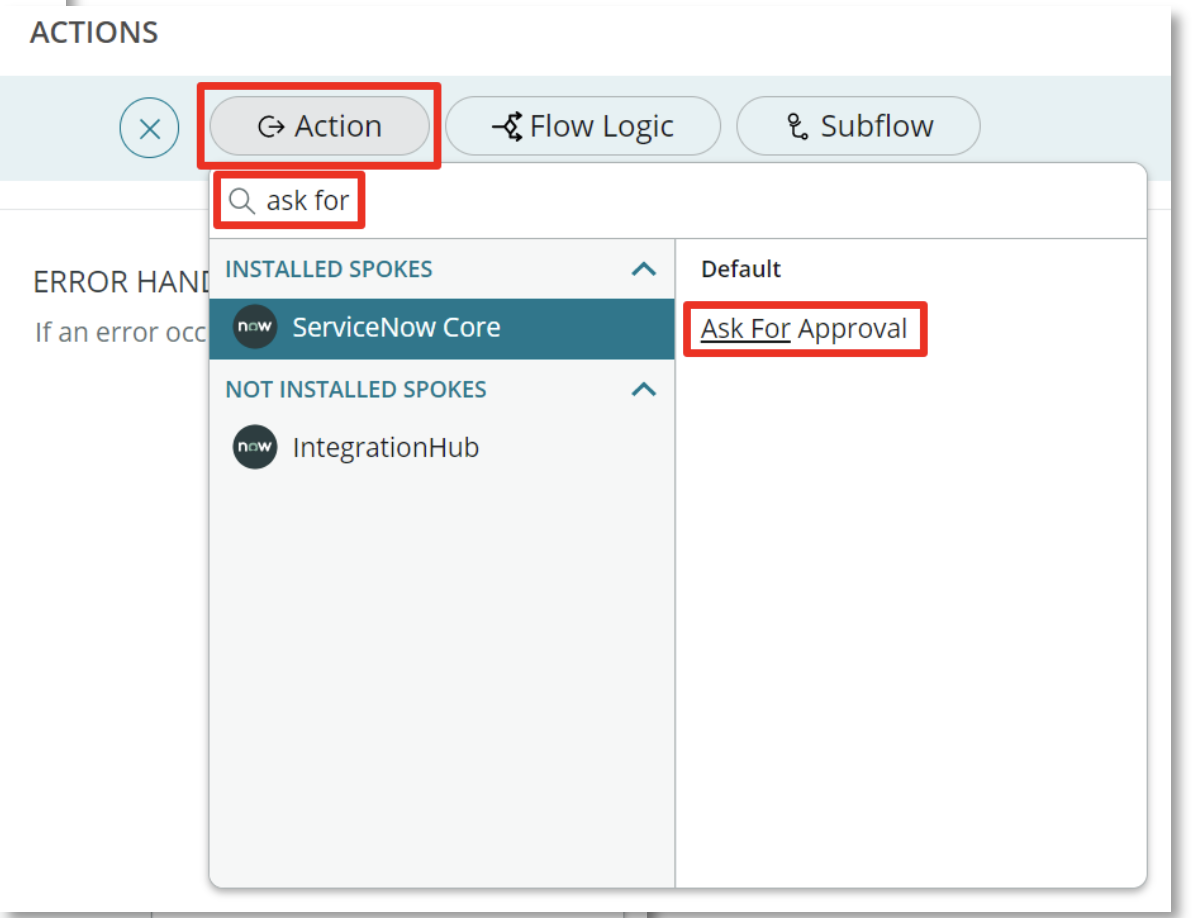
Search for ask for
Select Ask For Approval
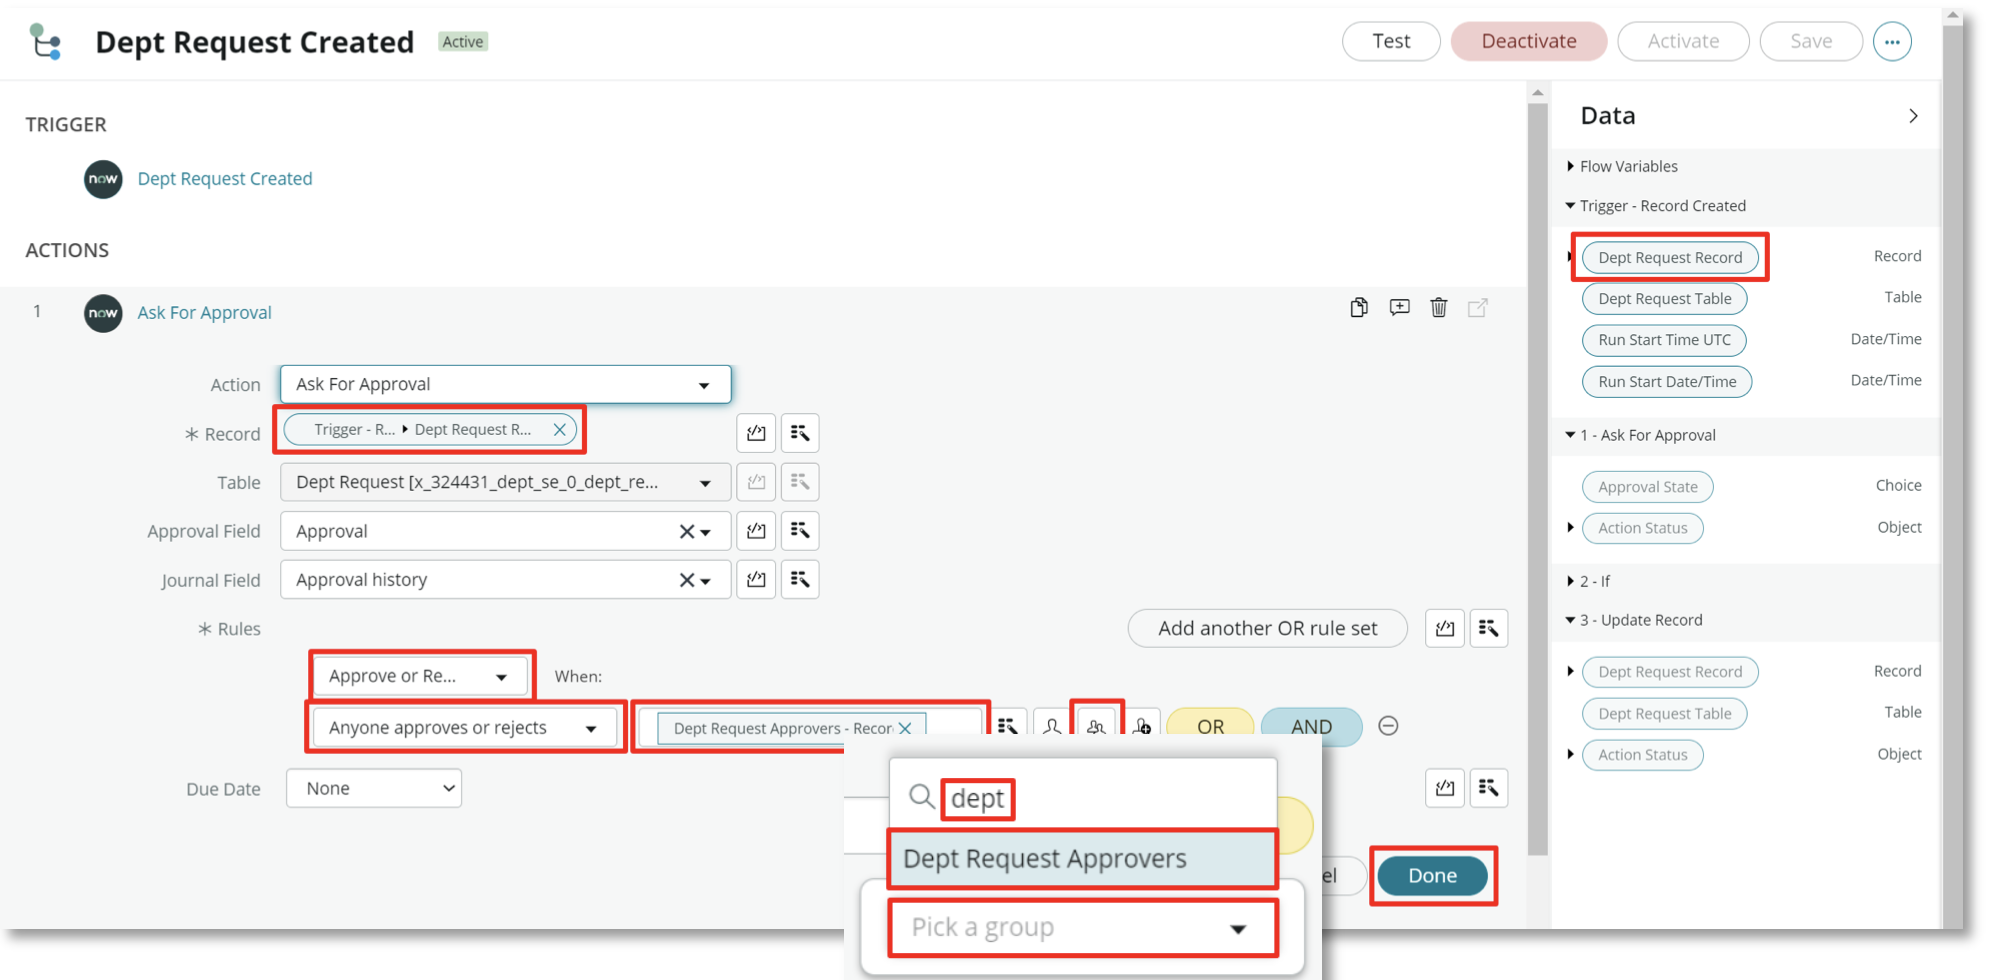
- Drag the Dept Request Record Data Pill from the right Data pane to the Record field.
Set Approve to Approve or Reject
Set Choose approval rule to Anyone approves or rejects
Select the middle Group button to assign the approval to open the group selector popup
Type dept and select Dept Request Approvers, the group created in a previous step
Select Done to save your changes
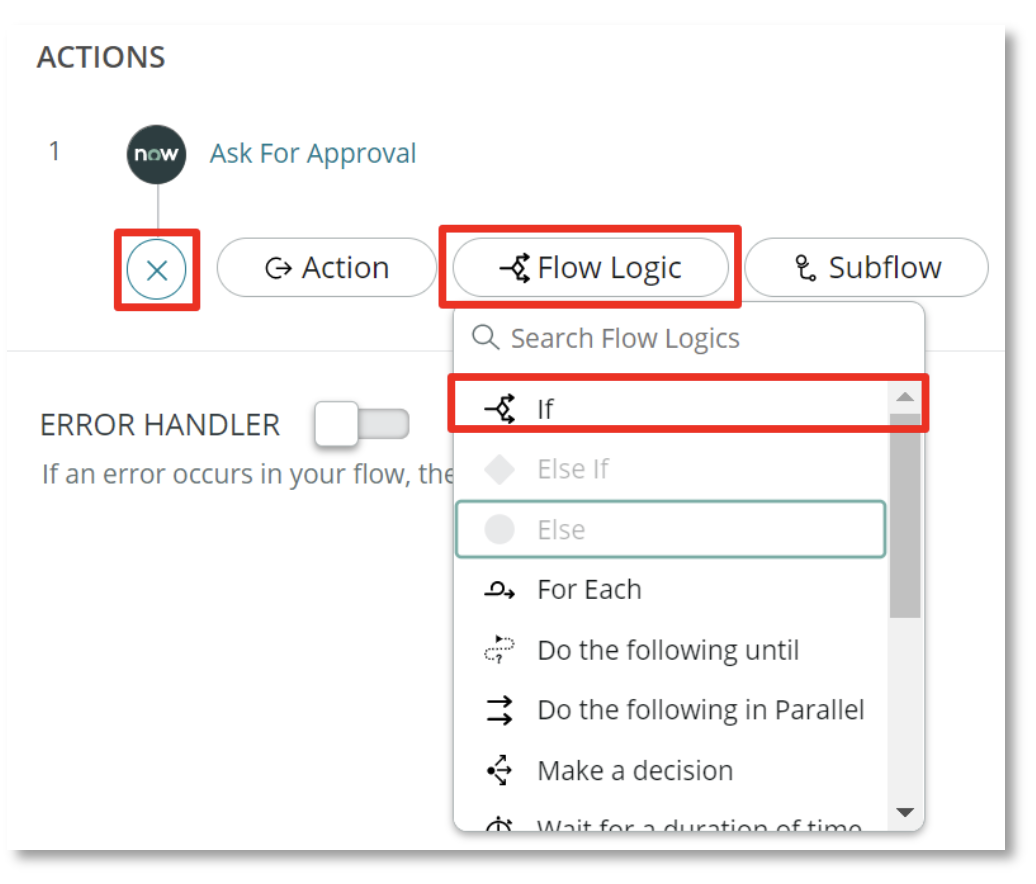
- Select the (+) directly below the Ask for Approval action
Select Flow Logic Select If when the popup appears
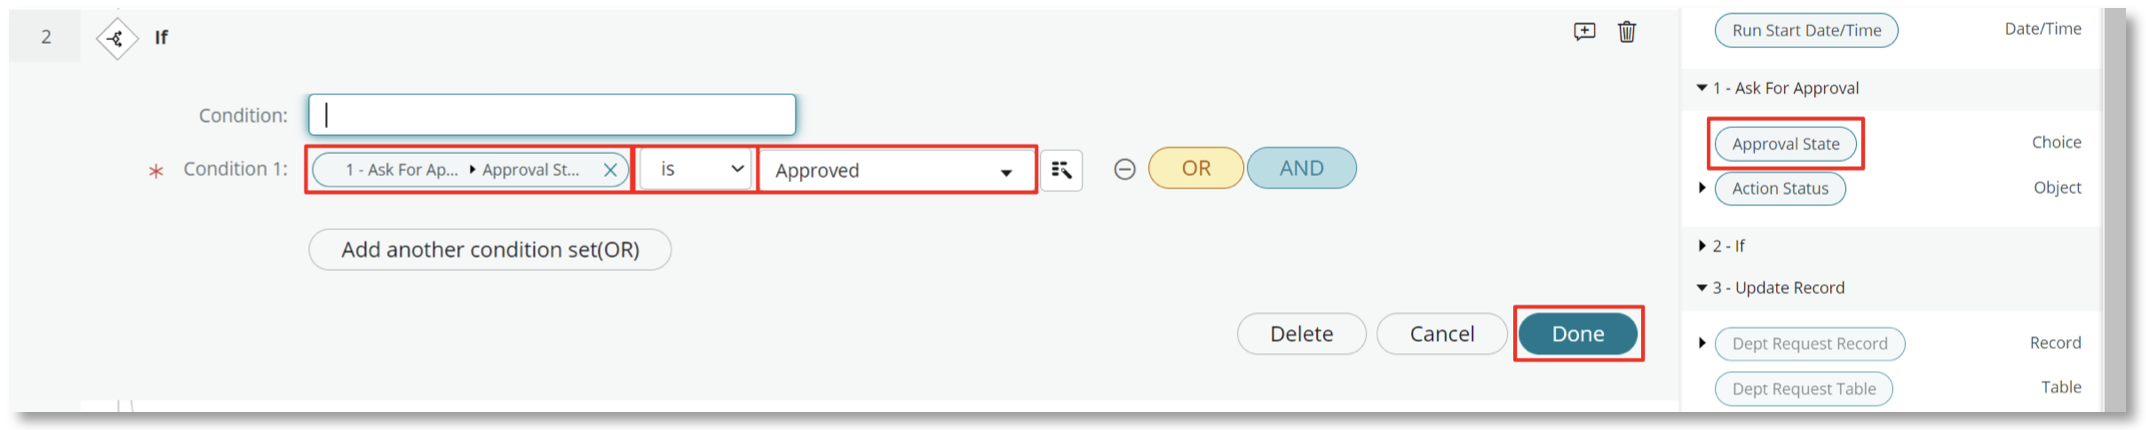
- Drag the Approval State Data Pill from the right Data pane and drop on Drag and drop data pill in
Accpet the default is value
Set the Select a choice to Approved
Select Done
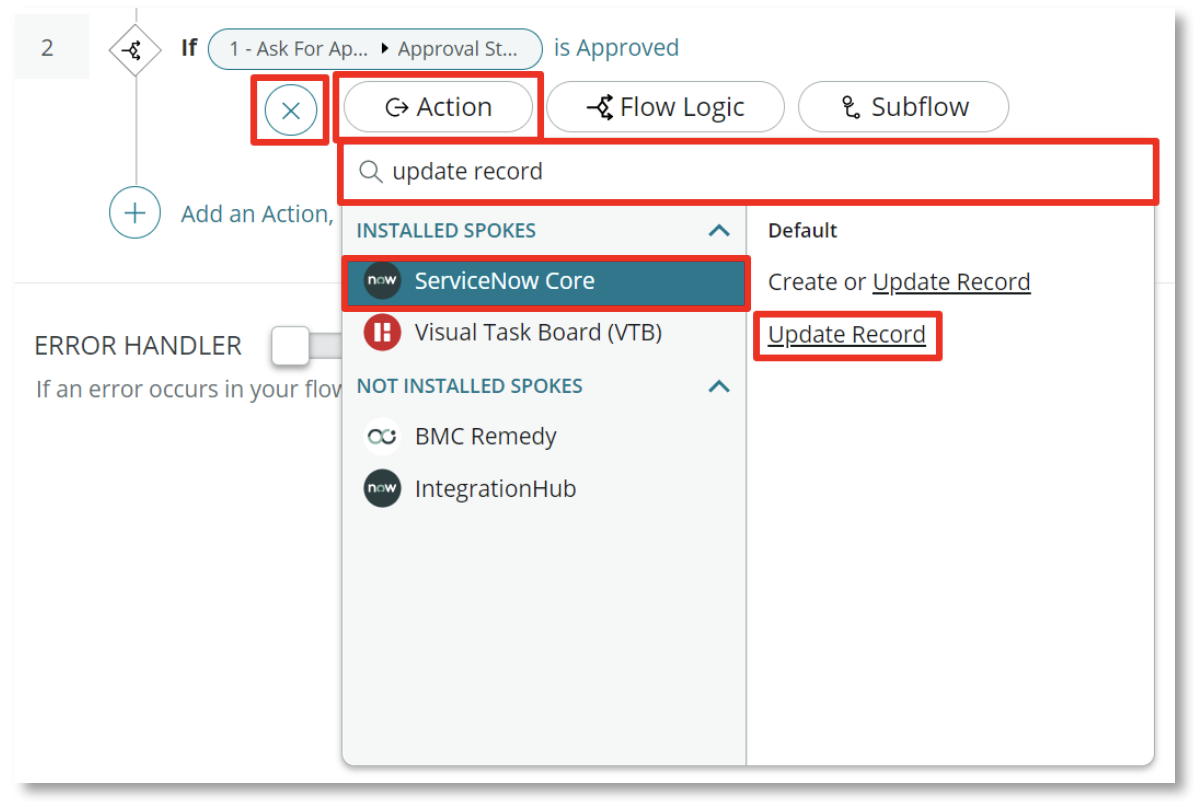
- Select the (+) option below the If action that we just added. Make sure to select the (x) that is indented. This will ensure that it the action only will only run if the Dept Request is approved
Select Action and search for update record in the popup
Select the Update Record action
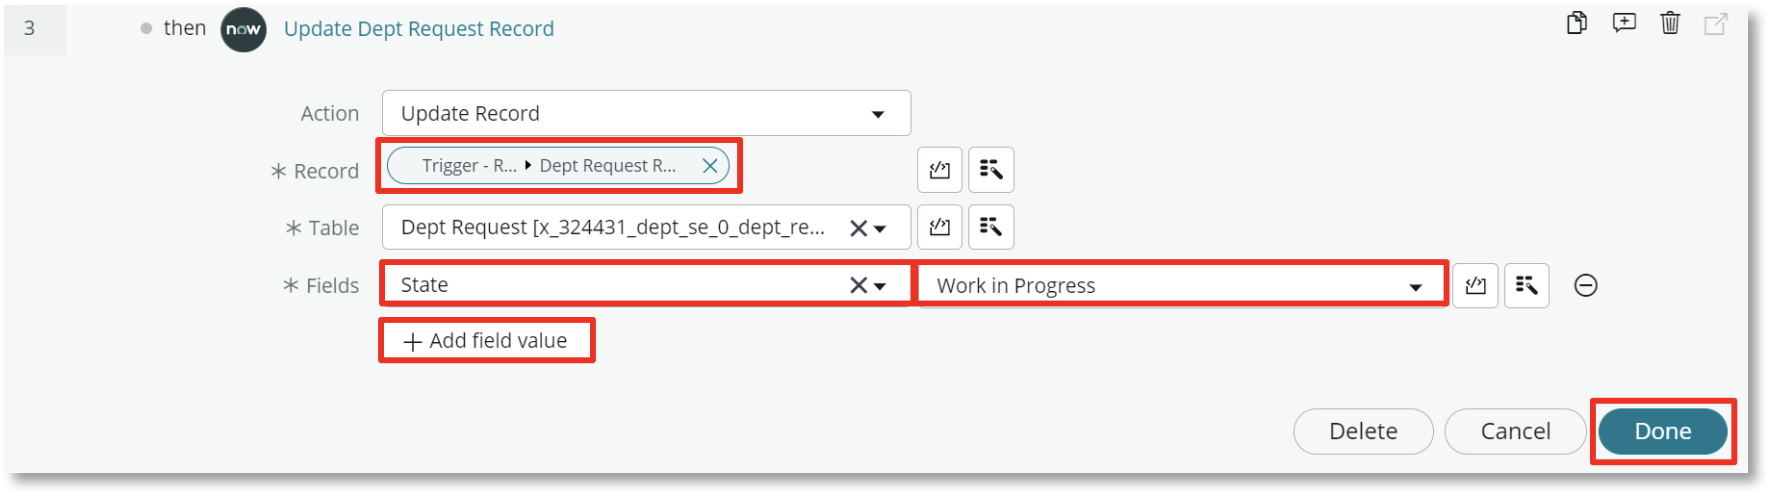
- Drag the Dept Request record from the right Data pane and drag to the Record field
Select + Add field value. Set the field to State
Set the value to Work in Progress
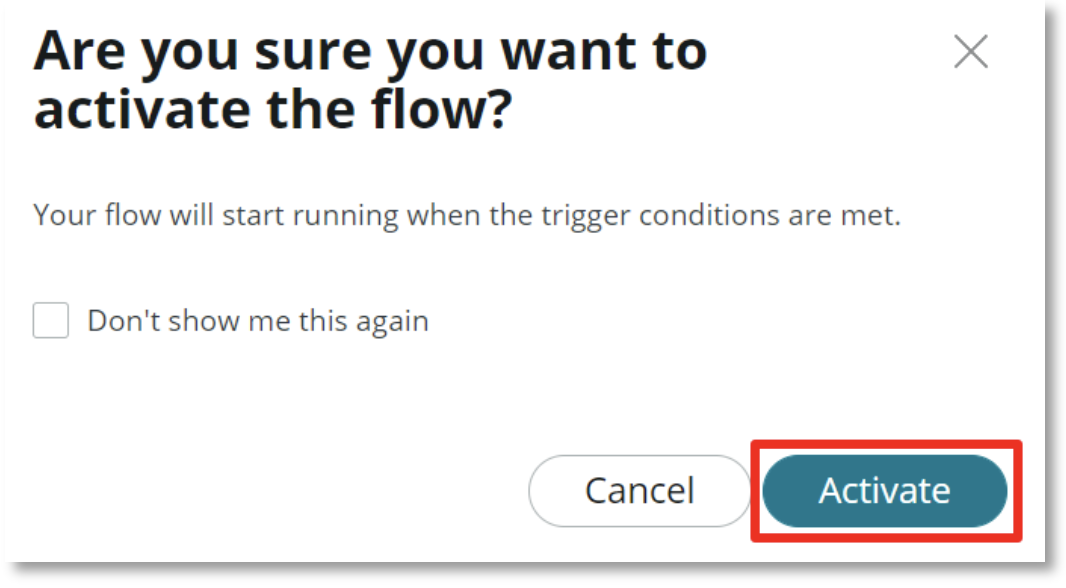
- Select Activate in the upper right to set the flow as Active
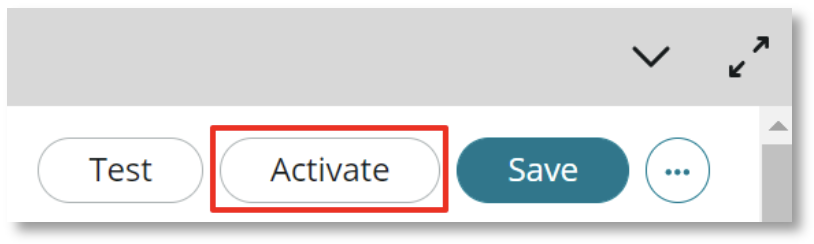
Confirm by selecting Activate again when prompted
- Return to the App Home tab
Select the ellipsis(...) for the Dept Request table
Select Edit

- Select Preview in the upper right when the Dept Request tab opens

- Select the New button in the upper right once the Preview opens

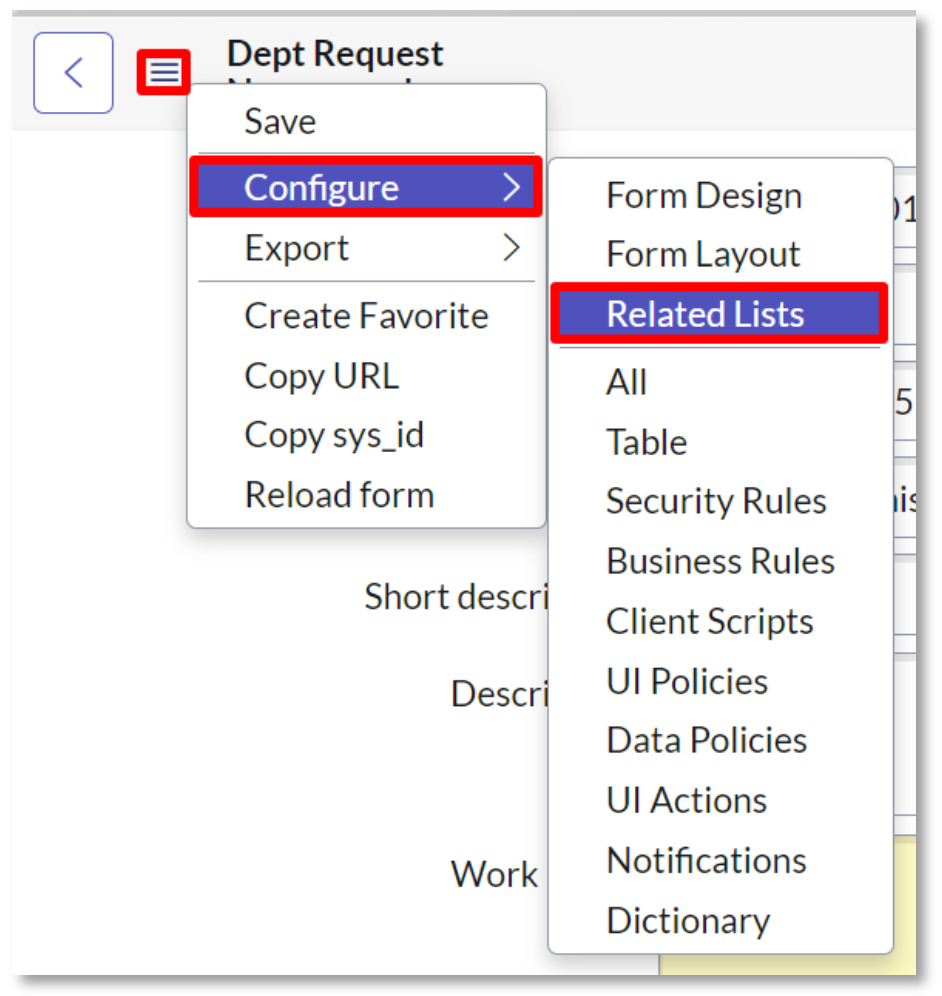
- Select the hamburger (three stacked lines) button in the upper left
Select Configure >
Selected Related Lists
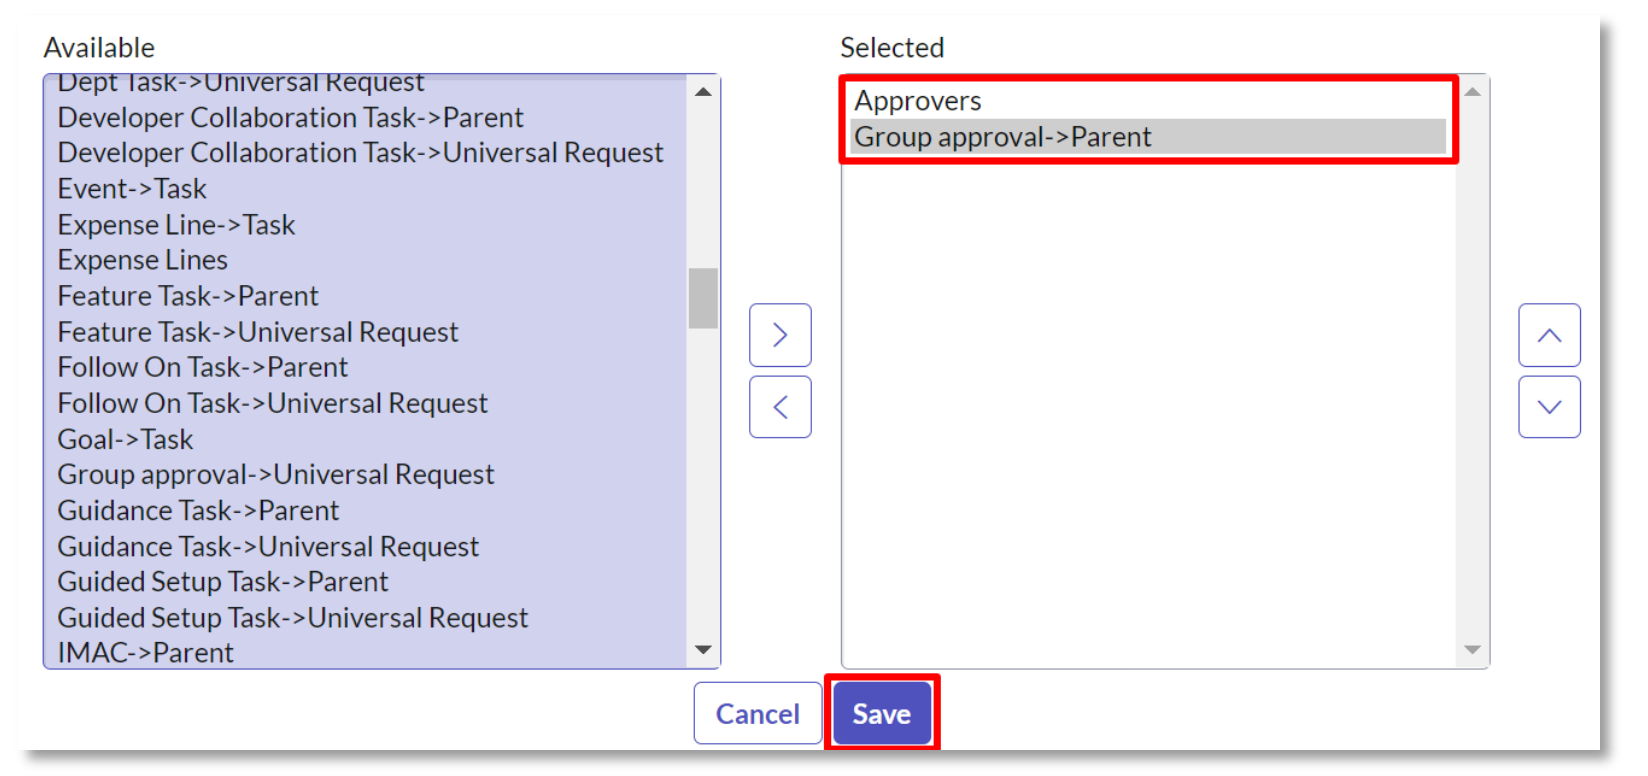
- Select Approvers
Select Group approval->Parent
Select Save
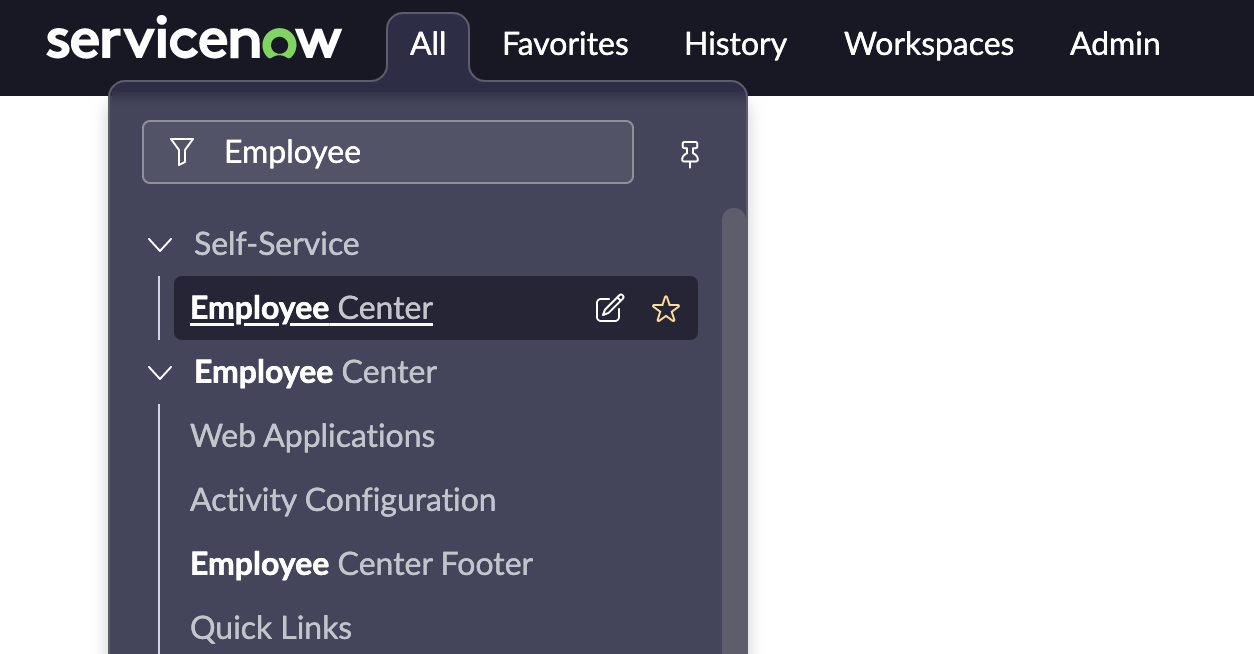
- Return to the platform tab
Search for and click Employee Center
- Search for Dept Requests
- Fill out the required fields and click Submit
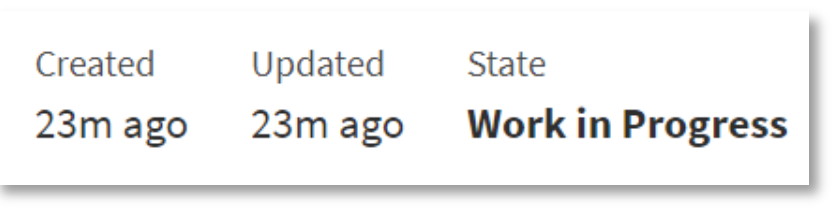
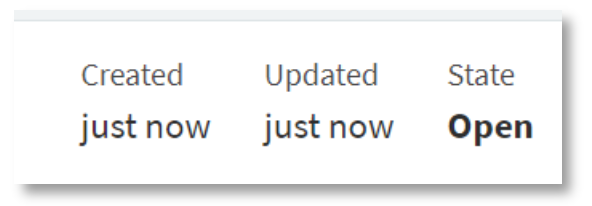
- Notice how the State is Open when the confirmation screen opens. Leave this tab open.
- Return to App Engine Studio and select PREVIEW to open up the Workspace in the Experience section.

- The Workspace will open in a new tab
Select the List button in the upper left
Select Open in the Dept Request section
Select the newest Dept Request. It will have the largest number.
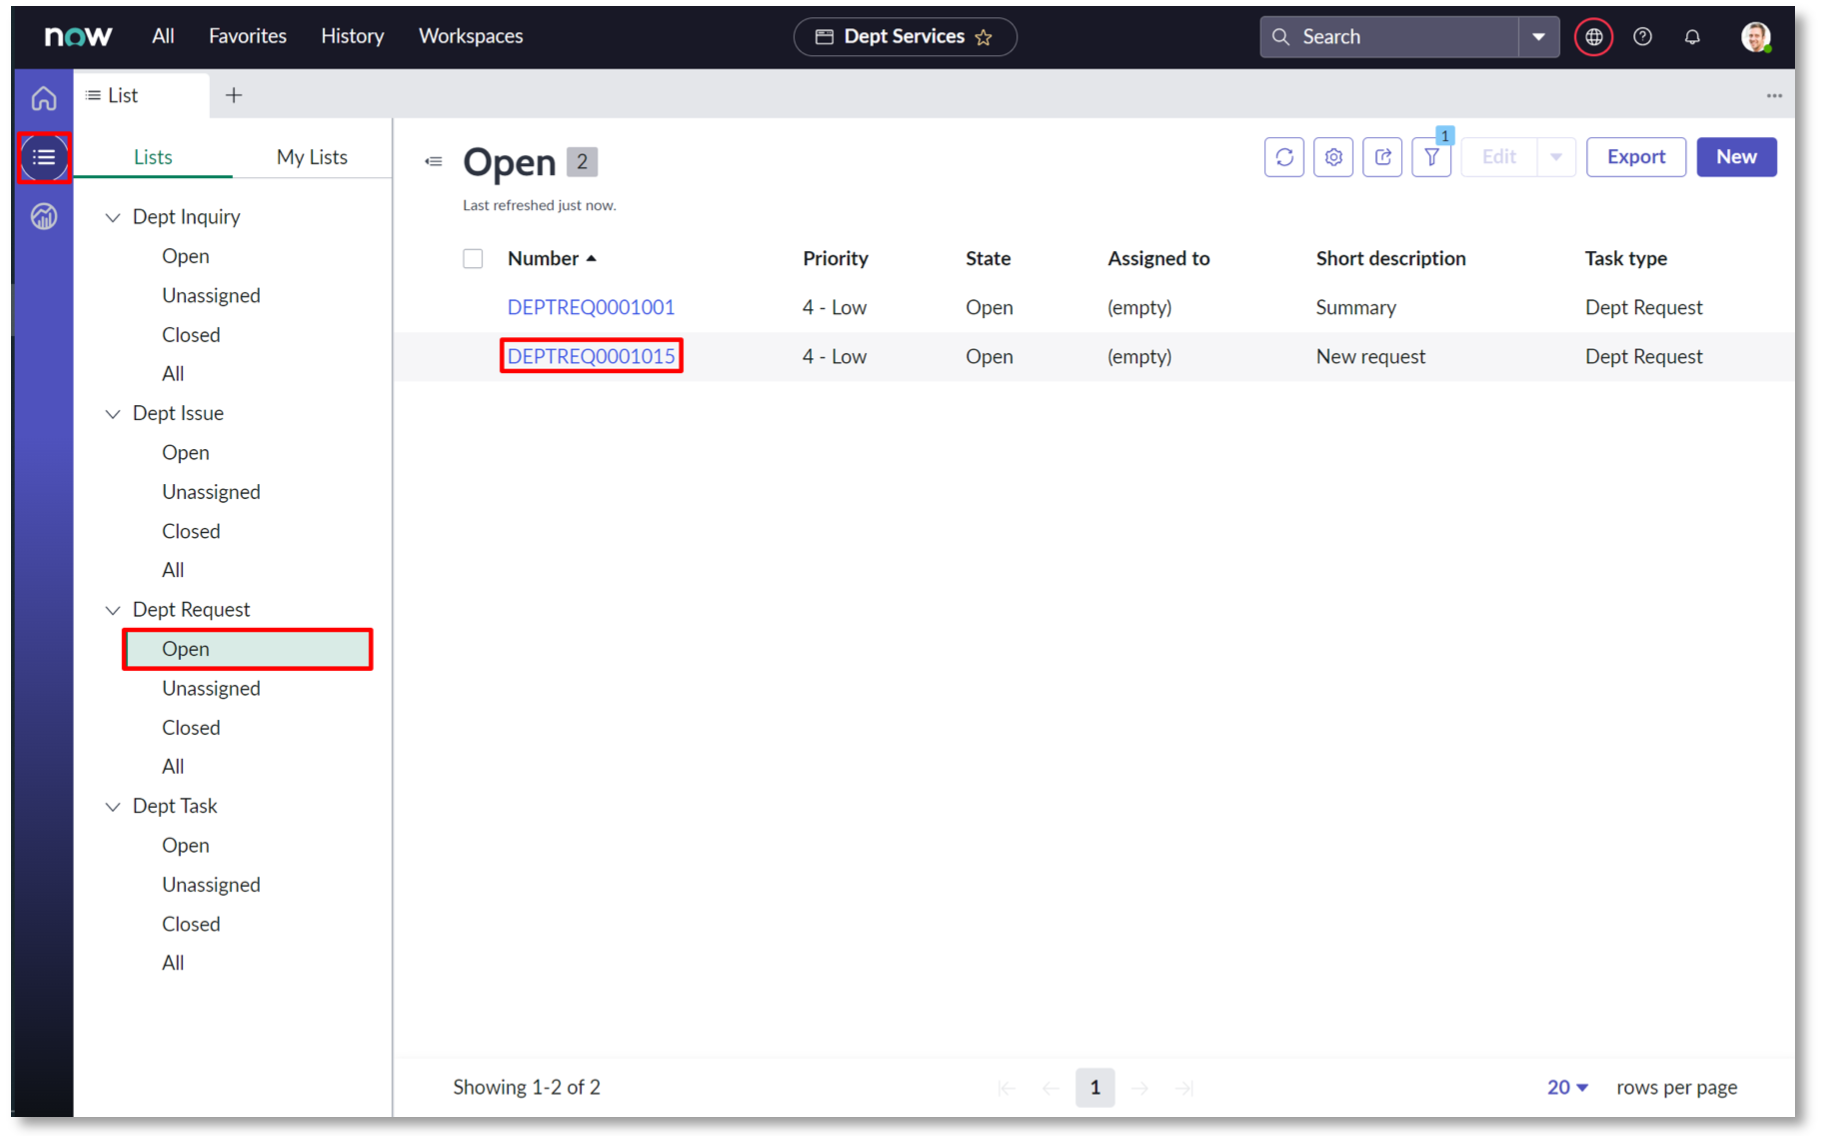
- Select the Approvers (3) tab
Select Requested** to open the first approval request
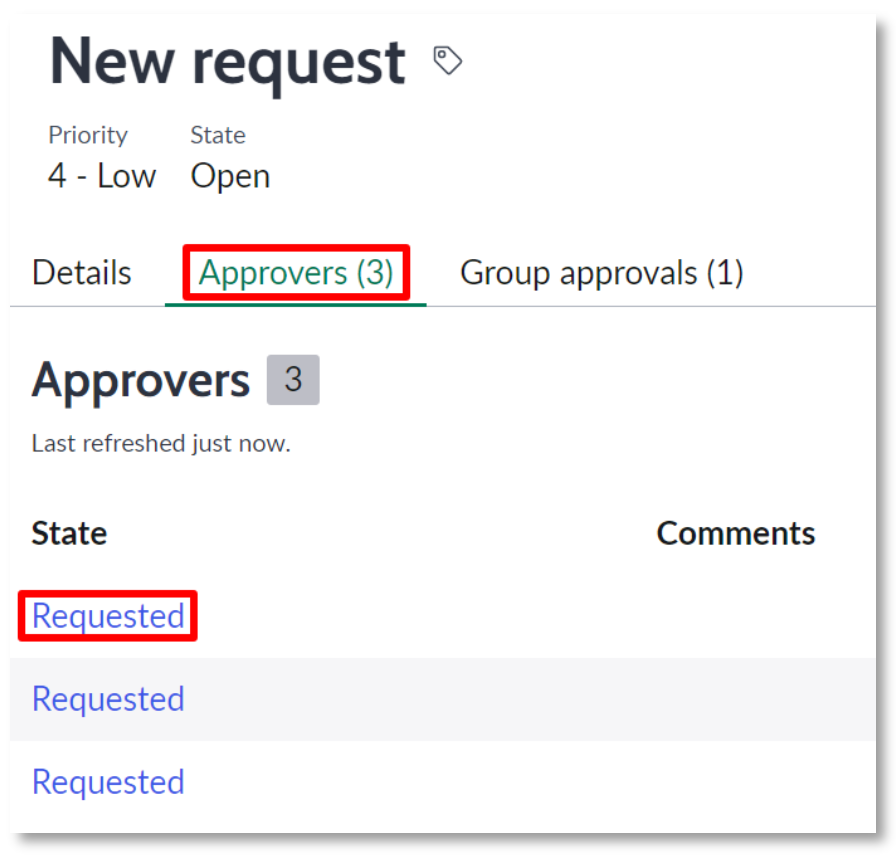
- Set the State field to Approved
Select Save in the upper right
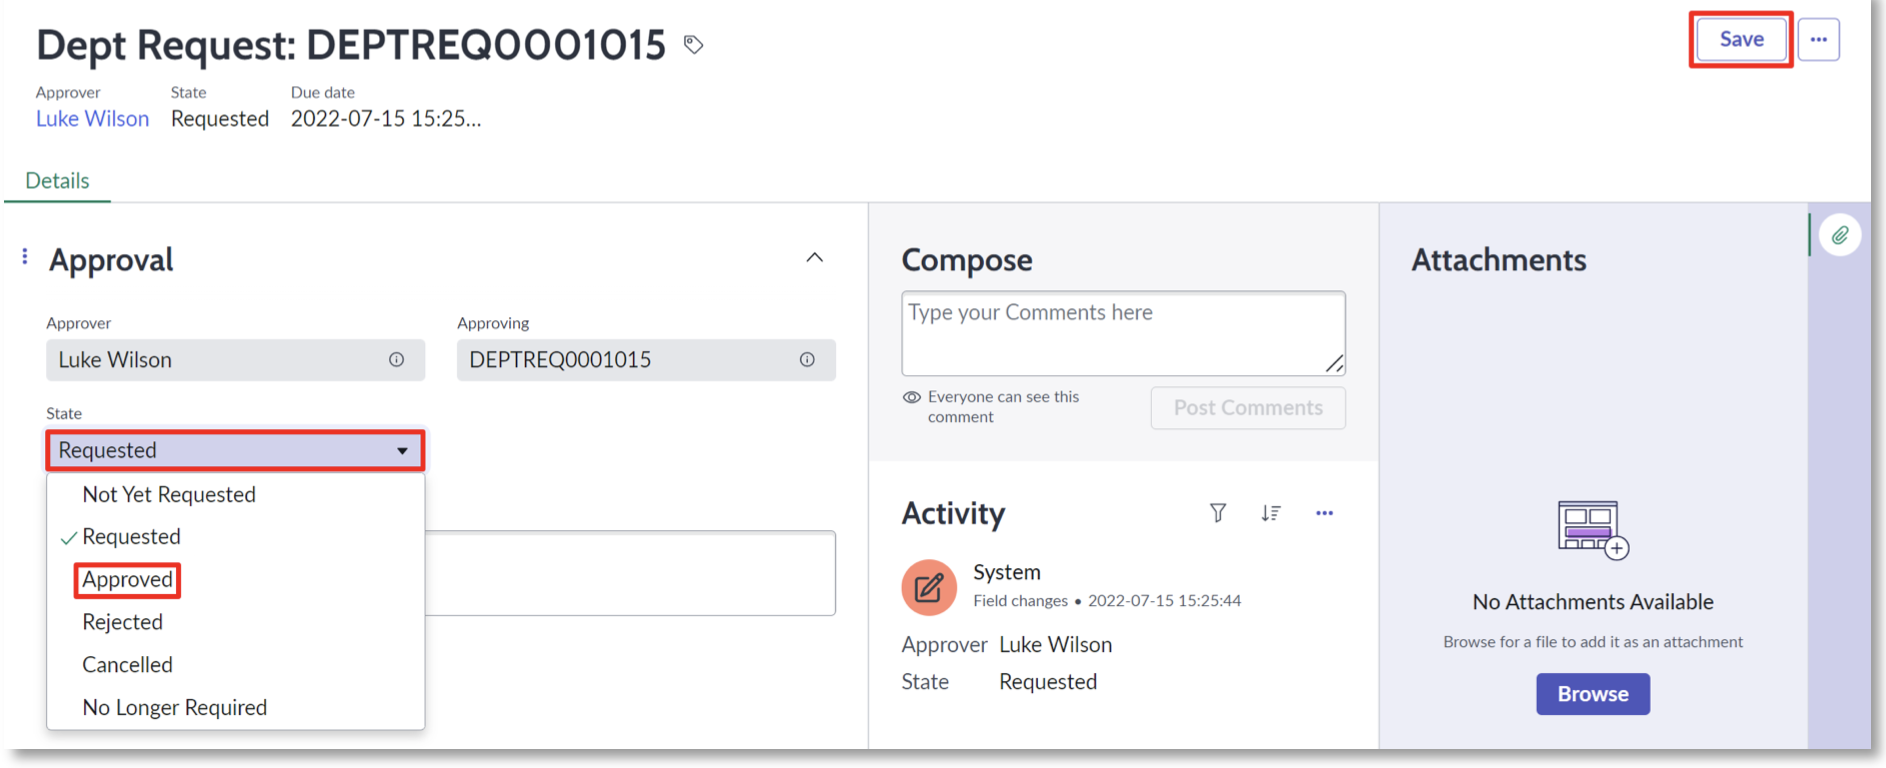
- Return to the browser tab where the confirmation screen is displayed in Employee Center
Observe how the State has changed to Work in Progress.