Create Decision Table for Auto Approval Conditions
A Decision Table allows users to define complex business rules and decision logic using a tabular format. Decision tables are particularly useful for automating decision-making processes within workflows, approvals, or other business processes.
Click here to learn more about Decision Tables.
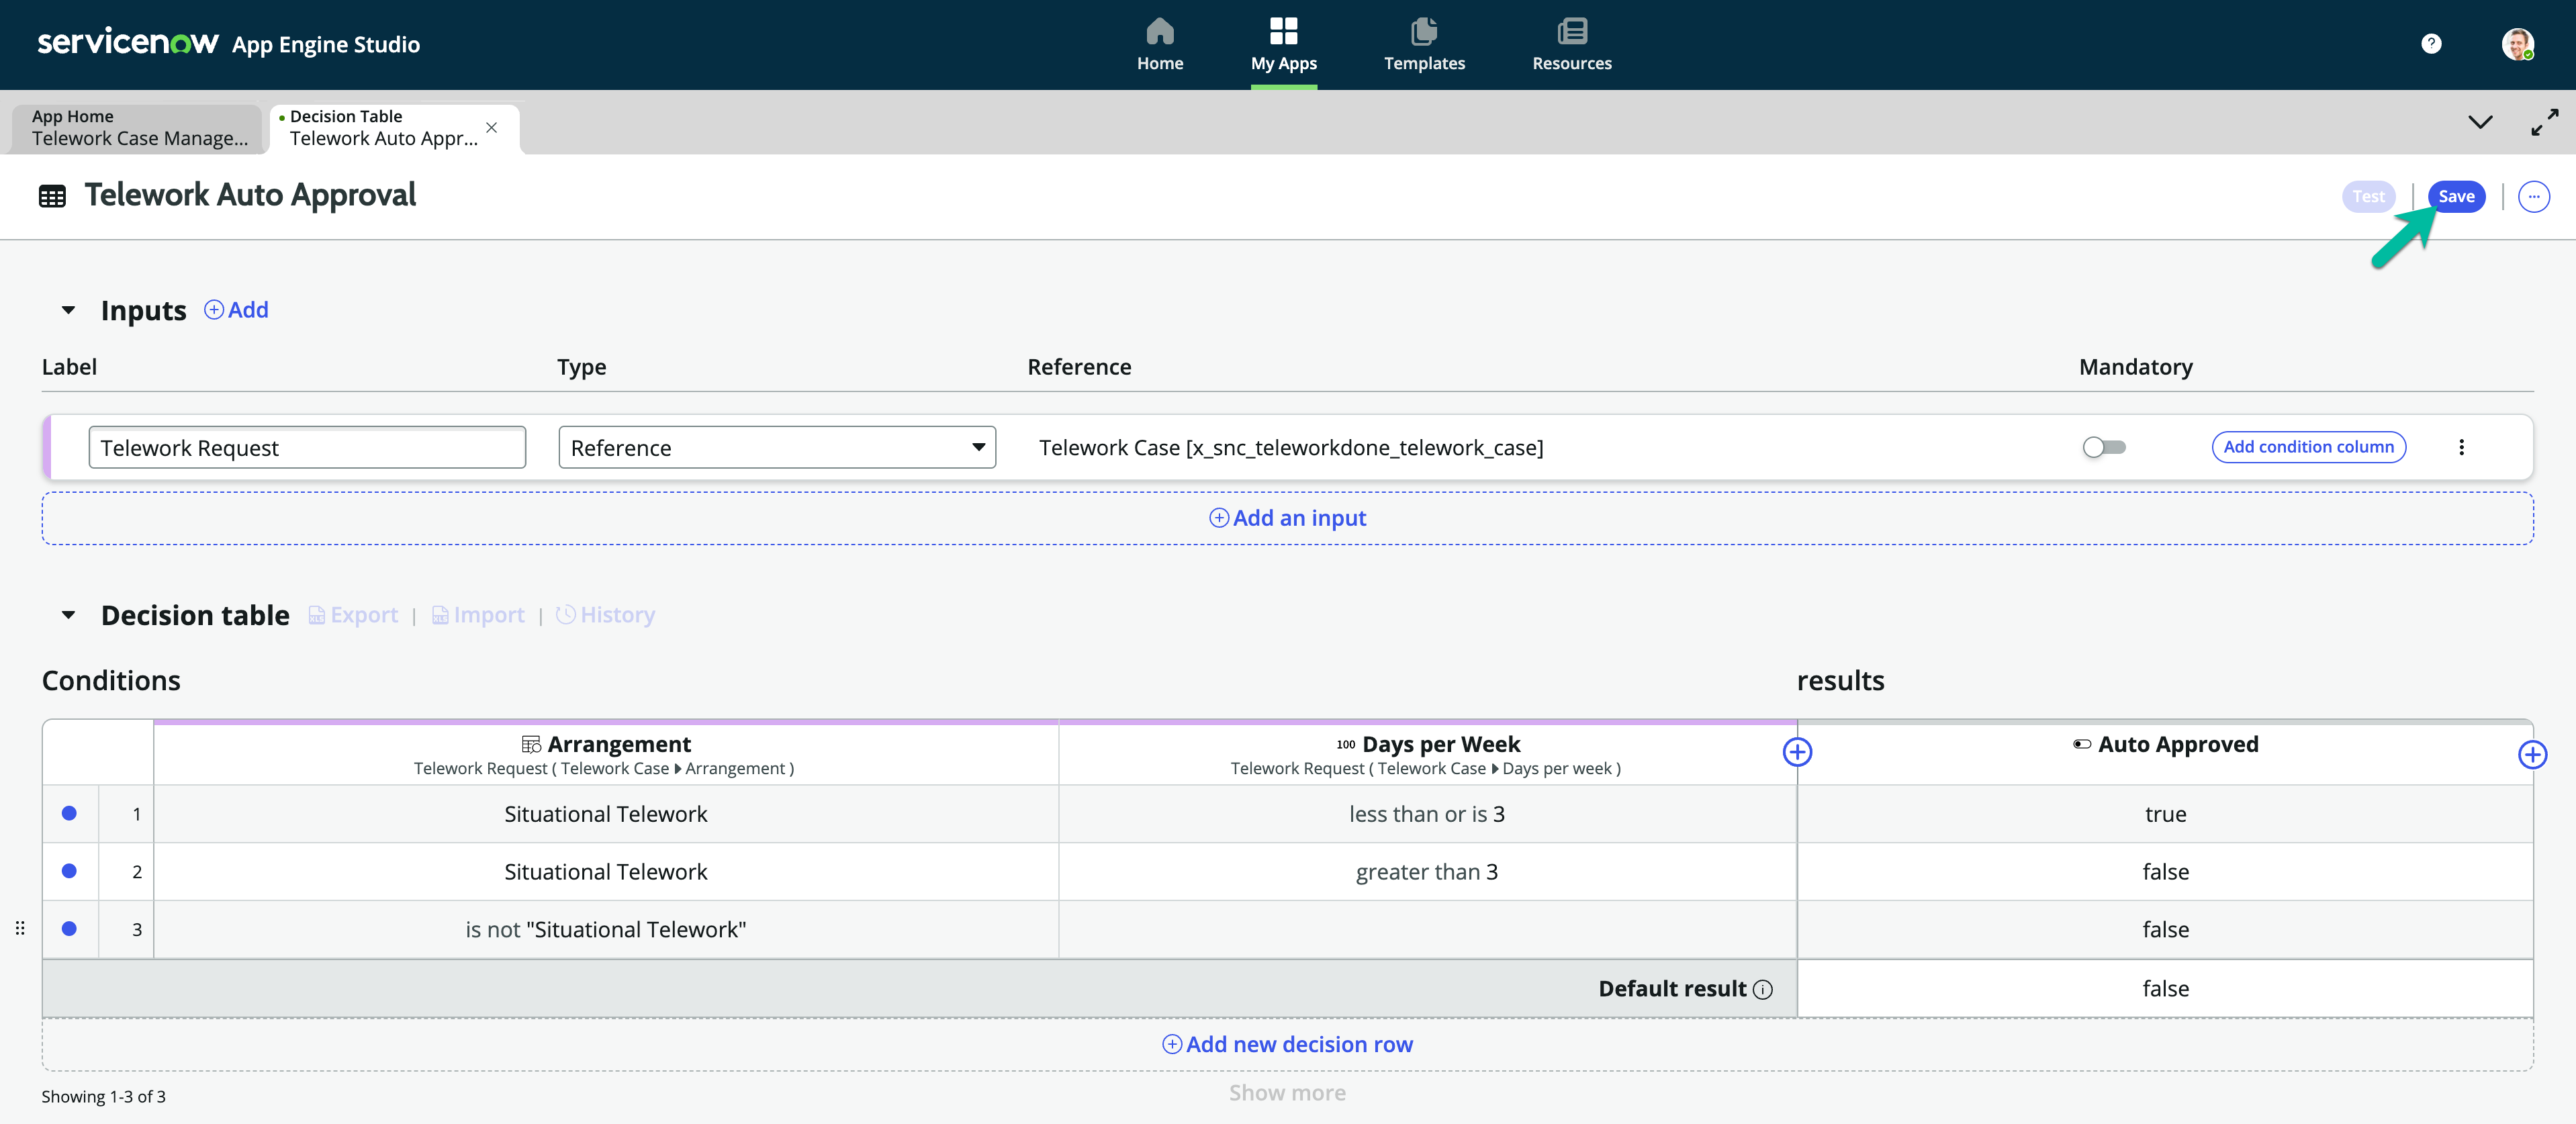
We will create a decision table to assess the arrangement type and numbers of days and return an auto-approval result that we can access in our Main flow.
Return to App Engine Studio to Build the Decision Table
Go to the tab with the App Engine Studio.

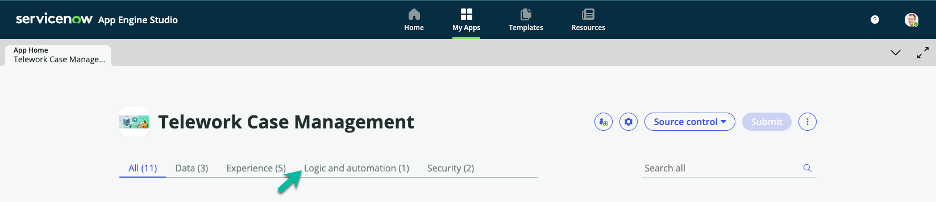
Click on "Logic and Automation (1)".
Click the button.

Select the Decision tile.
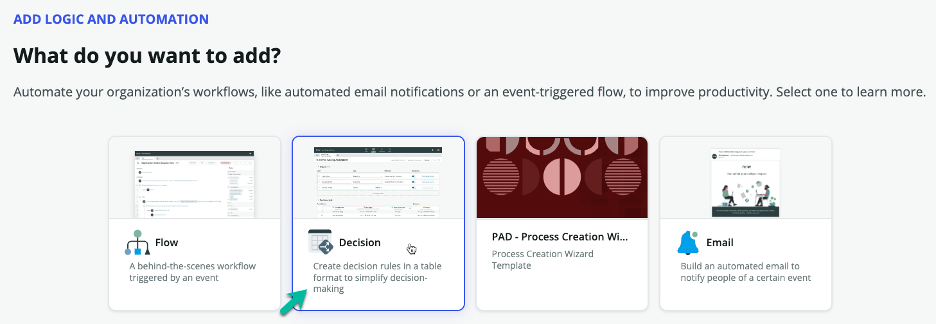
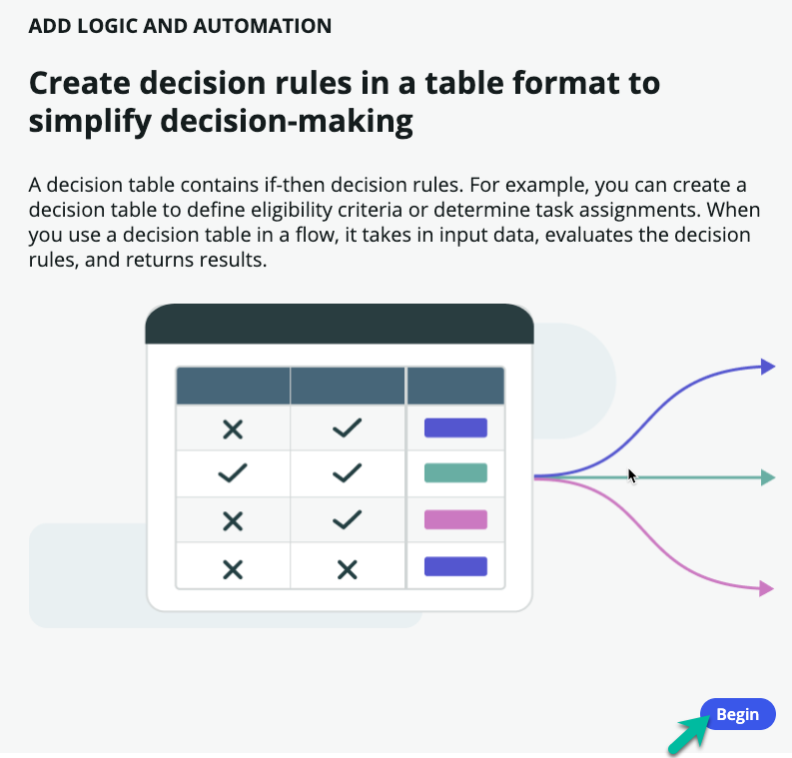
Click the button.
Set up your decision table.
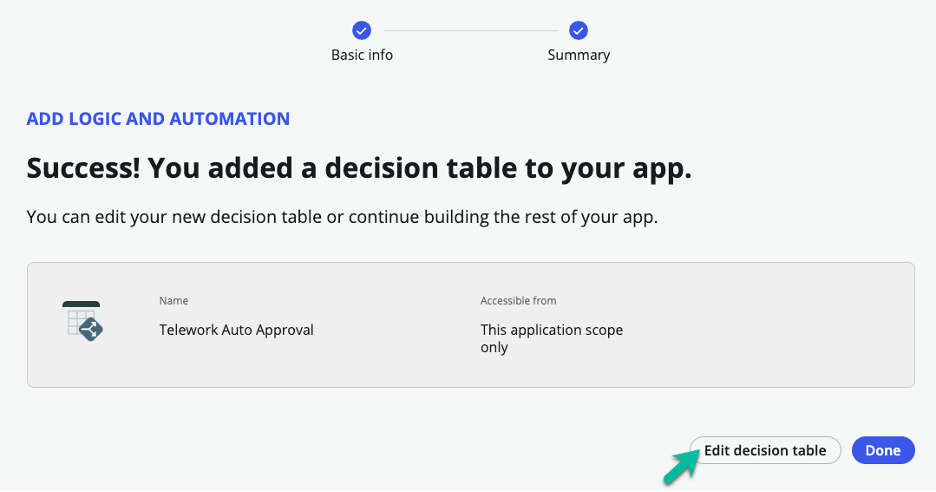
Field Name Field Value ➊ Name Telework Auto Approval ➋ Accessible from This application scope only ➌ Click on the button. 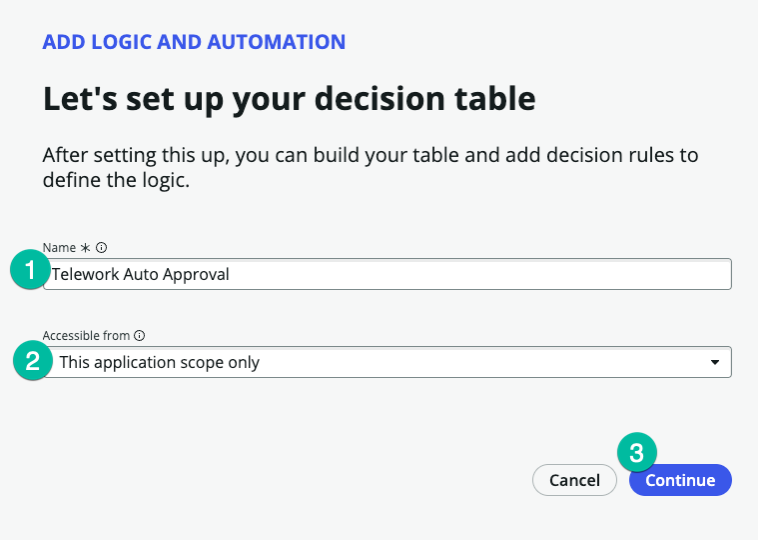
Click the button.
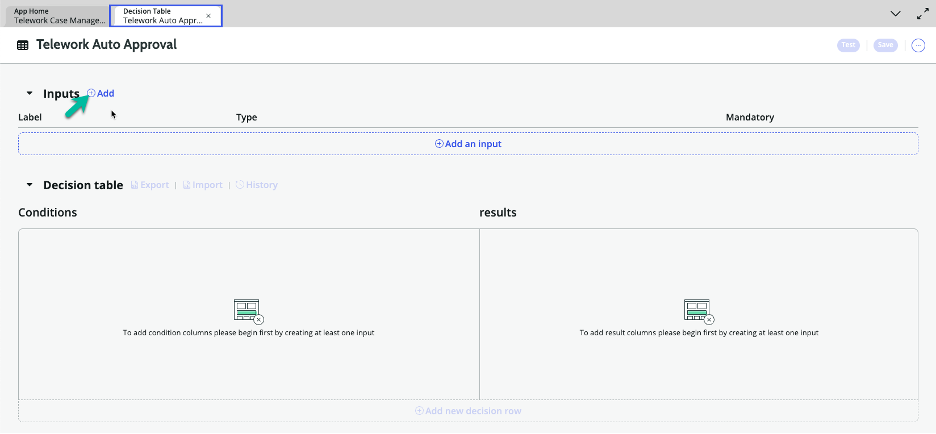
Click the ⨁ Add button next to Inputs.
Populate the following:
Field Name Field Value ➊ Label Telework Case ➋ Type Reference ➌ Table Telework Case 
On the Input row you just created, click .

Populate the NEW CONDITION COLUMN form.
Field Name Field Value ➊ Condition Column Label Arrangement ➋ Description Type of Arrangement ❸ Data to Evaluate Field ❹ Field Telework Case.arrangement ❺ Default operator is ❻ Click on the button. 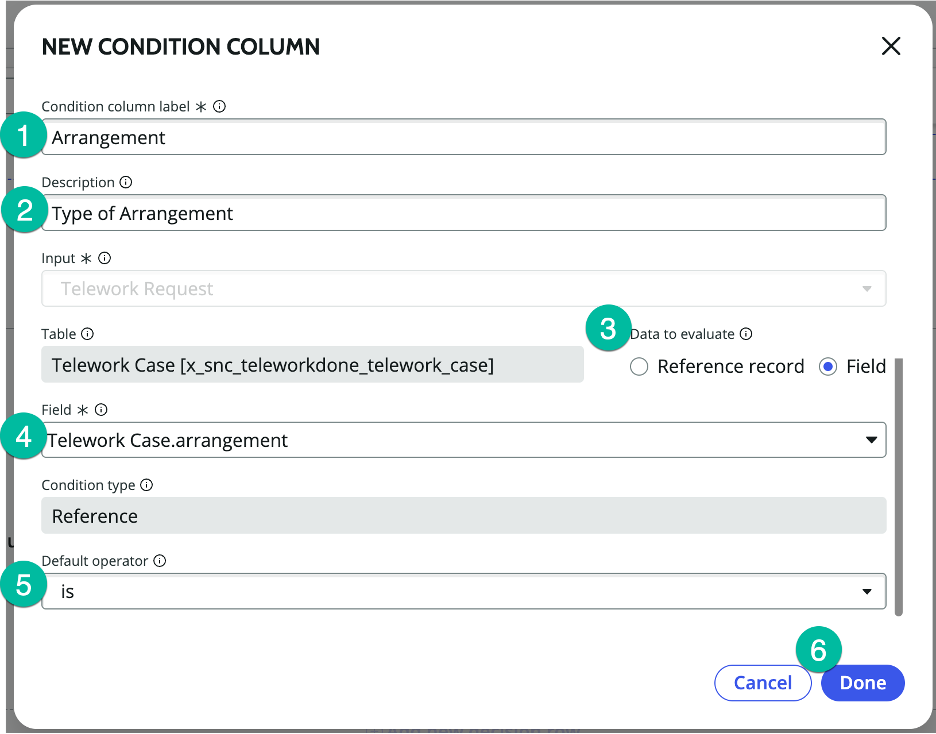
Add another condition column.
- Click the plus button ⨁ next the condition we just created.
- Select "Add condition column".

Populate the NEW CONDITION COLUMN form.
Field Name Field Value ➊ Condition Column Label Days per Week ➋ Description Days per Week ❸ Input Telework Request ❹ Data to Evaluate Field ❺ Field Telework Case.days_per_week ❻ Default operator less than or is ❼ Click on the button. 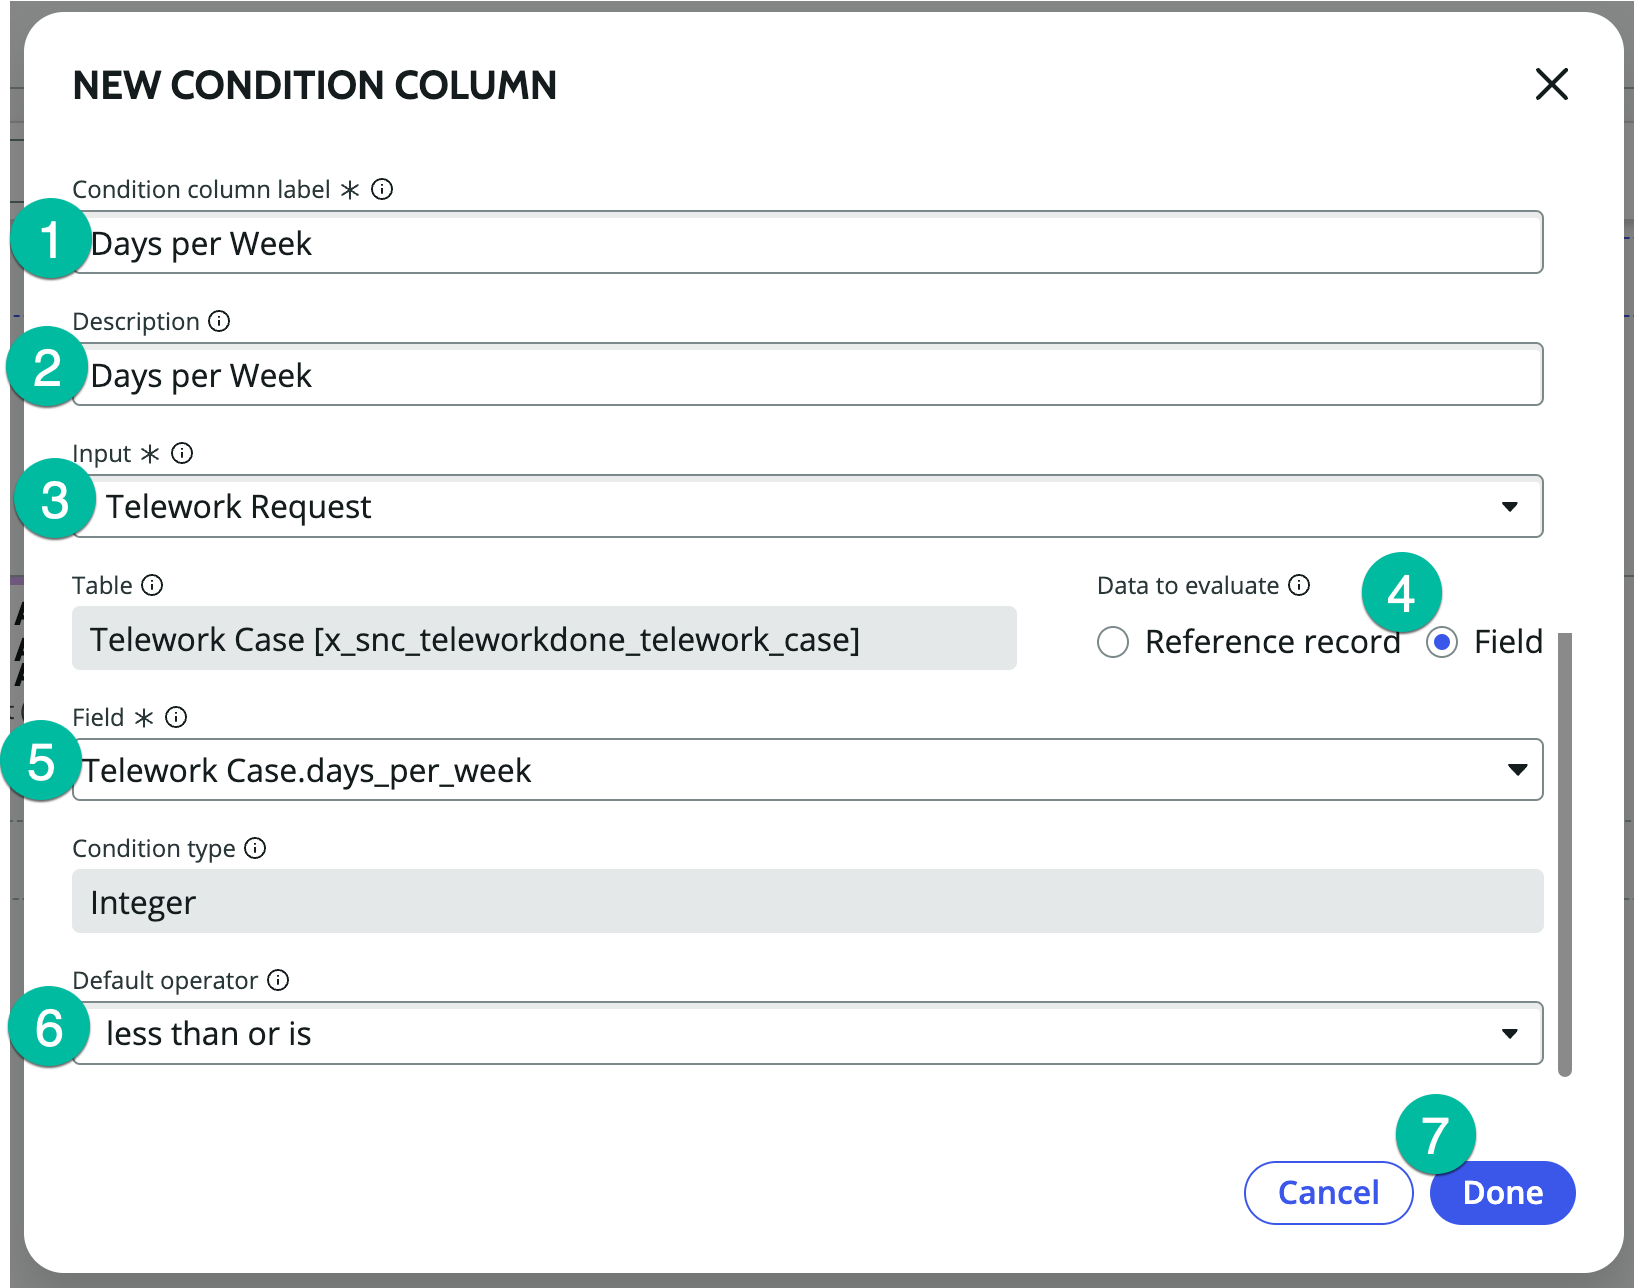
In the results column, click ⨁ Add result column.

Populate the NEW RESULT COLUMN form.
Field Name Field Value ➊ Result Column Label Auto Approved ➋ Description Is telework auto approved ❸ Result Type True/False ❹ Click on the button. 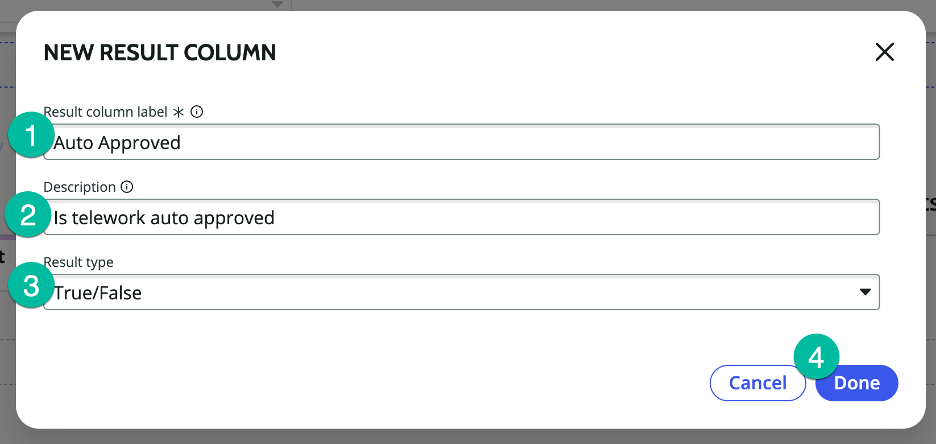
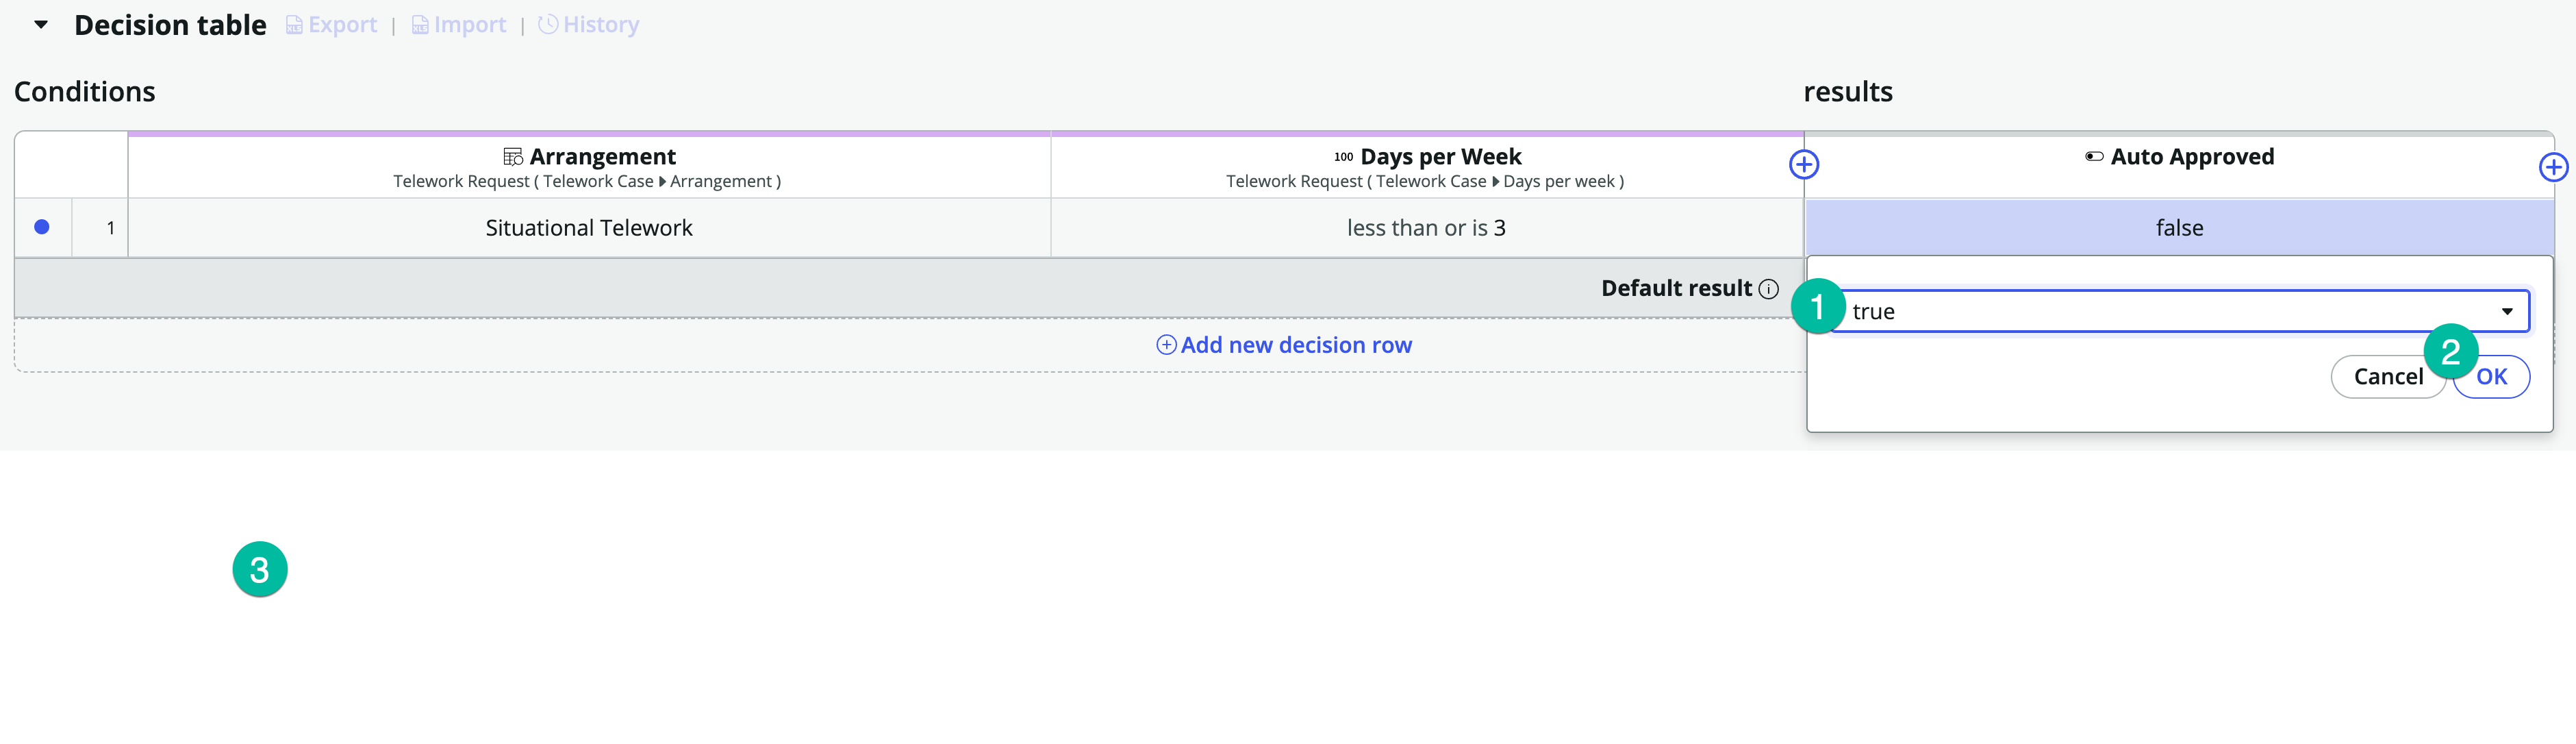
Let's define our first decision row, by clicking into row 1.

Populate the Arrangement Condition.
Field Name Field Value ➊ Operator is ➋ Value Situational Telework 
Populate the Number of Days Condition.
Field Name Field Value ➊ Operator less than or is ➋ Value 3 ❸ Click on the value in the Auto Approved column (currently false). 
Change the result for Auto Approval to true.
- Switch the result to true.
- Click the button to continue.
Let's add our next decision row by clicking ⨁ Add new deicion row

Populate the Arrangement Condition.
Field Name Field Value ➊ Operator is ➋ Value Situational Telework 
Populate the Number of Days Condition.
Field Name Field Value ➊ Operator greater than ➋ Value 3 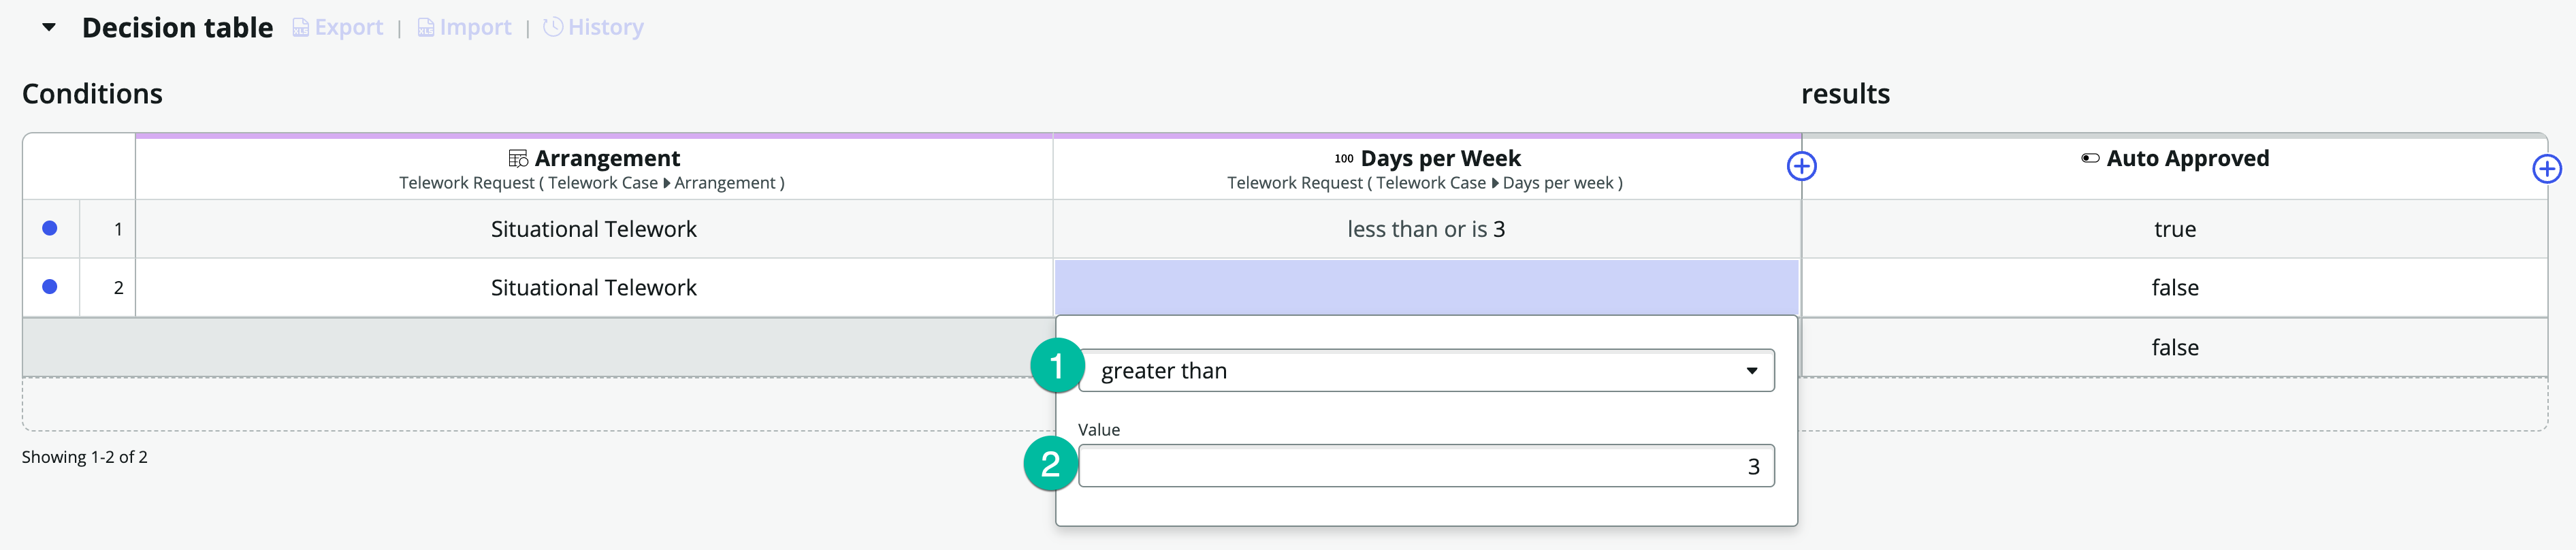
Let's add another decision row by clicking ⨁ Add new deicion row

Populate the Arrangement Condition.
Field Name Field Value ➊ Operator is not ➋ Value Situational Telework 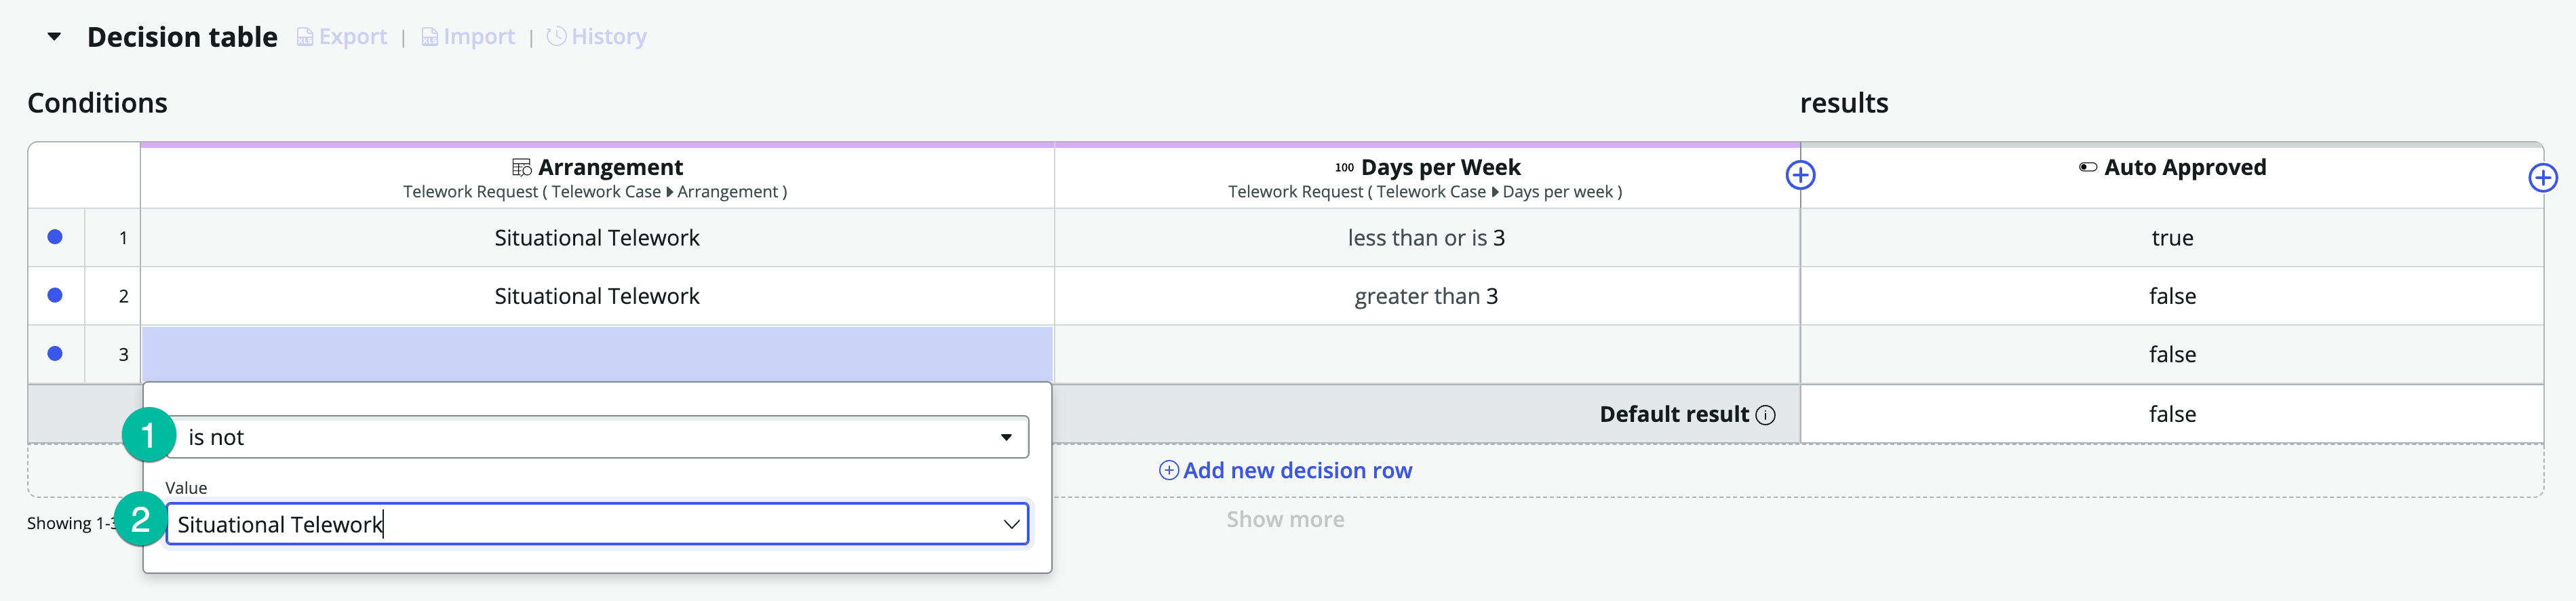
Let's save our work by clikcing the button.
Bonus
Test diffent scenarios before modifying the Main Flow.