Create People Finder Spoke
A spoke is a scoped application containing Flow Designer content dedicated to a particular application or record type. This includes integrations that connect external systems or services with the ServiceNow platform. By leveraging spokes, organizations can extend the capabilities of their ServiceNow instance and integrate it with a wide range of external tools and services, enhancing automation, collaboration, and efficiency across their IT operations and business processes.
Click here to learn more about Spokes.
Spoke Generator allows users to create custom spokes for integrating ServiceNow with external systems or services. It provides a graphical interface and a set of tools to streamline the process of building, configuring, and deploying spokes tailored to specific integration scenarios.
Click here to learn more about Spoke Generator.
We will create a re-usble integration to the finance department's People Finder Open API, so that we can access this data in our Main flow.
Open Flow Designer to use Spoke Generator to create the People Finder Integration
Go to the tab with the ServiceNow Admin Home Page (your title may be different).

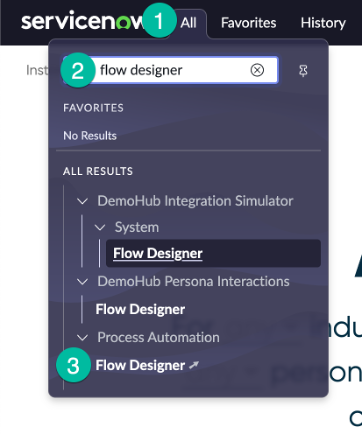
Open Flow Desginer from the All Menu
- Click the All menu
- Search for "flow designer"
- Click on: Process Automation > Flow Designer
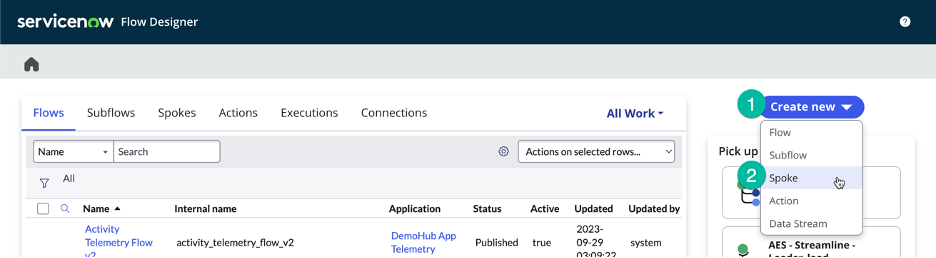
Create New Spoke
- Click
- Click "Spoke"
Setup General Information for the Spoke (💡 double-click to select, copy & paste into the form).
Field Name Field Value ➊ Drag and drop the icon in the telework_lab files folder we downloaded earlier people_finder.png ➋ Spoke Name (App scope name will auto-populate) People Finder ➌ Description API to find people in a remote system ➍ Click on the button. 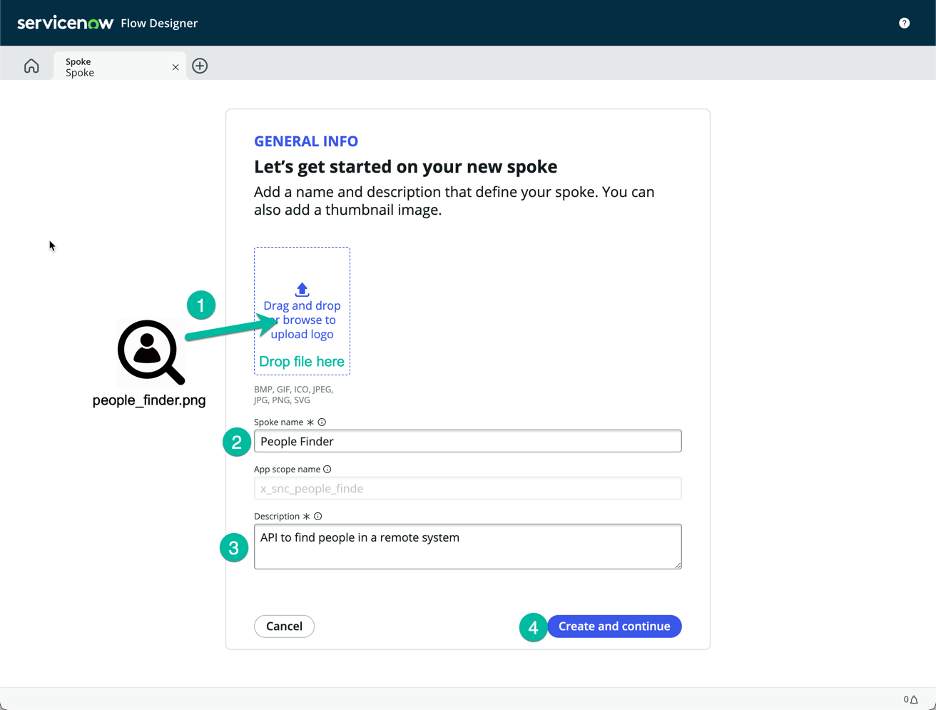
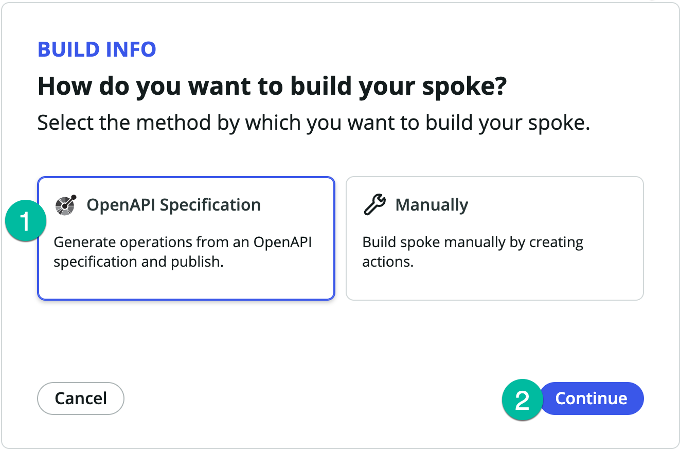
Specify how we want to build our Spoke
- Select OpenAPI Specification
- Click
For the OpenAPI source, click

Fill the user form with the following values (💡 double-click to select, copy & paste into the form).
Field Name Field Value ➊ Import method Import from URL ➋ OpenAPI URL https://low-code.guide/api-specs.json ➌ Click on the button. 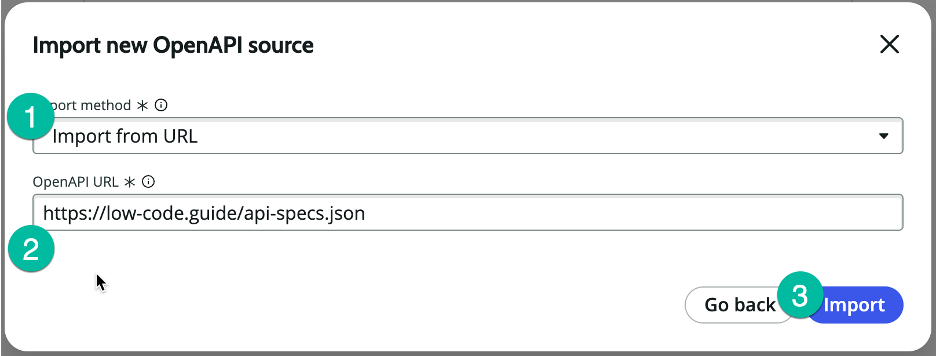
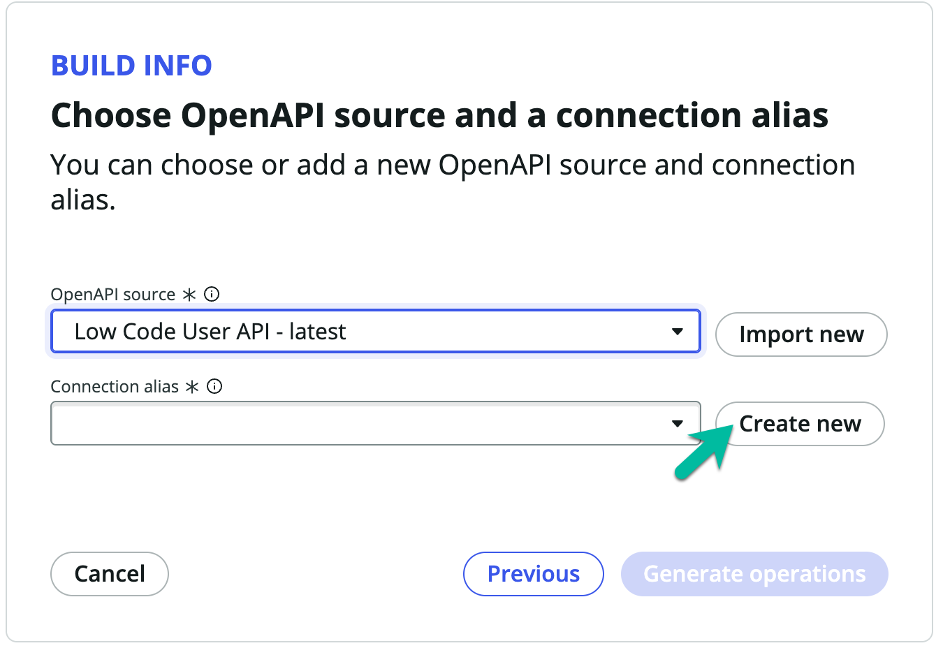
For the Connection alias, click
Fill the user form with the following values (💡 double-click to select, copy & paste into the form).
Field Name Field Value ➊ Connection alias name People Finder ➋ Authentication Configuration Template API Key Template ➌ Click on the button. 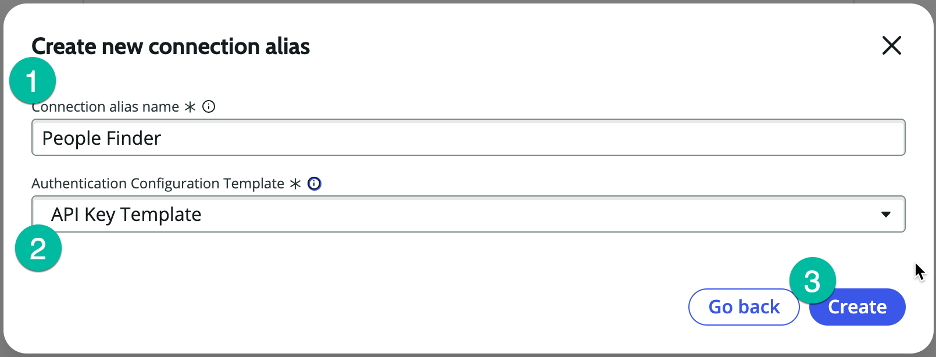
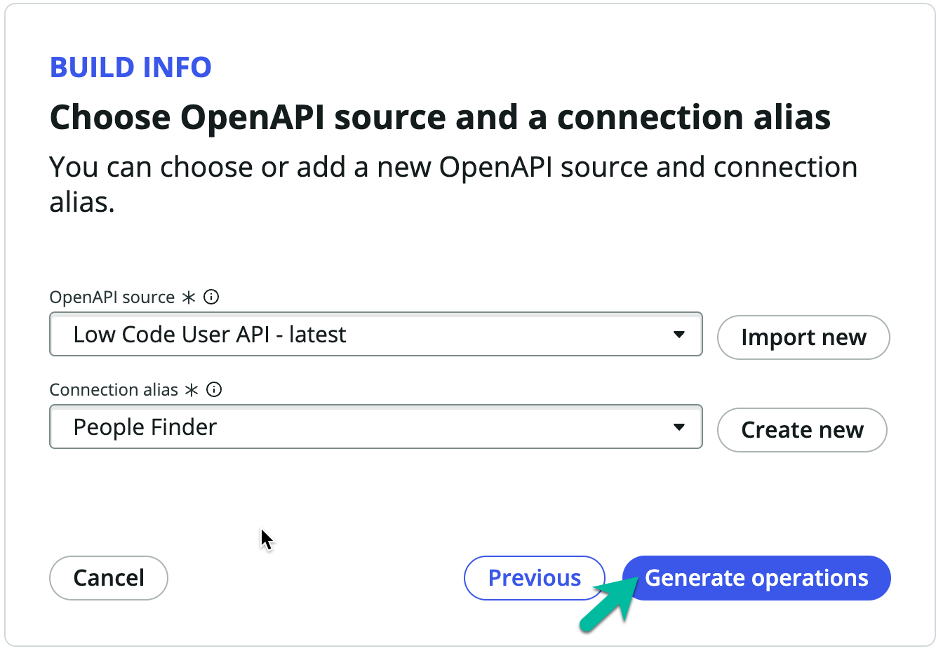
To continue, click the button
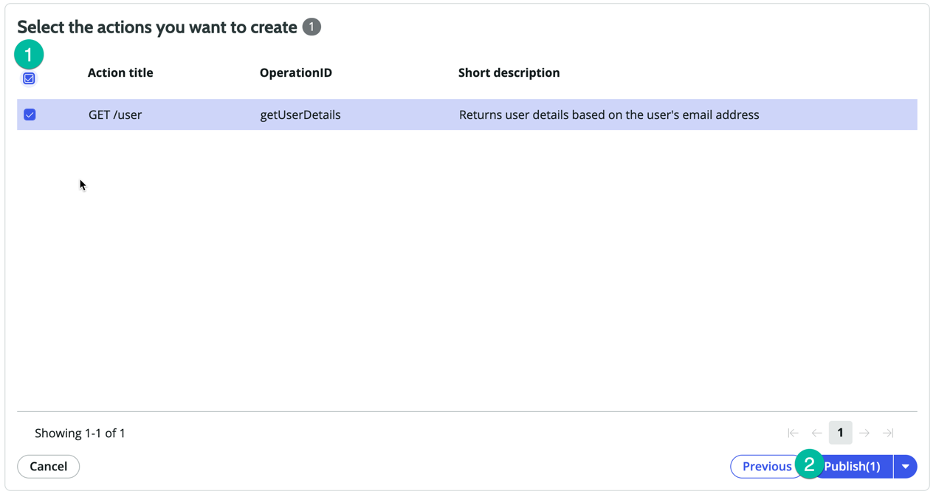
Select the actions you want to create
- Select all actions
- Click the button
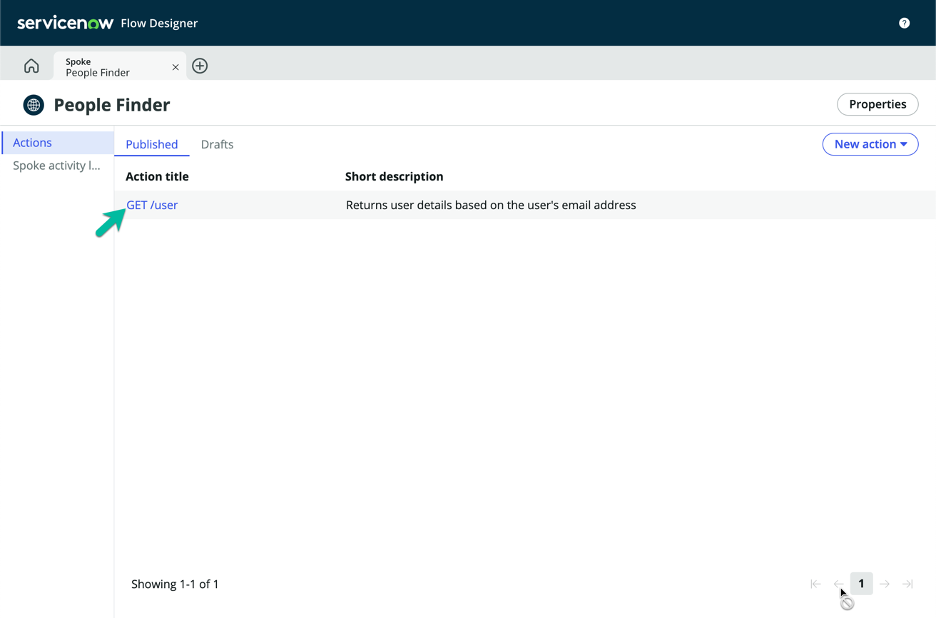
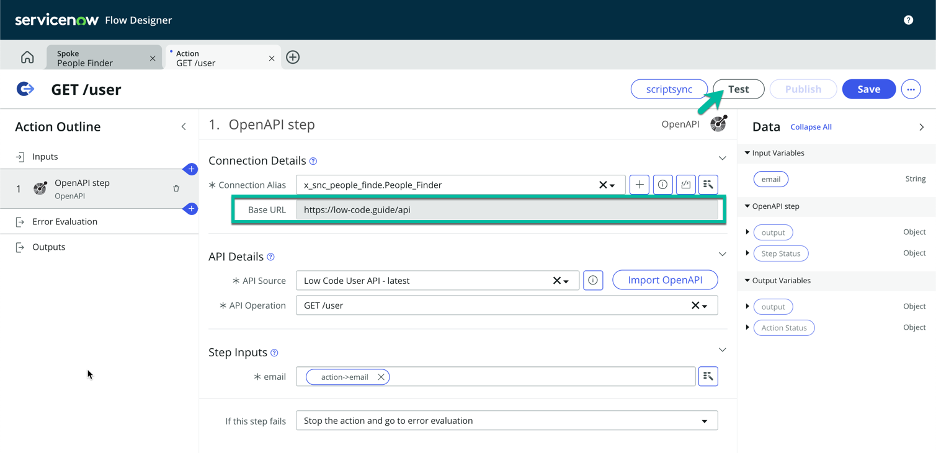
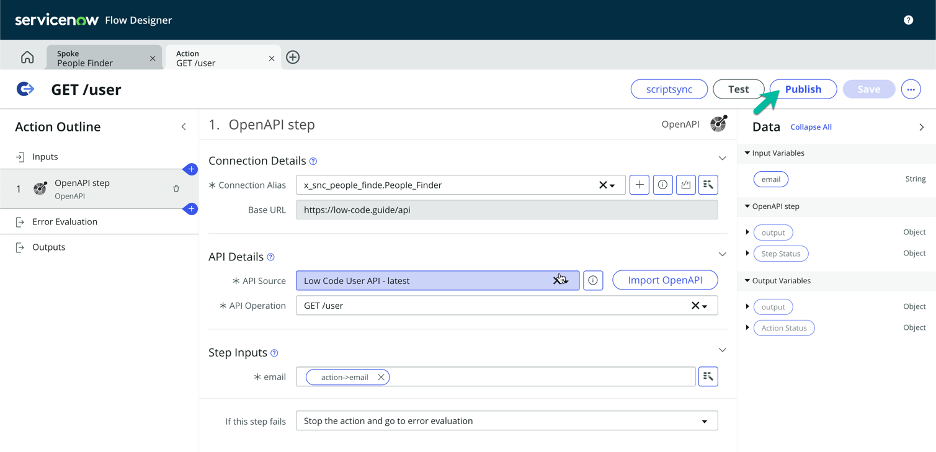
Click the "GET /user" link to view the action we just created
Before we can test and use our spoke, we need to set the Base URL for the Connection.
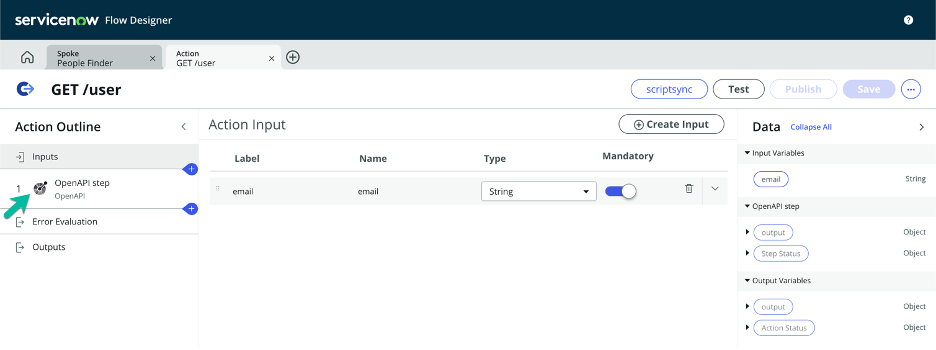
Click to expand the OpenAPI step
Click the plus sign next to the Connection Alias
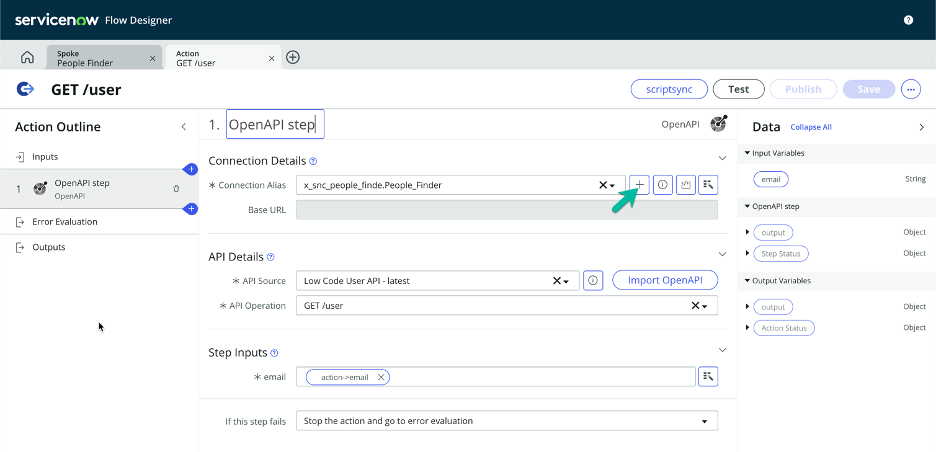
Set up the HTTPs(s) Connection (💡 double-click to select, copy & paste into the form).
Field Name Field Value ➊ Name People Finder ➋ Connection alias x_snc_people_finde.People_Finder ➌ Connection URL https://low-code.guide/api ➍ Click on the button. 
The Base URL should now be populated.
Click on the button
Test the action with David Loo's email (💡 double-click to select, copy & paste into the form).
Field Name Field Value ➊ email david.loo@example.com ➋ Click on the button. 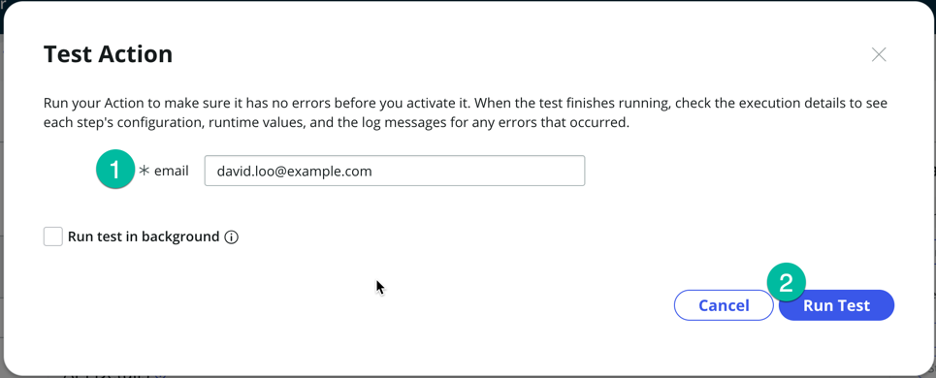
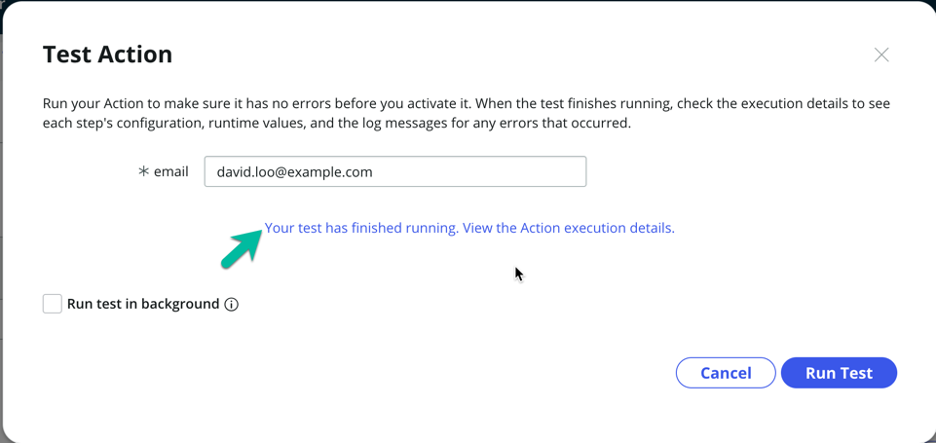
When the test completes, click the link to view the execution results
Click on the RUNTIME VALUE link
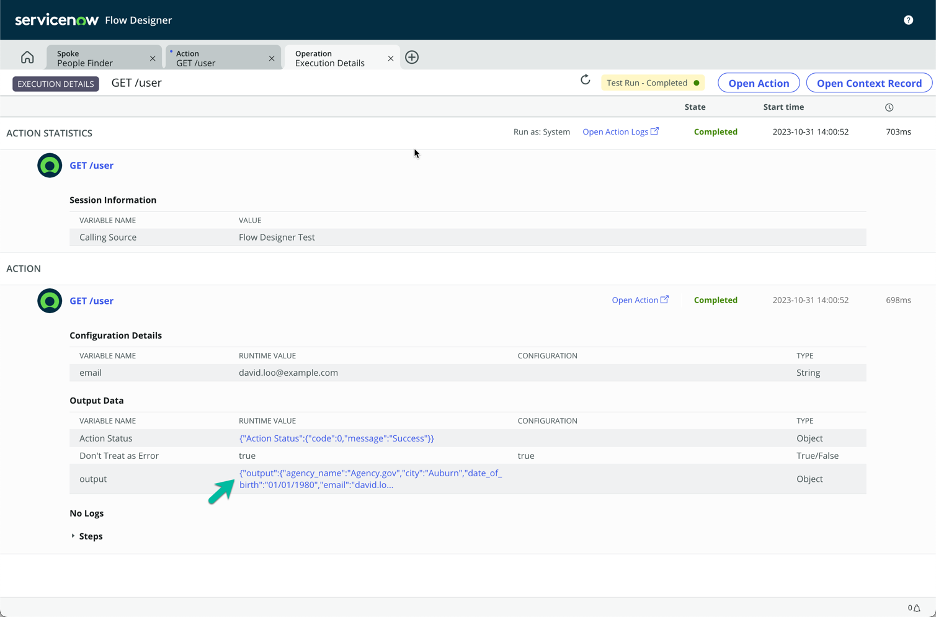
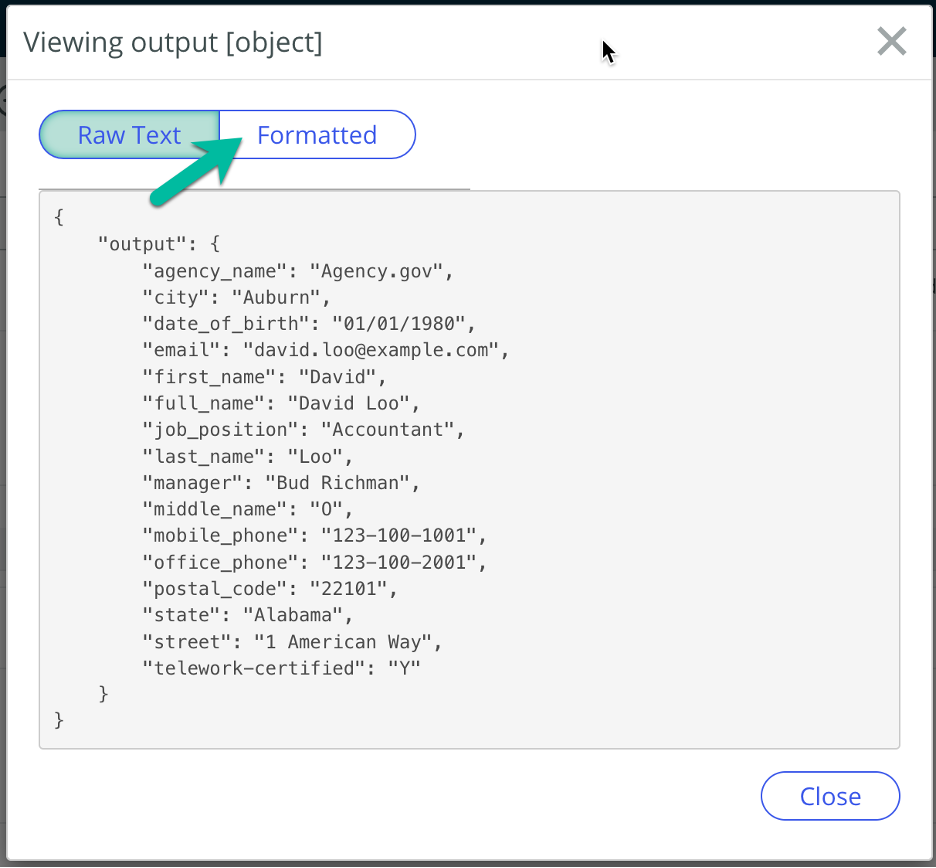
Review the JSON results. We can switch to the Formatted view.
Click toggle.
Expand the output.

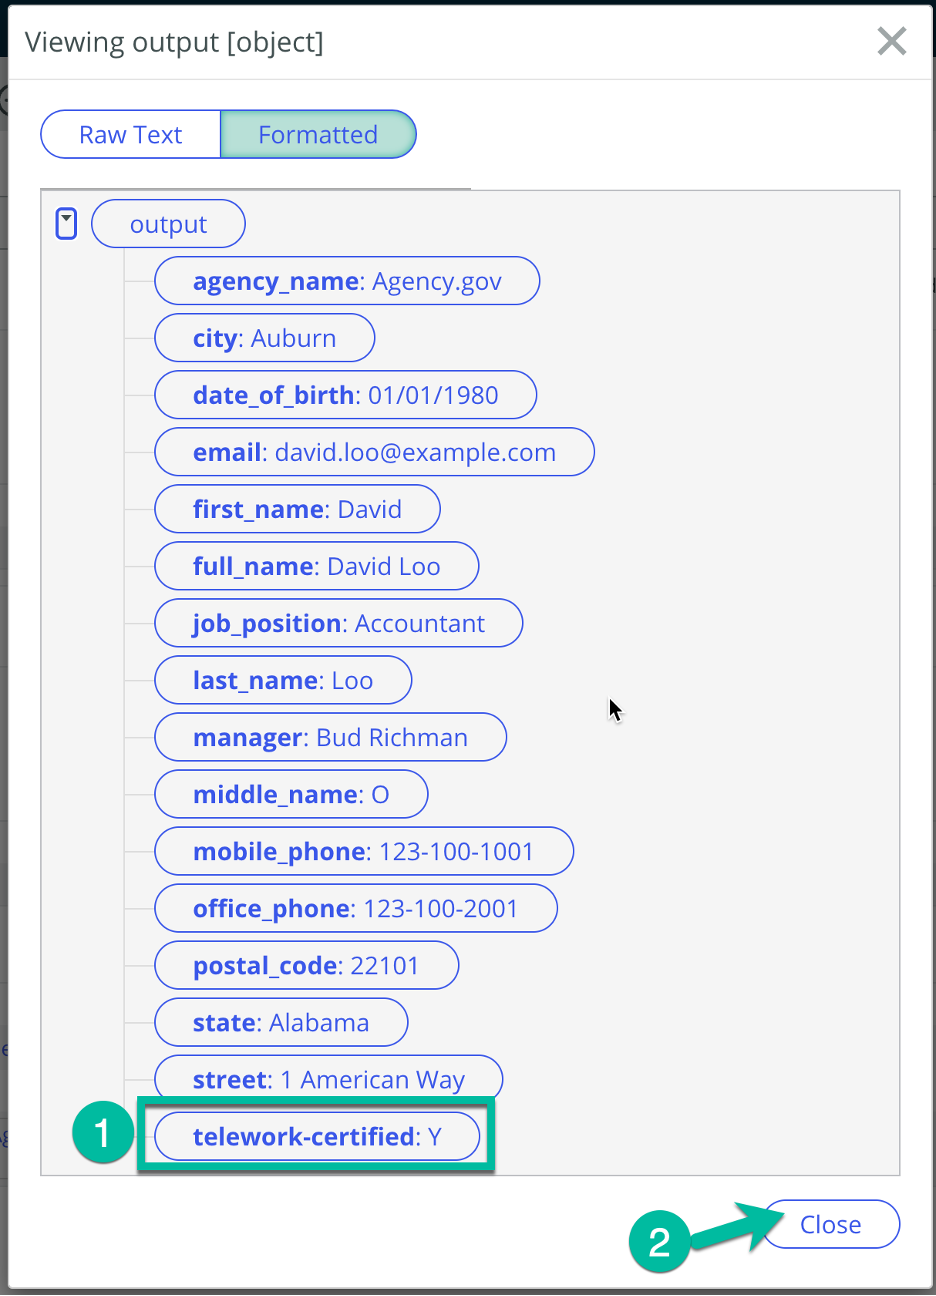
Review the Formatted JSON results.
- Note the telework-certified value.
- Click
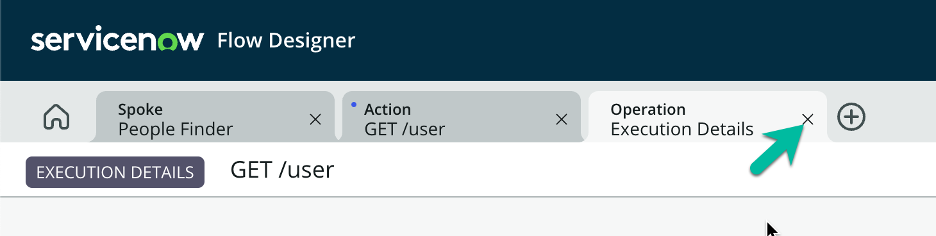
Close the Execution Details tab
Close the Test Action model by clicking the button

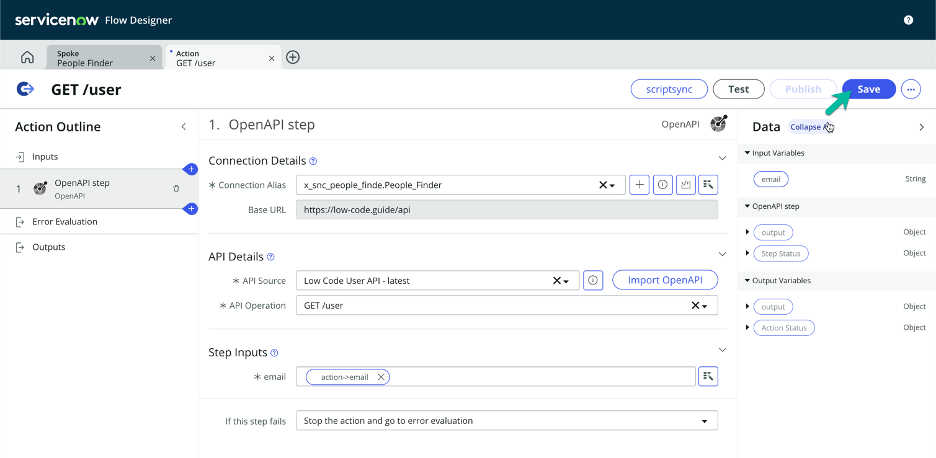
Save the GET /user spoke action
Click the button
Now, we publish the spoke, so it will be available to call from our Main Flow.
Click the button
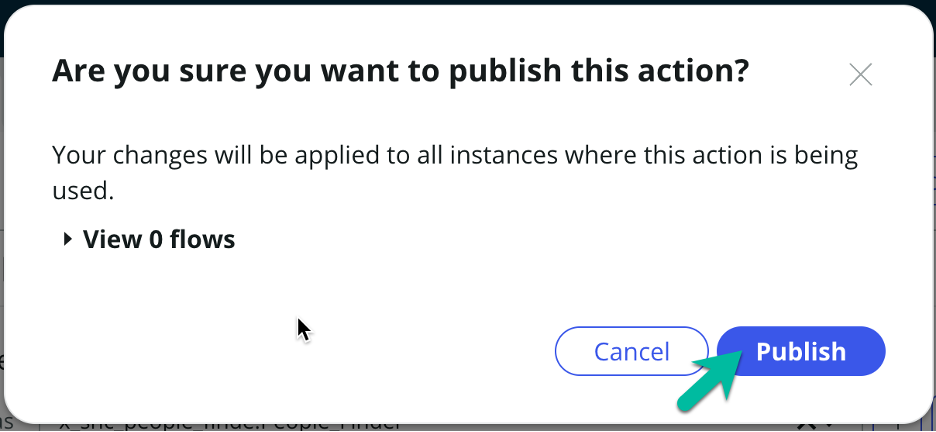
Confirm publication of the action
Click the button
Bonus: Explore Spoke Generator More
Open a new browser tab or window and explore the following: https://developer.opentext.com/imservices/products/contentstorageservice/apis/contentstorage
On your own, create a new spoke using the following OpenAPI spec: https://raw.githubusercontent.com/deflant/opentext-content-storage-swagger/main/opentext-content-storage-swagger.yaml