1.2 Create the Tables with Data
We will create the core tables for our application. To create a table in App Engine Studio:
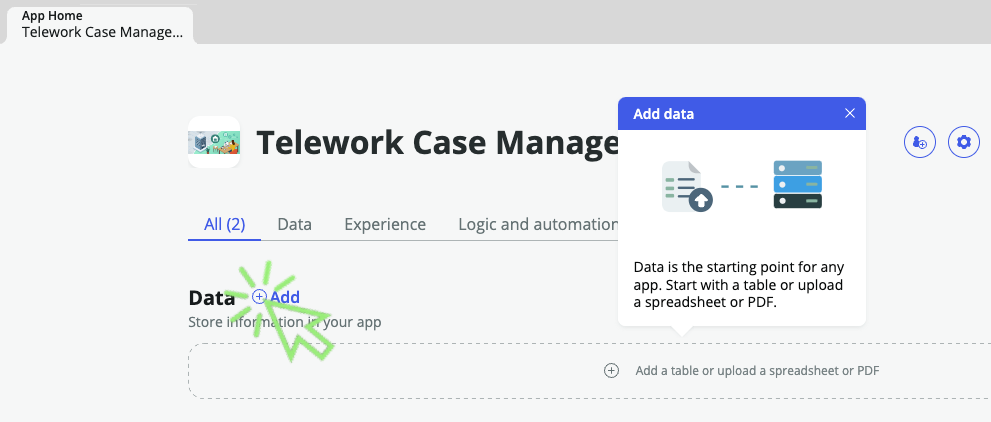
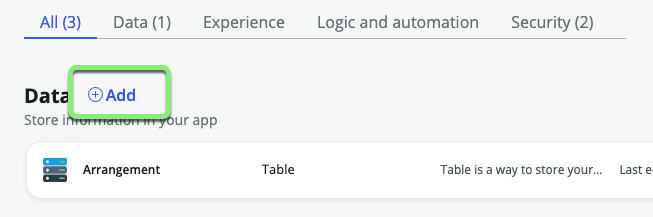
- Click the Add icon (⨁ Add) for Data on the App Home tab.
- ① Select Import a spreadsheet tile,
② Click on the button.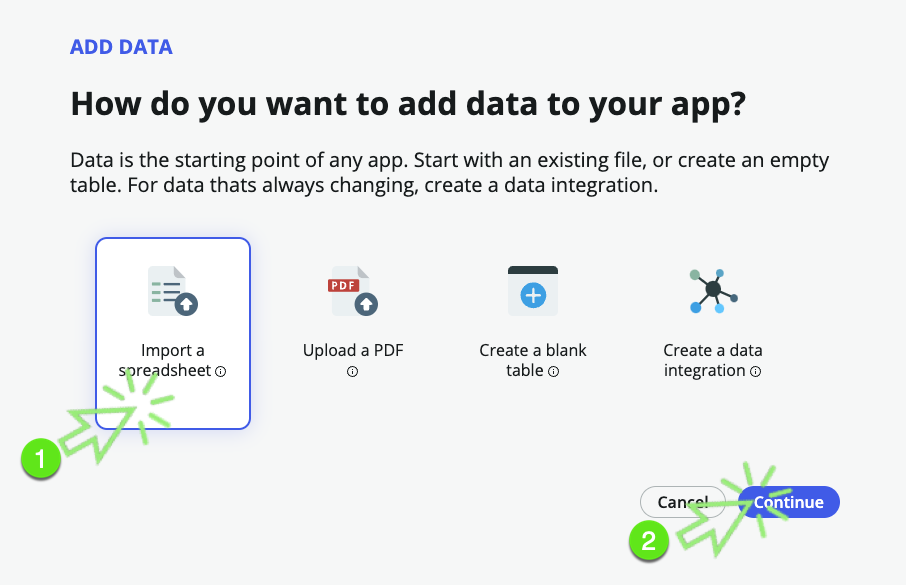
- ① Drag and drop the file Telework Data.xlsx (in the telework_lab files folder we downloaded earlier),
② Click on the button.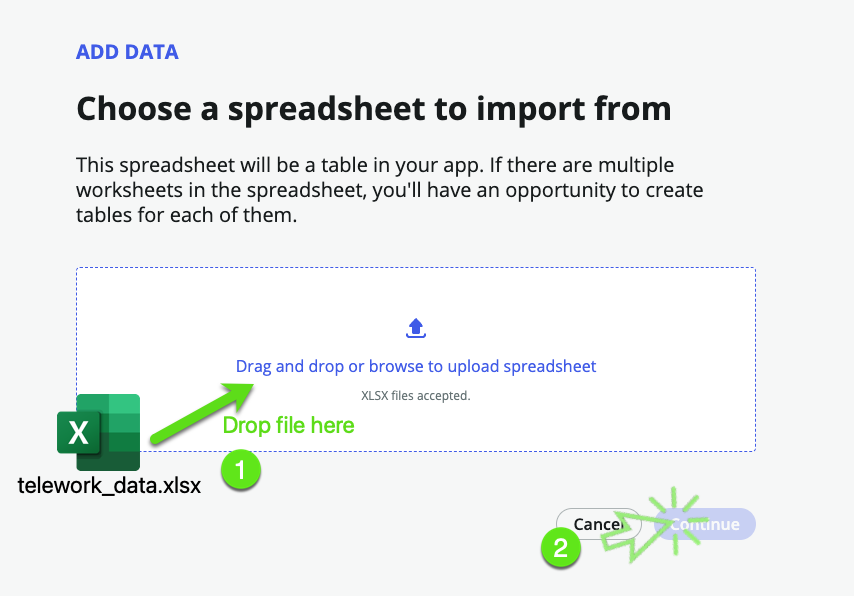
- Our spreadsheet has multiple sheets. We only need the first one "Telework Arrangement".
- ① Check ☑ Import spreadsheet data (in the telework_lab files folder we downloaded earlier),
② Click on Convert to table.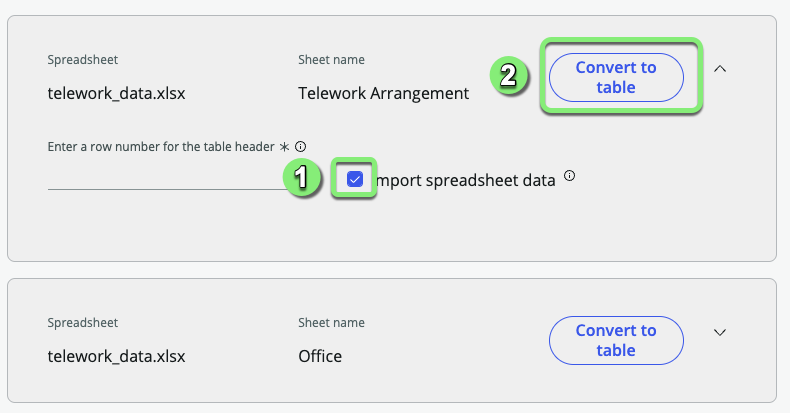
- ① Select Create new table (to hold the Arrangement data),
② Click on the button.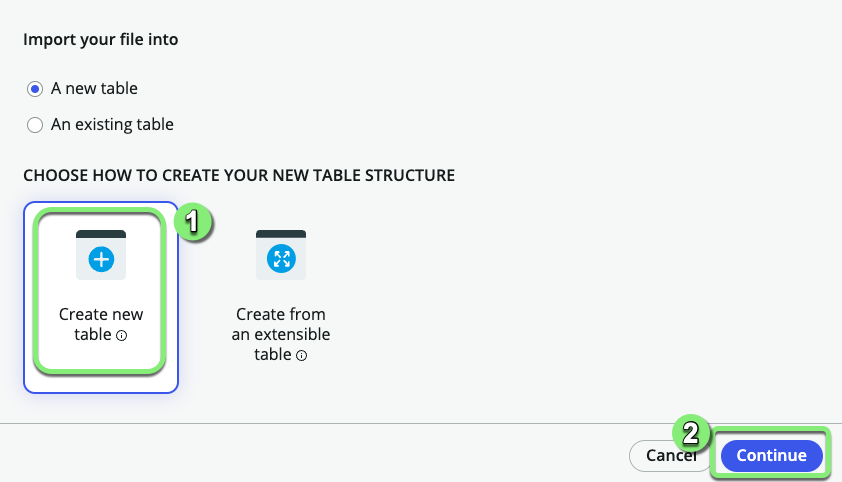
- ① Click the Expand/Collapse icon (⌄) for the "Code" field to see advanced configuration options,
② Check the Display checkbox,
③Click on the button.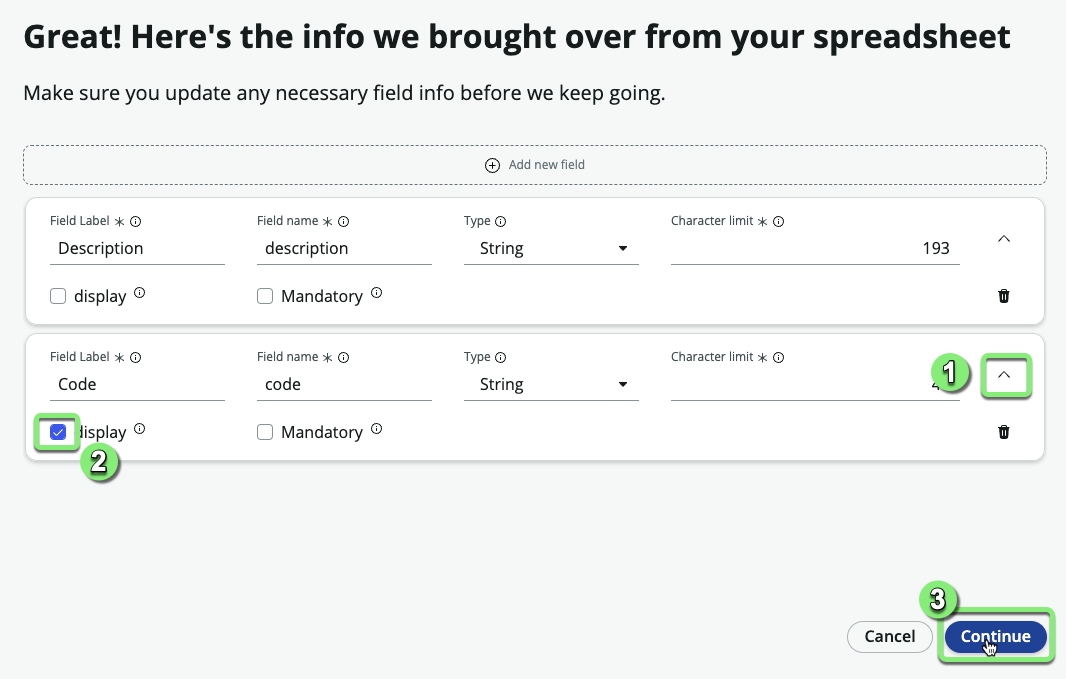
The Display field is the one that appears if you reference this record from another table. A table can only have a single field marked as the Display field.
For example, in a drop-down or reference we want it to display the code "Remote Telework" and not the full Description.
Fields are also known as table columns.
Set the table name
① Set the table label to Arrangement. (Hit ⇥ Tab) The table name will auto populate.
② Click on the button.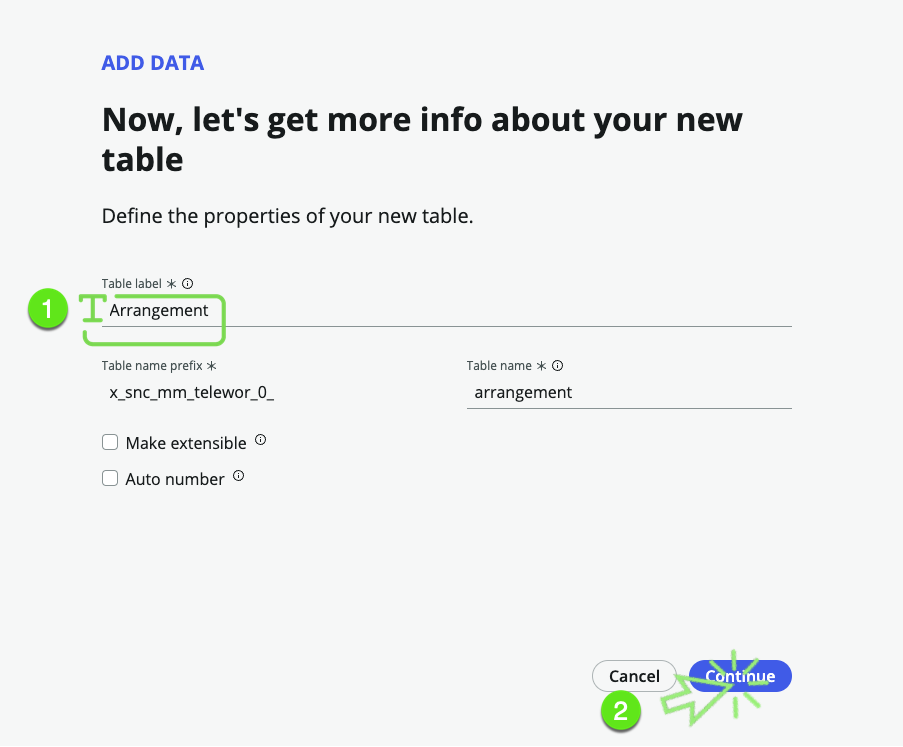
Set the permissions
① For the admin role, click the All checkbox
② For the user role, click the All checkbox and then remove the Delete permission.
③ Click on the button.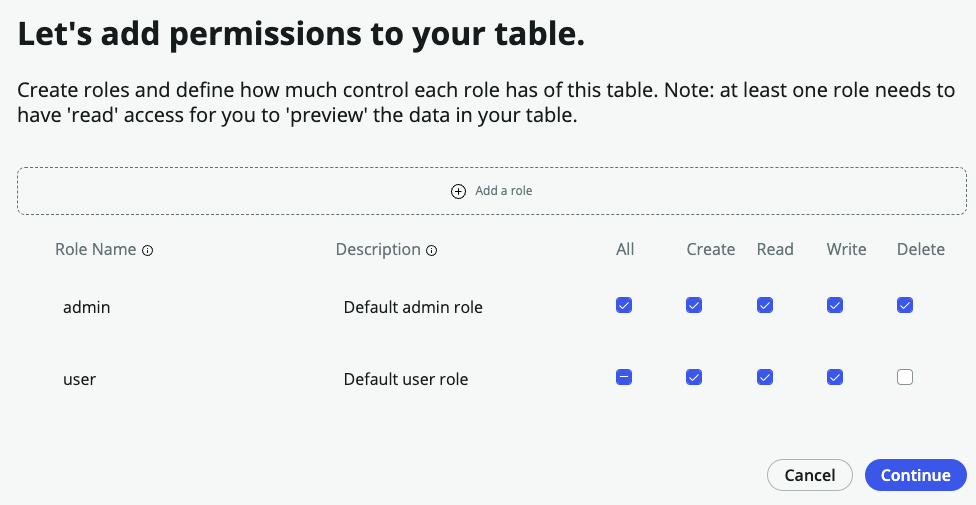
- A loading screen will appear while the table is being created. When it completes, click .

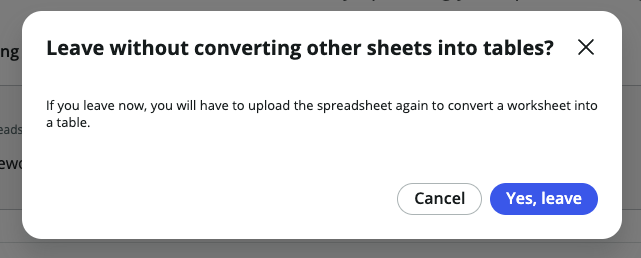
- We haven't converted all the sheets in the spreadsheets, so we'll see this message pop up.
This is intentional to show you that you do not have to import all of the sheets in a workbook.
- Click .
- Let's add the Telework Case table. Click the Add icon (⨁ Add) for Data on the App Home tab.
- ①Select Import a spreadsheet.
②Click .
- On the Choose a spreadsheet to import from screen, click the Drag and drop or browse to upload spreadsheet link.
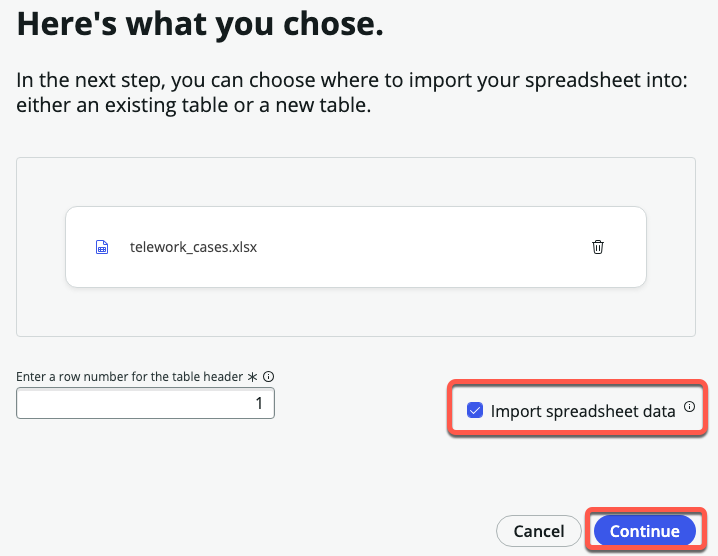
- Browse and select the telework_cases.xlsx file you downloaded.
- Select ☑ Import spreadsheet data.
- Click on the button.
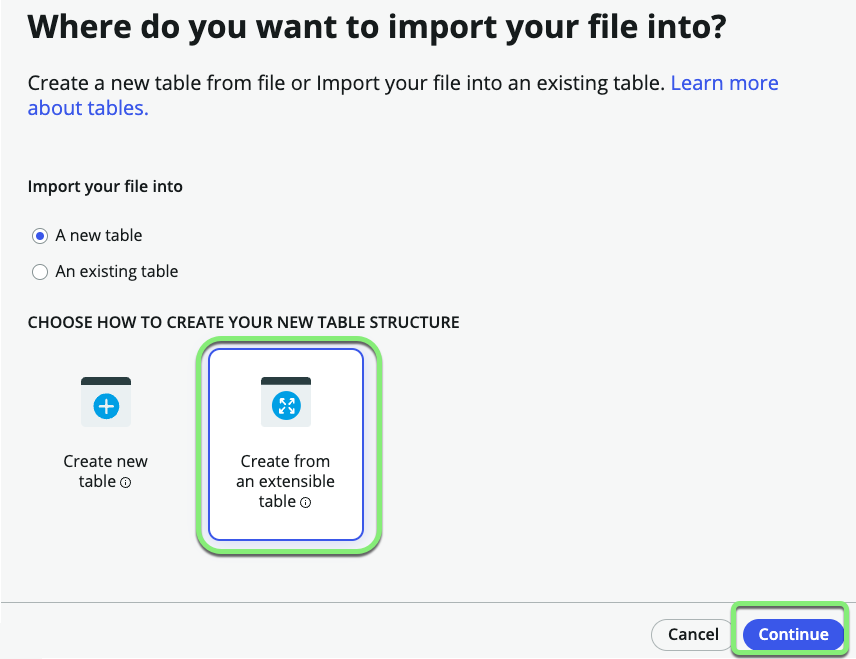
- Select Create from an extensible table, then click .
On the Which table do you want to use? screen,
➊ Click in the table field,
➋ Select the Task table,
➌ Click on the button.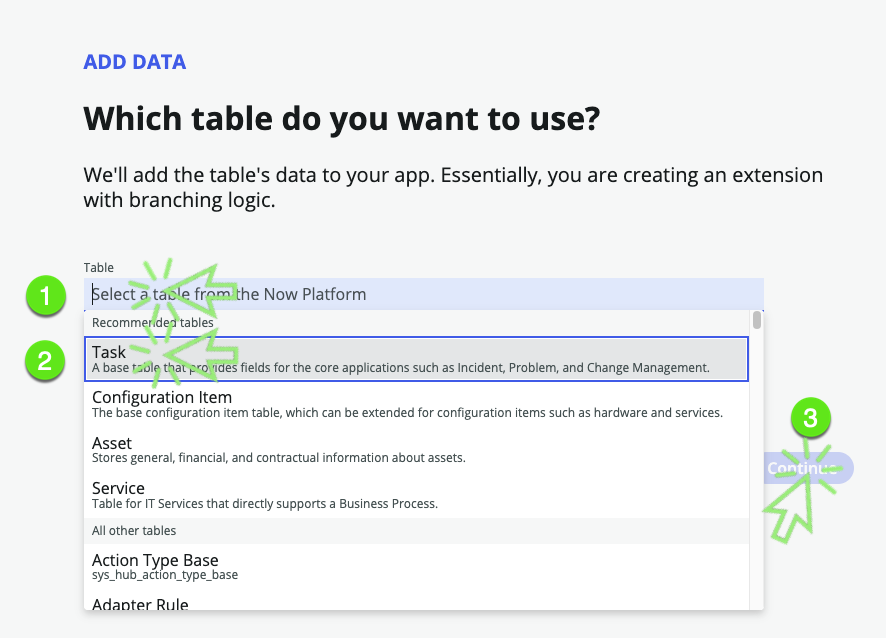
On the let's get more info about your new table screen,
➊ Set the "Table label" to Telework Case. (Hit ⇥ Tab) The "Table name" will auto populate.
➋ Check the Auto number,
➌ Keep the Prefix as TEL
➍ Click the button.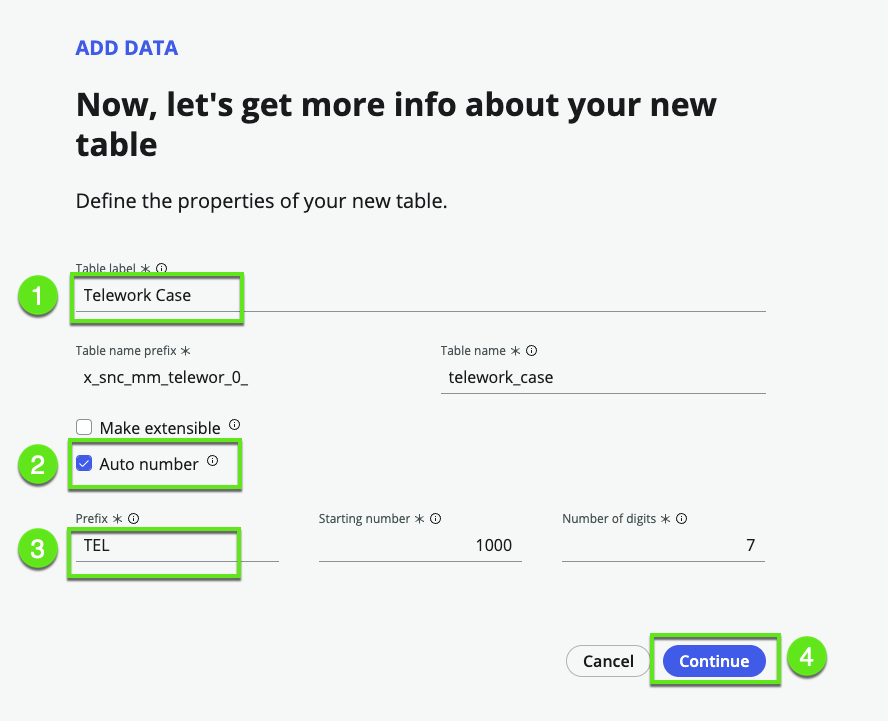
Set the permissions.
① For the admin role, click the All checkbox
② For the user role, click the All checkbox and then remove the Delete permission.
③ Click on the button.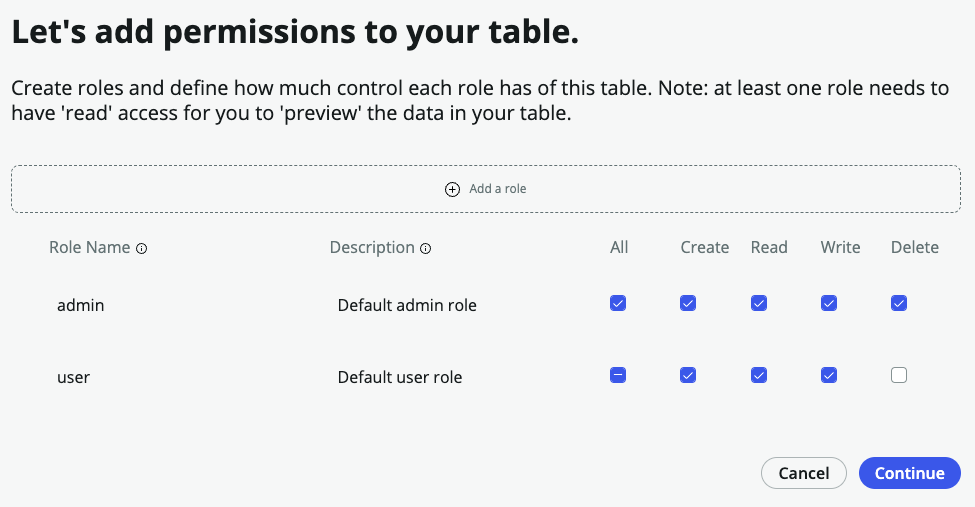
- Click .
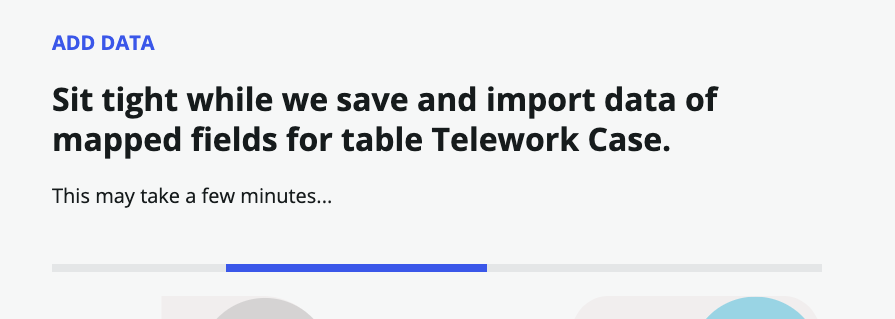
- A loading screen will appear: Sit tight while we create data mapping instance for table Arrangement.
Click on the next screen.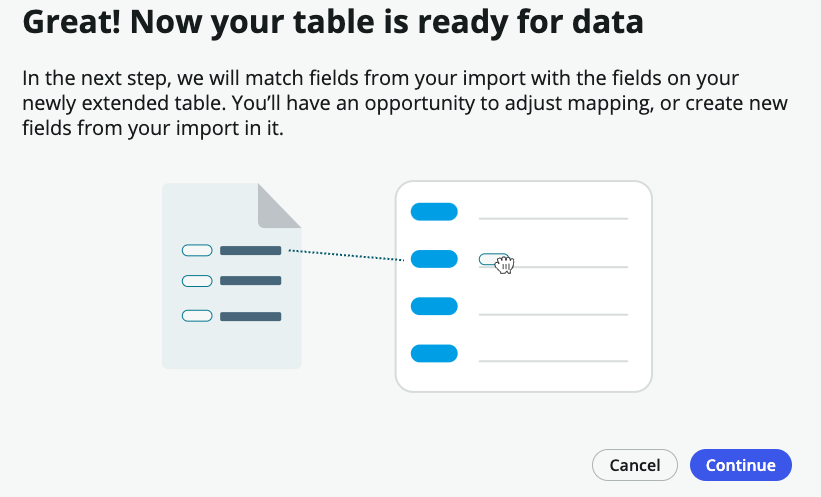
Read the help pop-up and click until .
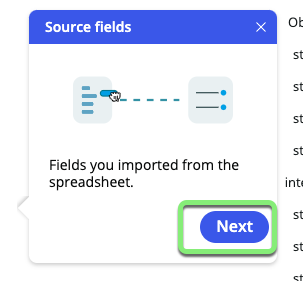
- Click Next
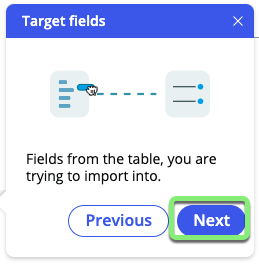
- Click Next
- Click Next
- Click Done
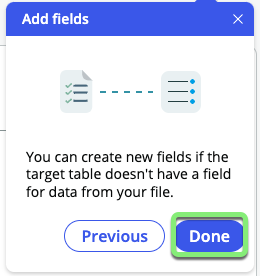
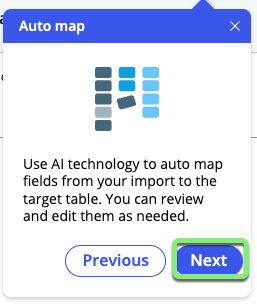
- Click Next
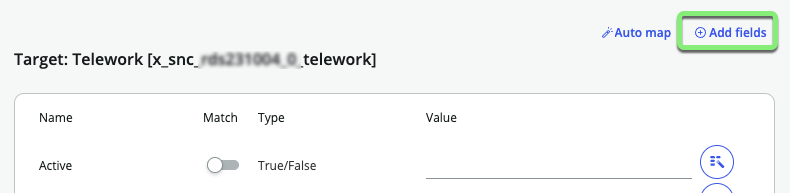
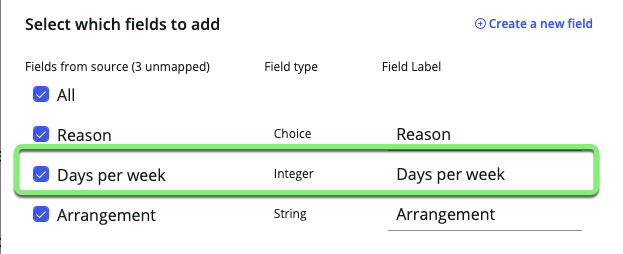
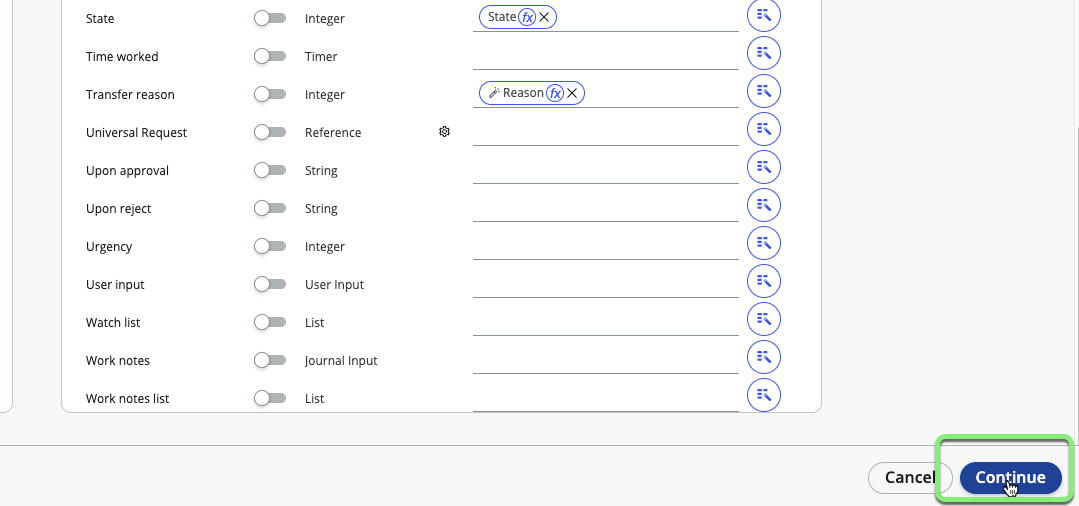
- Notice the fields have already been auto-mapped, but some are not correct. Clear out the Transfer reason value.

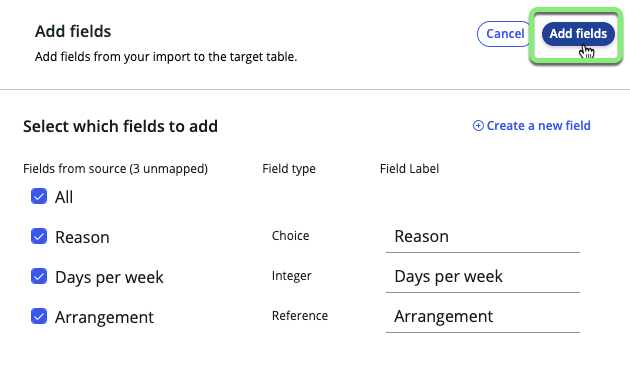
- Click on the Add Fields link button at the top.
- Hover over the row and edit the Reason field by clicking on the pencil icon.
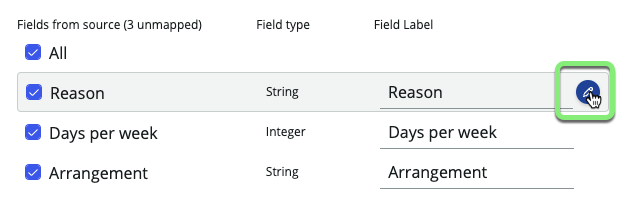
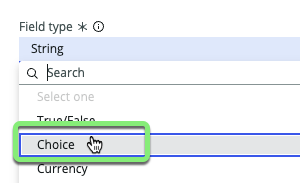
- Click "String" under Field type

- Select Choice
- Click the button.
The choices will be added for you based on the spreadsheet data!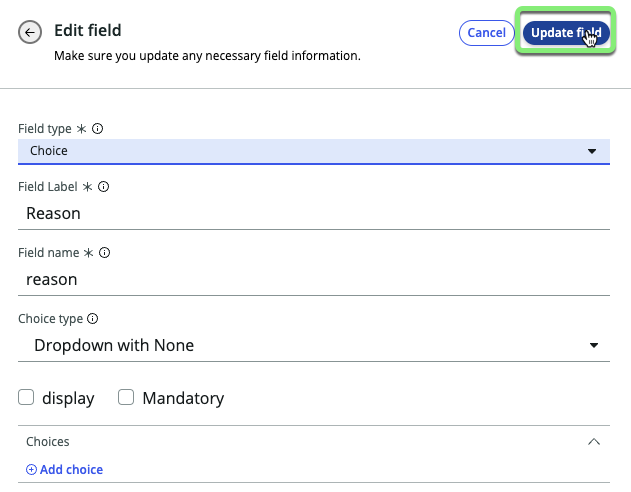
- Click "String" under Field type
- Days per week is ok as an integer. Do not do anything to it.
- Edit the Arrangment field.
- Hover over the row and edit the Arrangement field by clicking on the pencil icon.
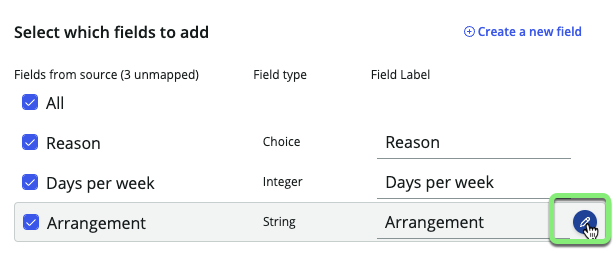
- Click "String" under Field type
- Select "Reference"
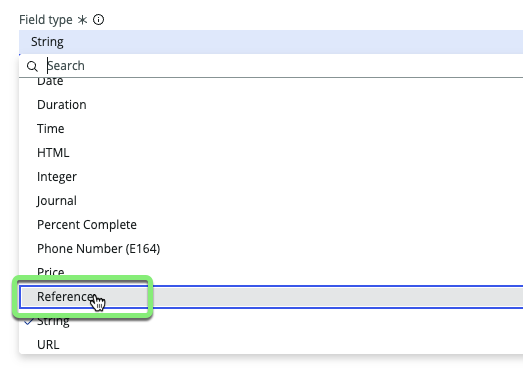
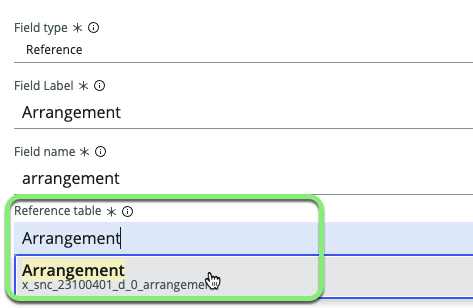
- Type "Arrangement" into the Reference table field and click on the "Arrangement" table.
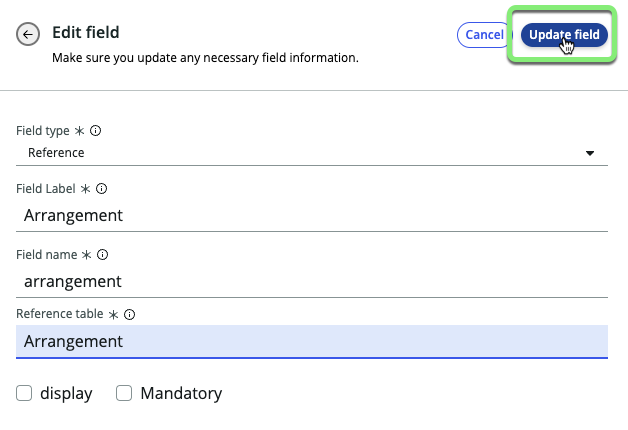
- Click .
- Hover over the row and edit the Arrangement field by clicking on the pencil icon.
- Now that you have configured the new fields click to add them to our new table.
- Clear the Description, Opened, and Transfer reason values, and click in the bottom right corner.


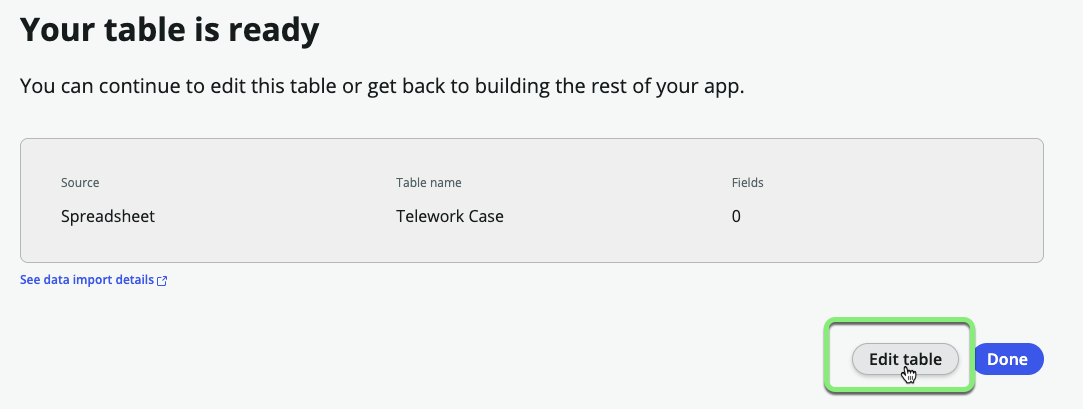
- Your table is now ready. Click the button. Click through all the helper screens.
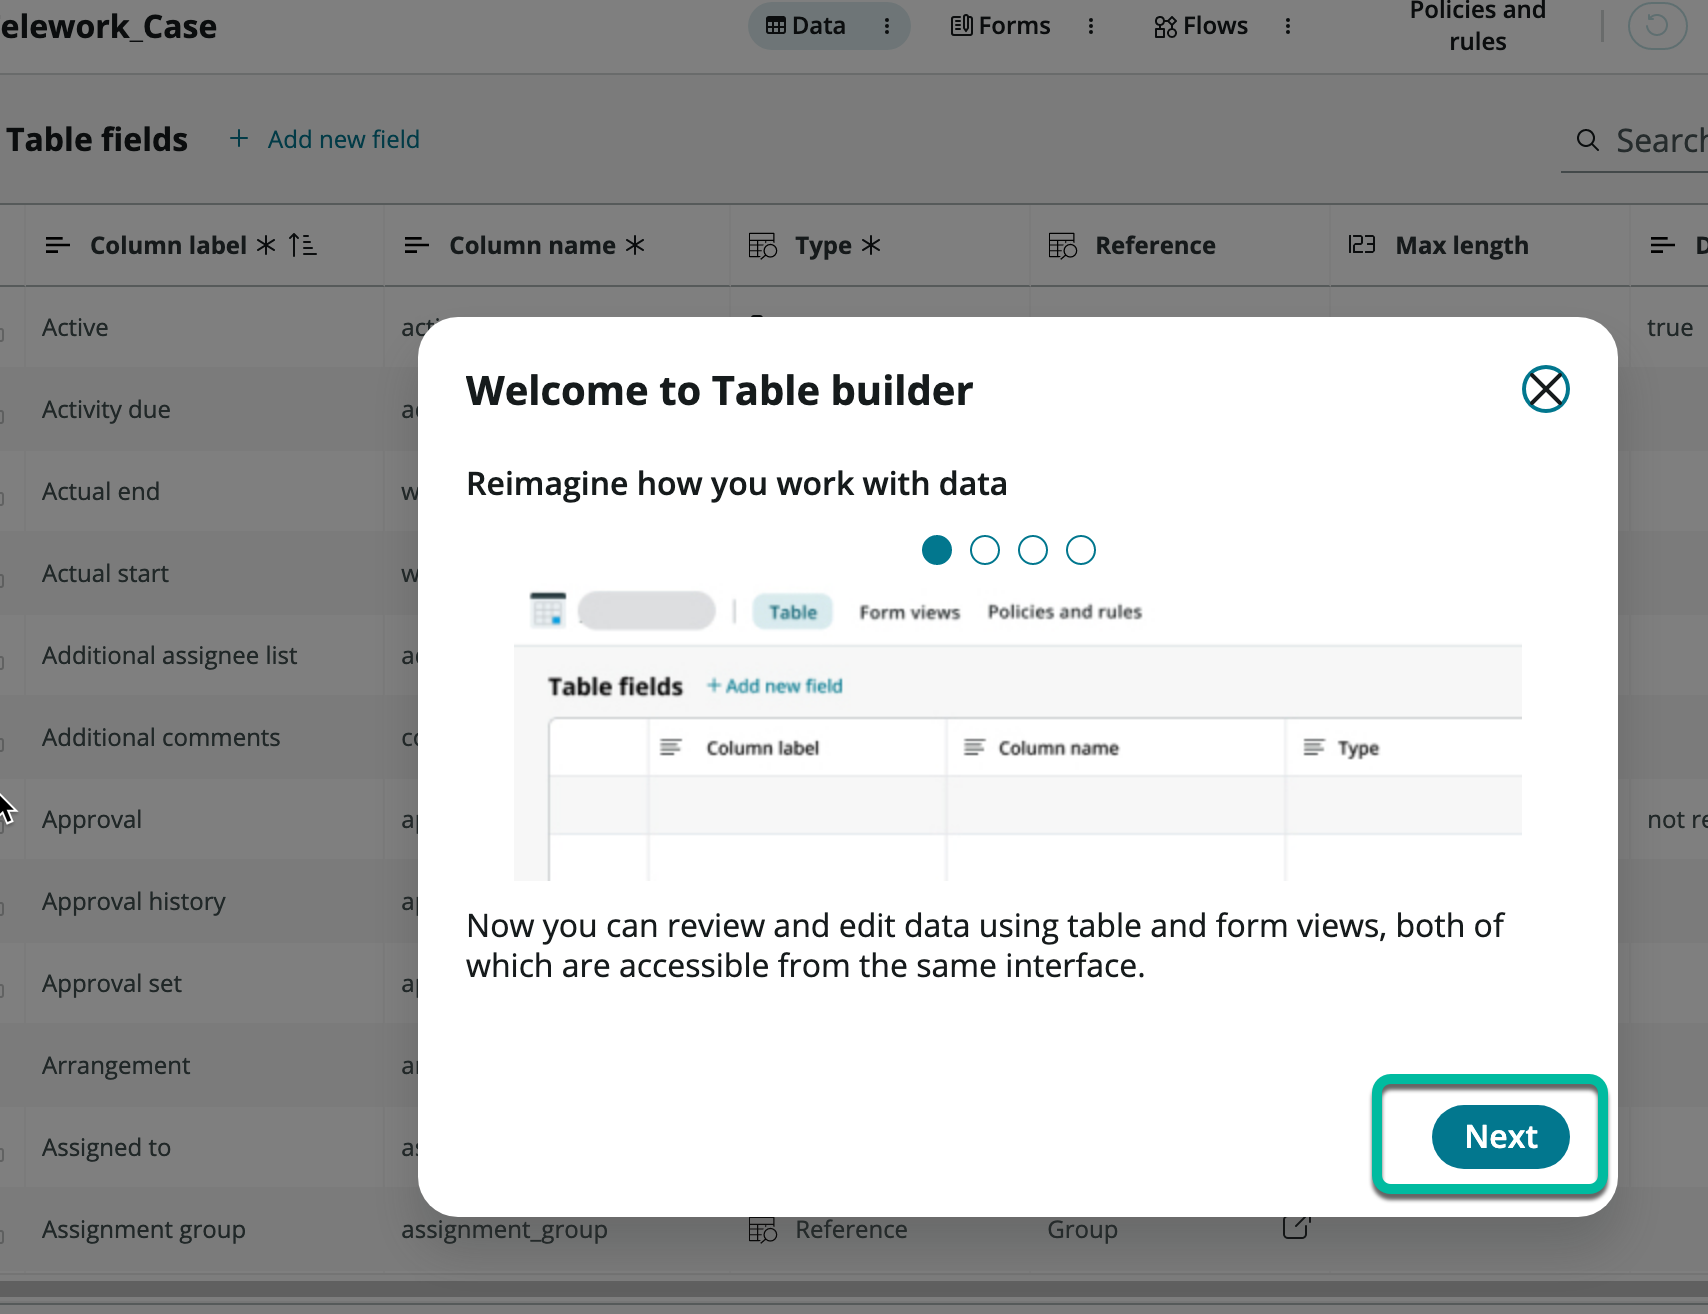
- Click the button on the Welcome to Table builder helper and other popups.
We can see all the fields that our table inherited from the Task table, making building applications faster.
Exercise Recap Congratulations, you've built the first tables in your solution.
In this exercise, we learned how to create a new application and map out the data elements important to enable our business process.
We learned to use the Table Builder to add and configure columns including Reference fields and Choice lists.
We were able to complete all these tasks using simple point-and-click administration and without requiring specialized application or database knowledge.
Next we'll take a look at the list & form views that have been generated for our table and adjust the layouts.