Department Request Table
The Dept Request table will be used to store the service requests that the Dept provides. We'll follow the same steps we did from our last exercise exception this time we'll extend from our Dept Task table.
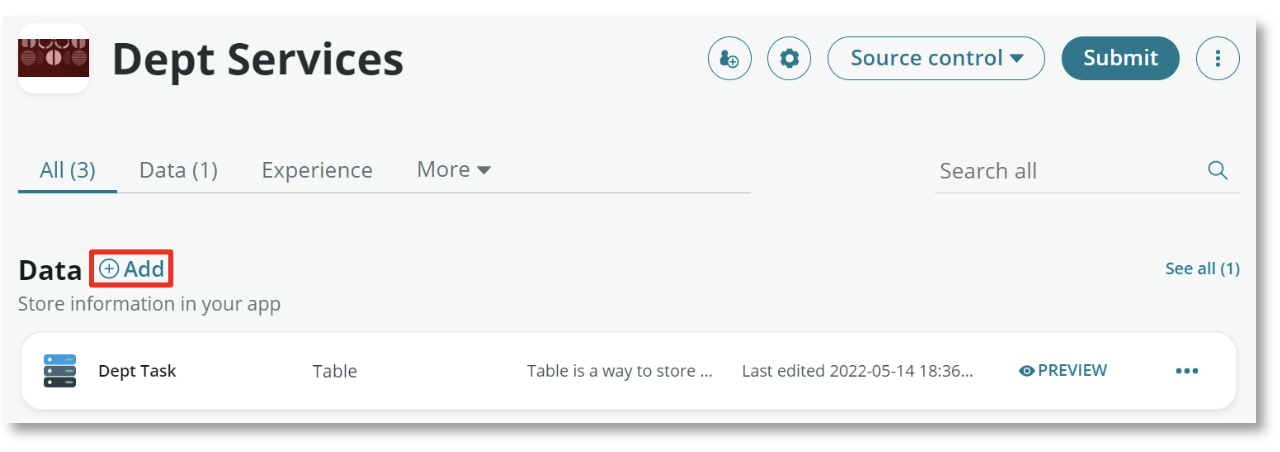
- Choose the (+) Add option to add the Dept Request table
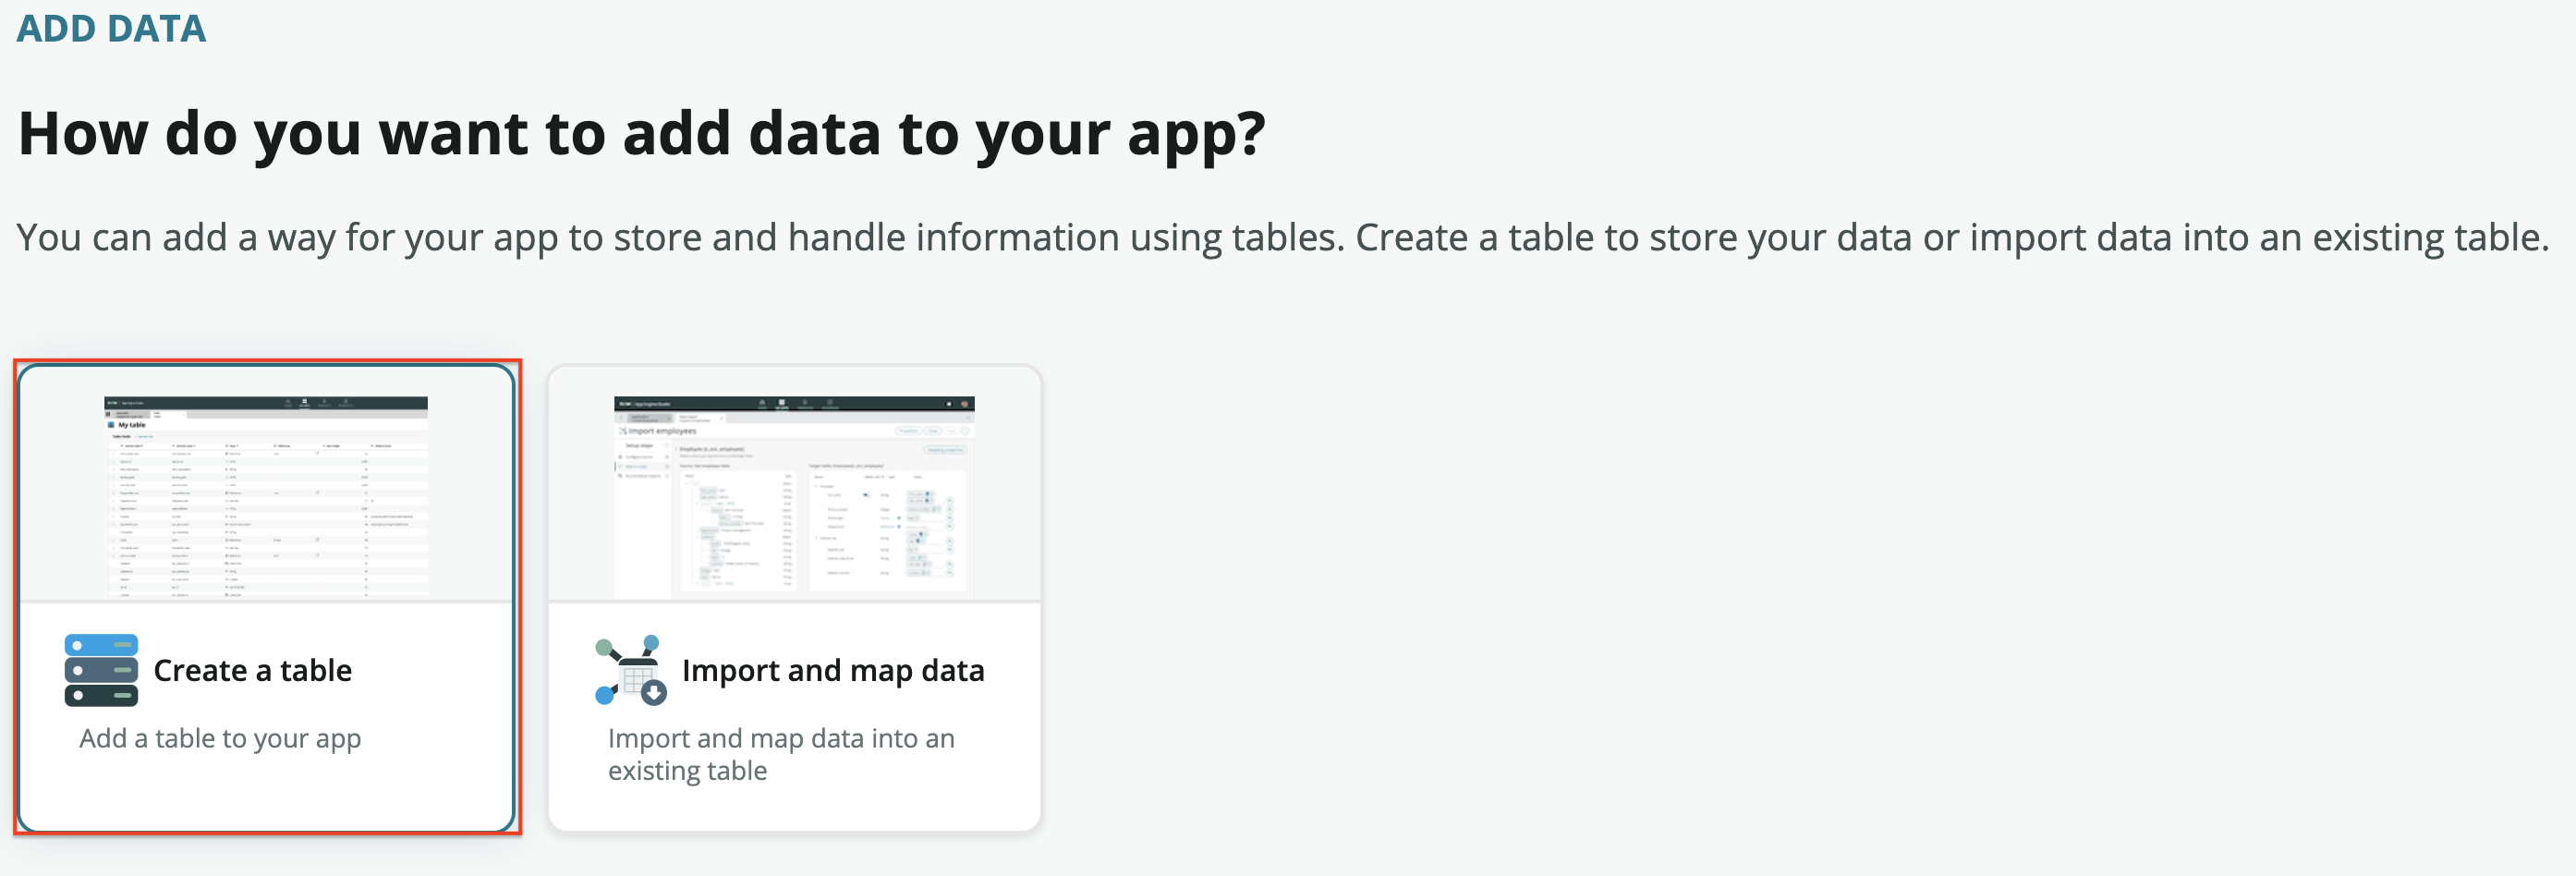
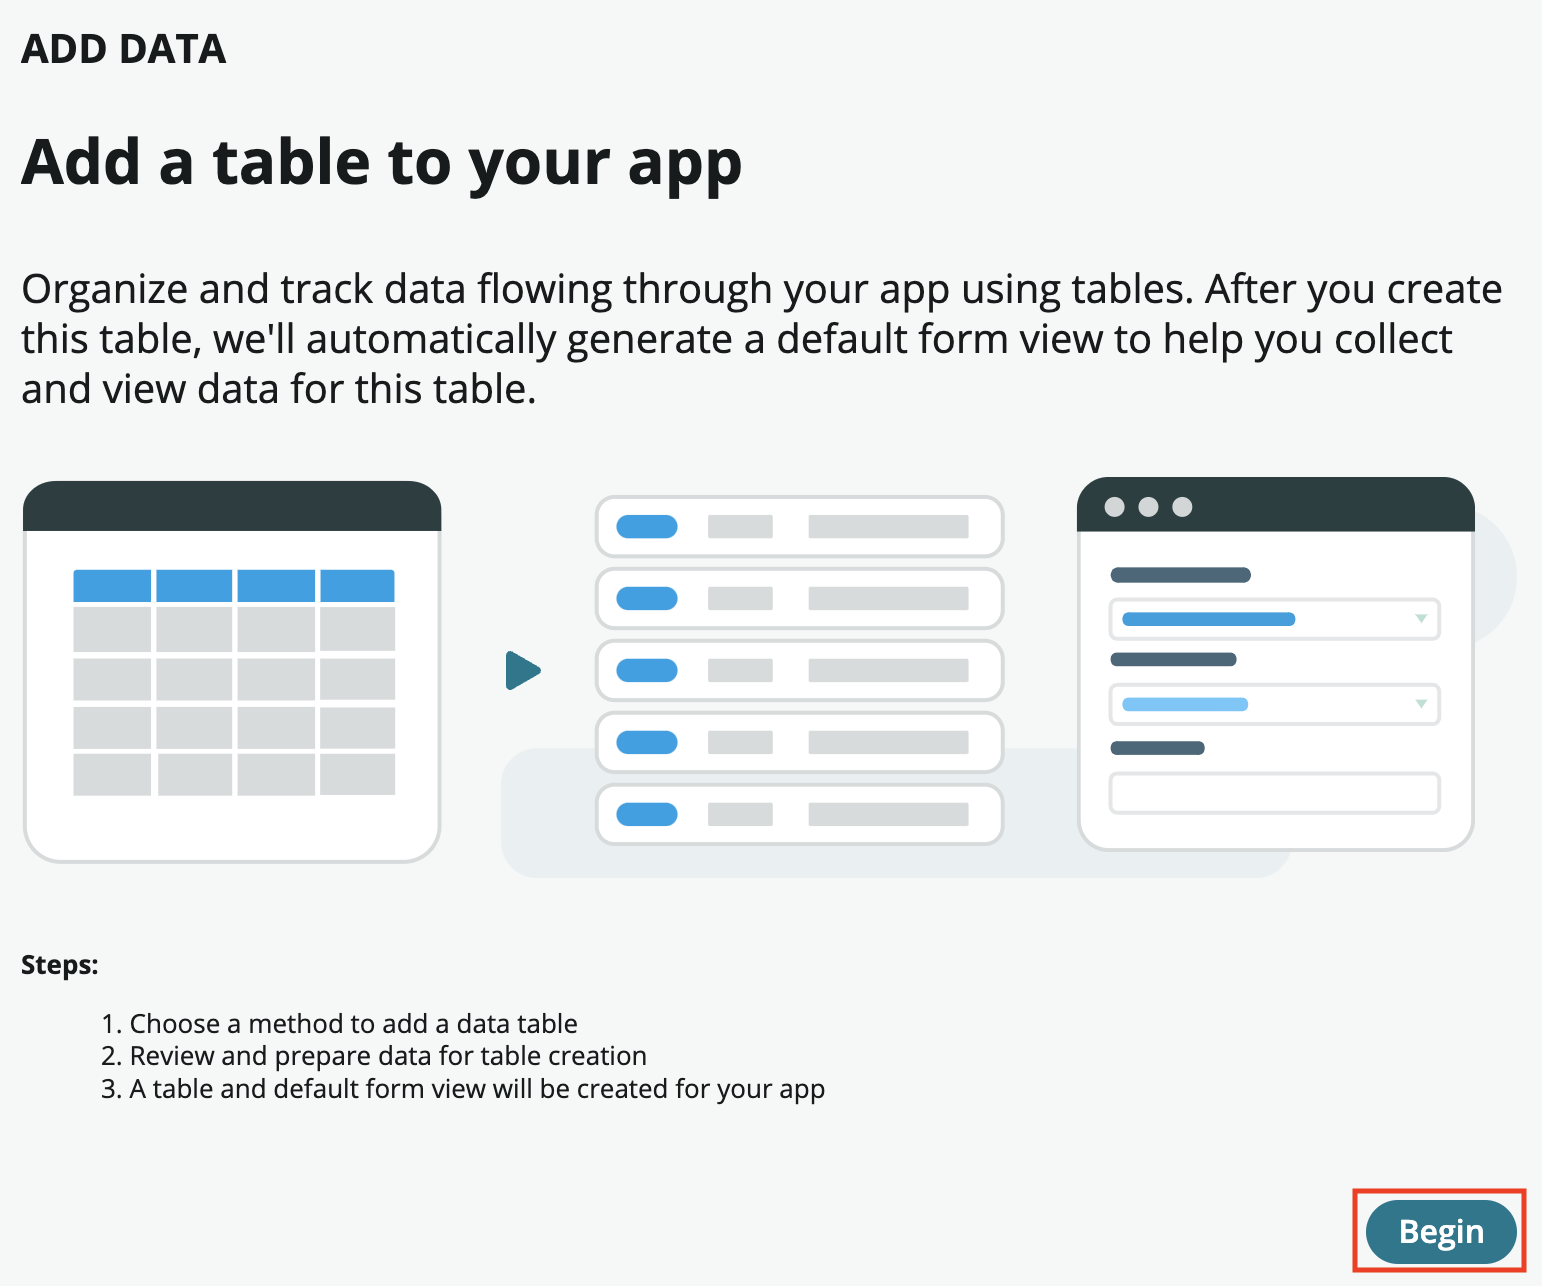
- Select Create a table and then the Begin on the next screen
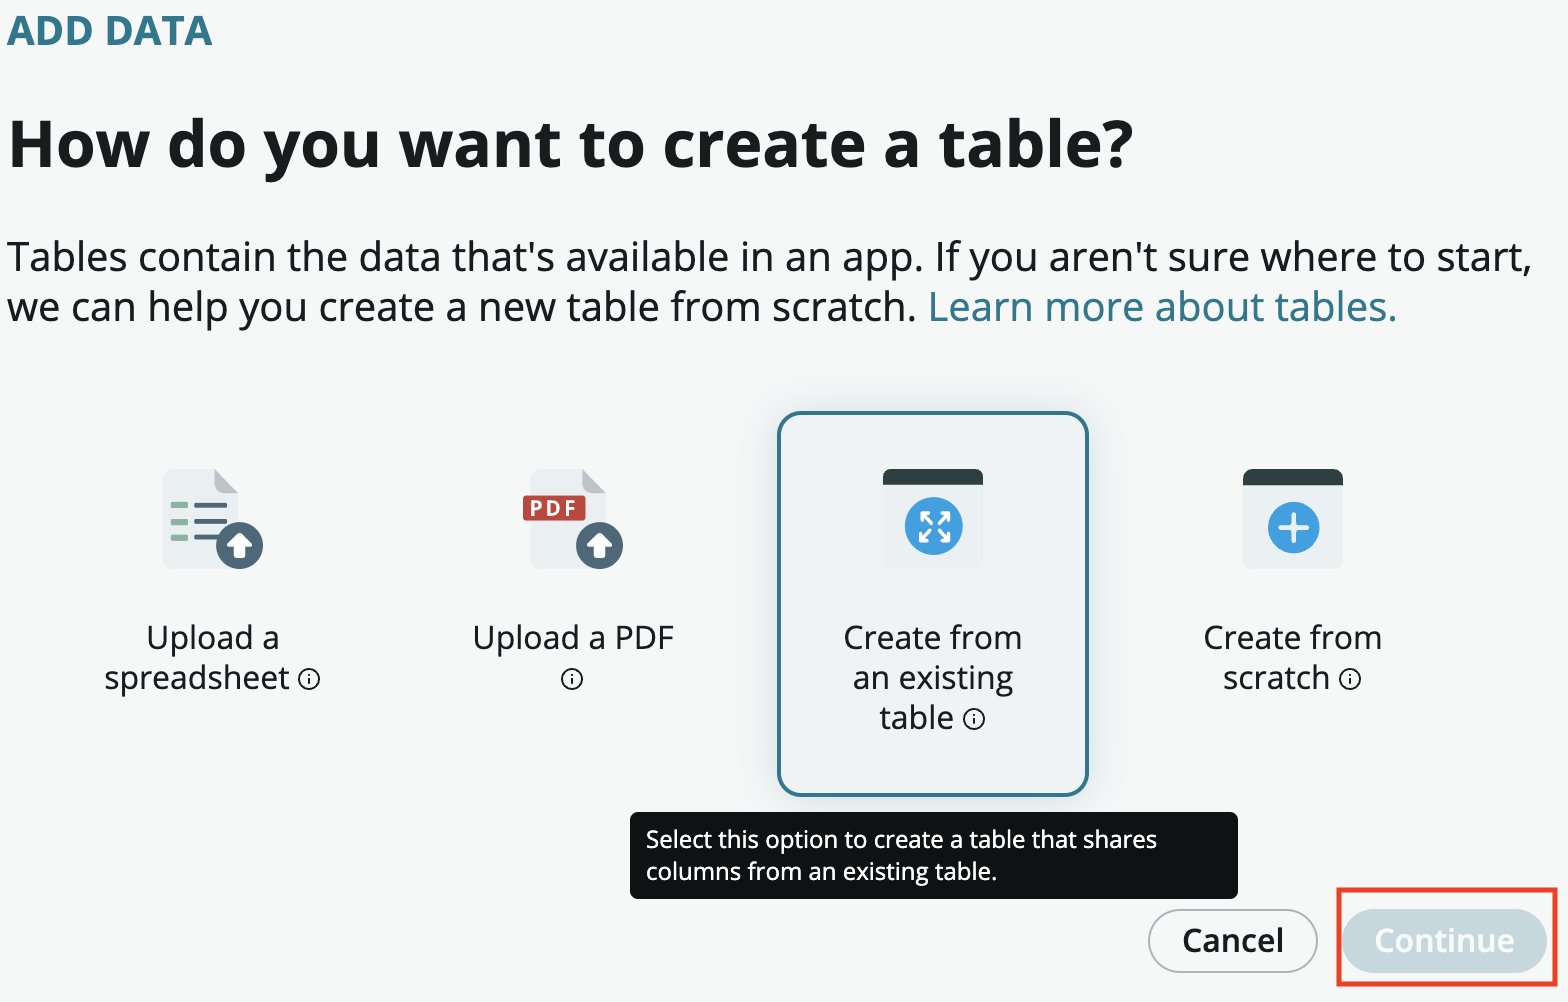
- Select the Create from an existing table option and then Continue
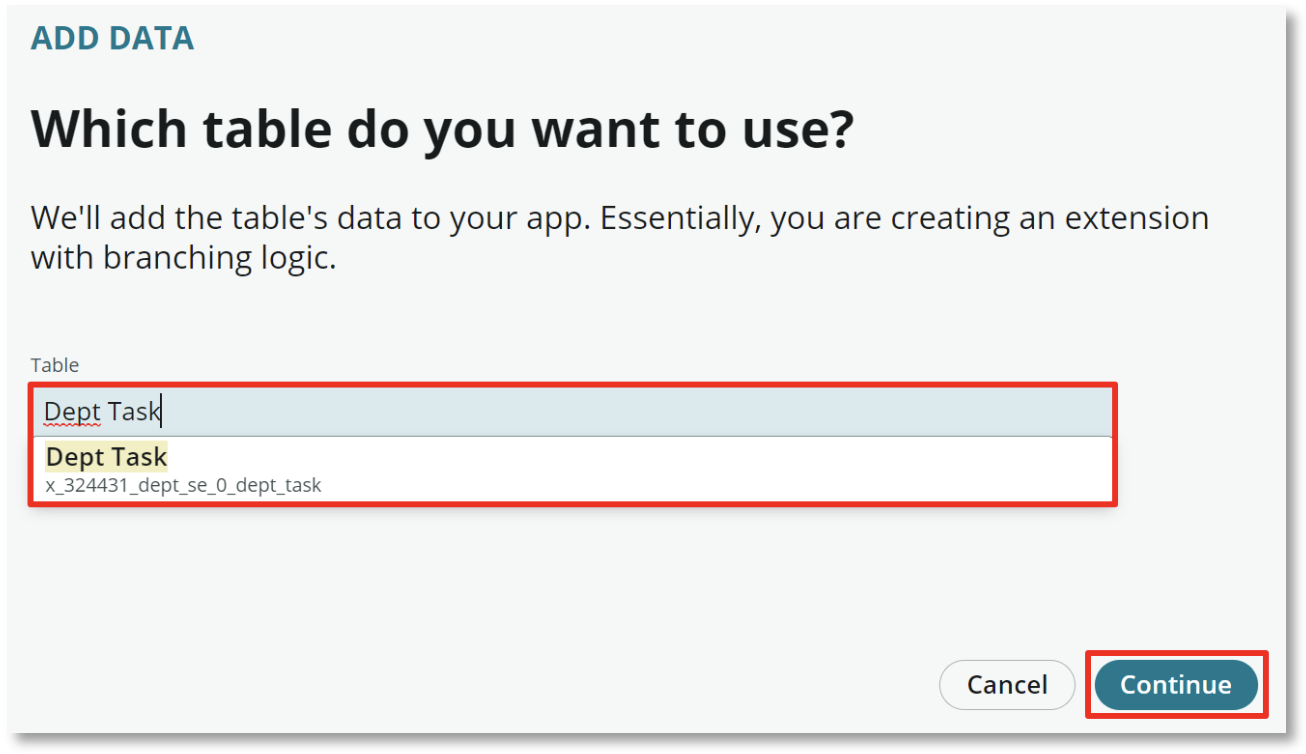
- This time choose the Dept Task table to extend rather than the Task table. By extending the Dept Task table we can create reports Select Continue
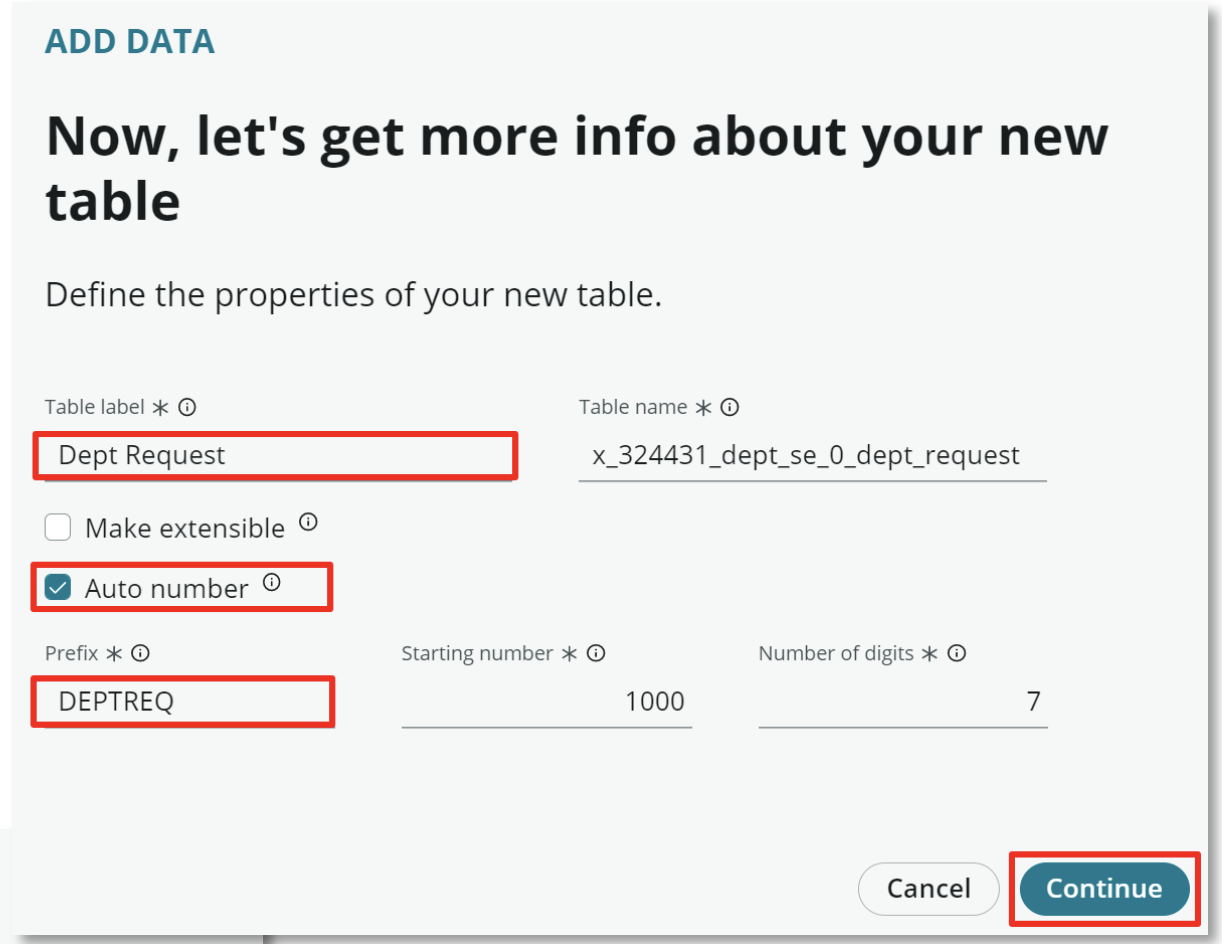
- Set the Table label field to Dept Request Select Auto number Set the Prefix field to DEPTREQ
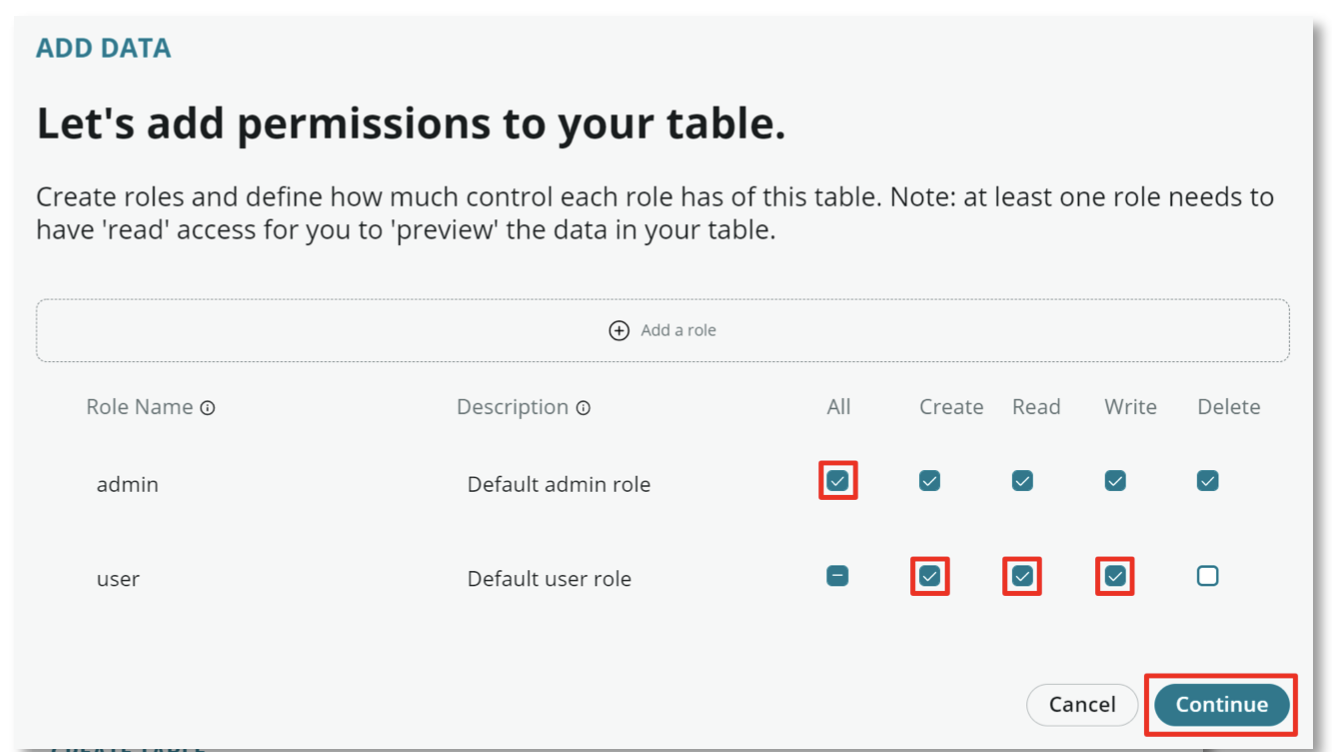
- Set the same permissions for the admin and user roles as last time
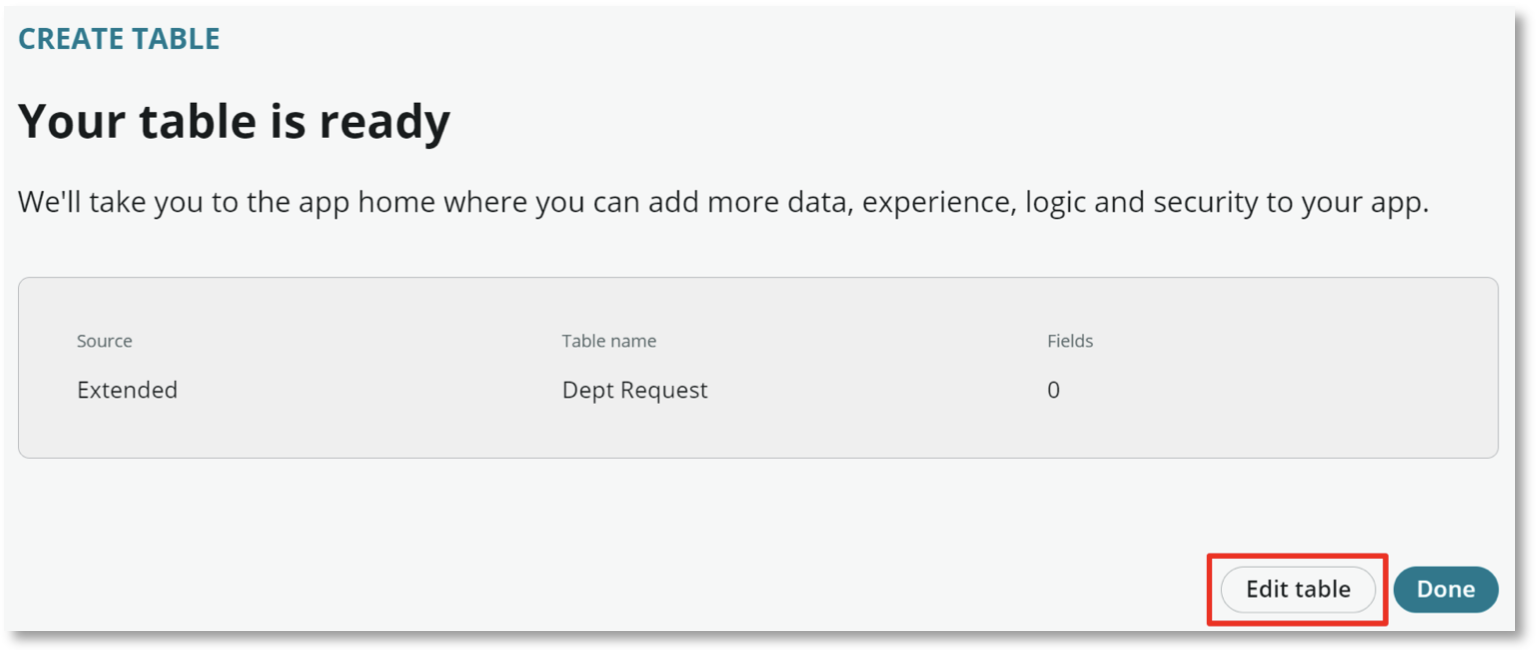
- Select the Edit Table option once the Dept Request table is created
- Select the + Add new field option to add a field to the Dept Request table

- Enter Request Type in the Column label cell
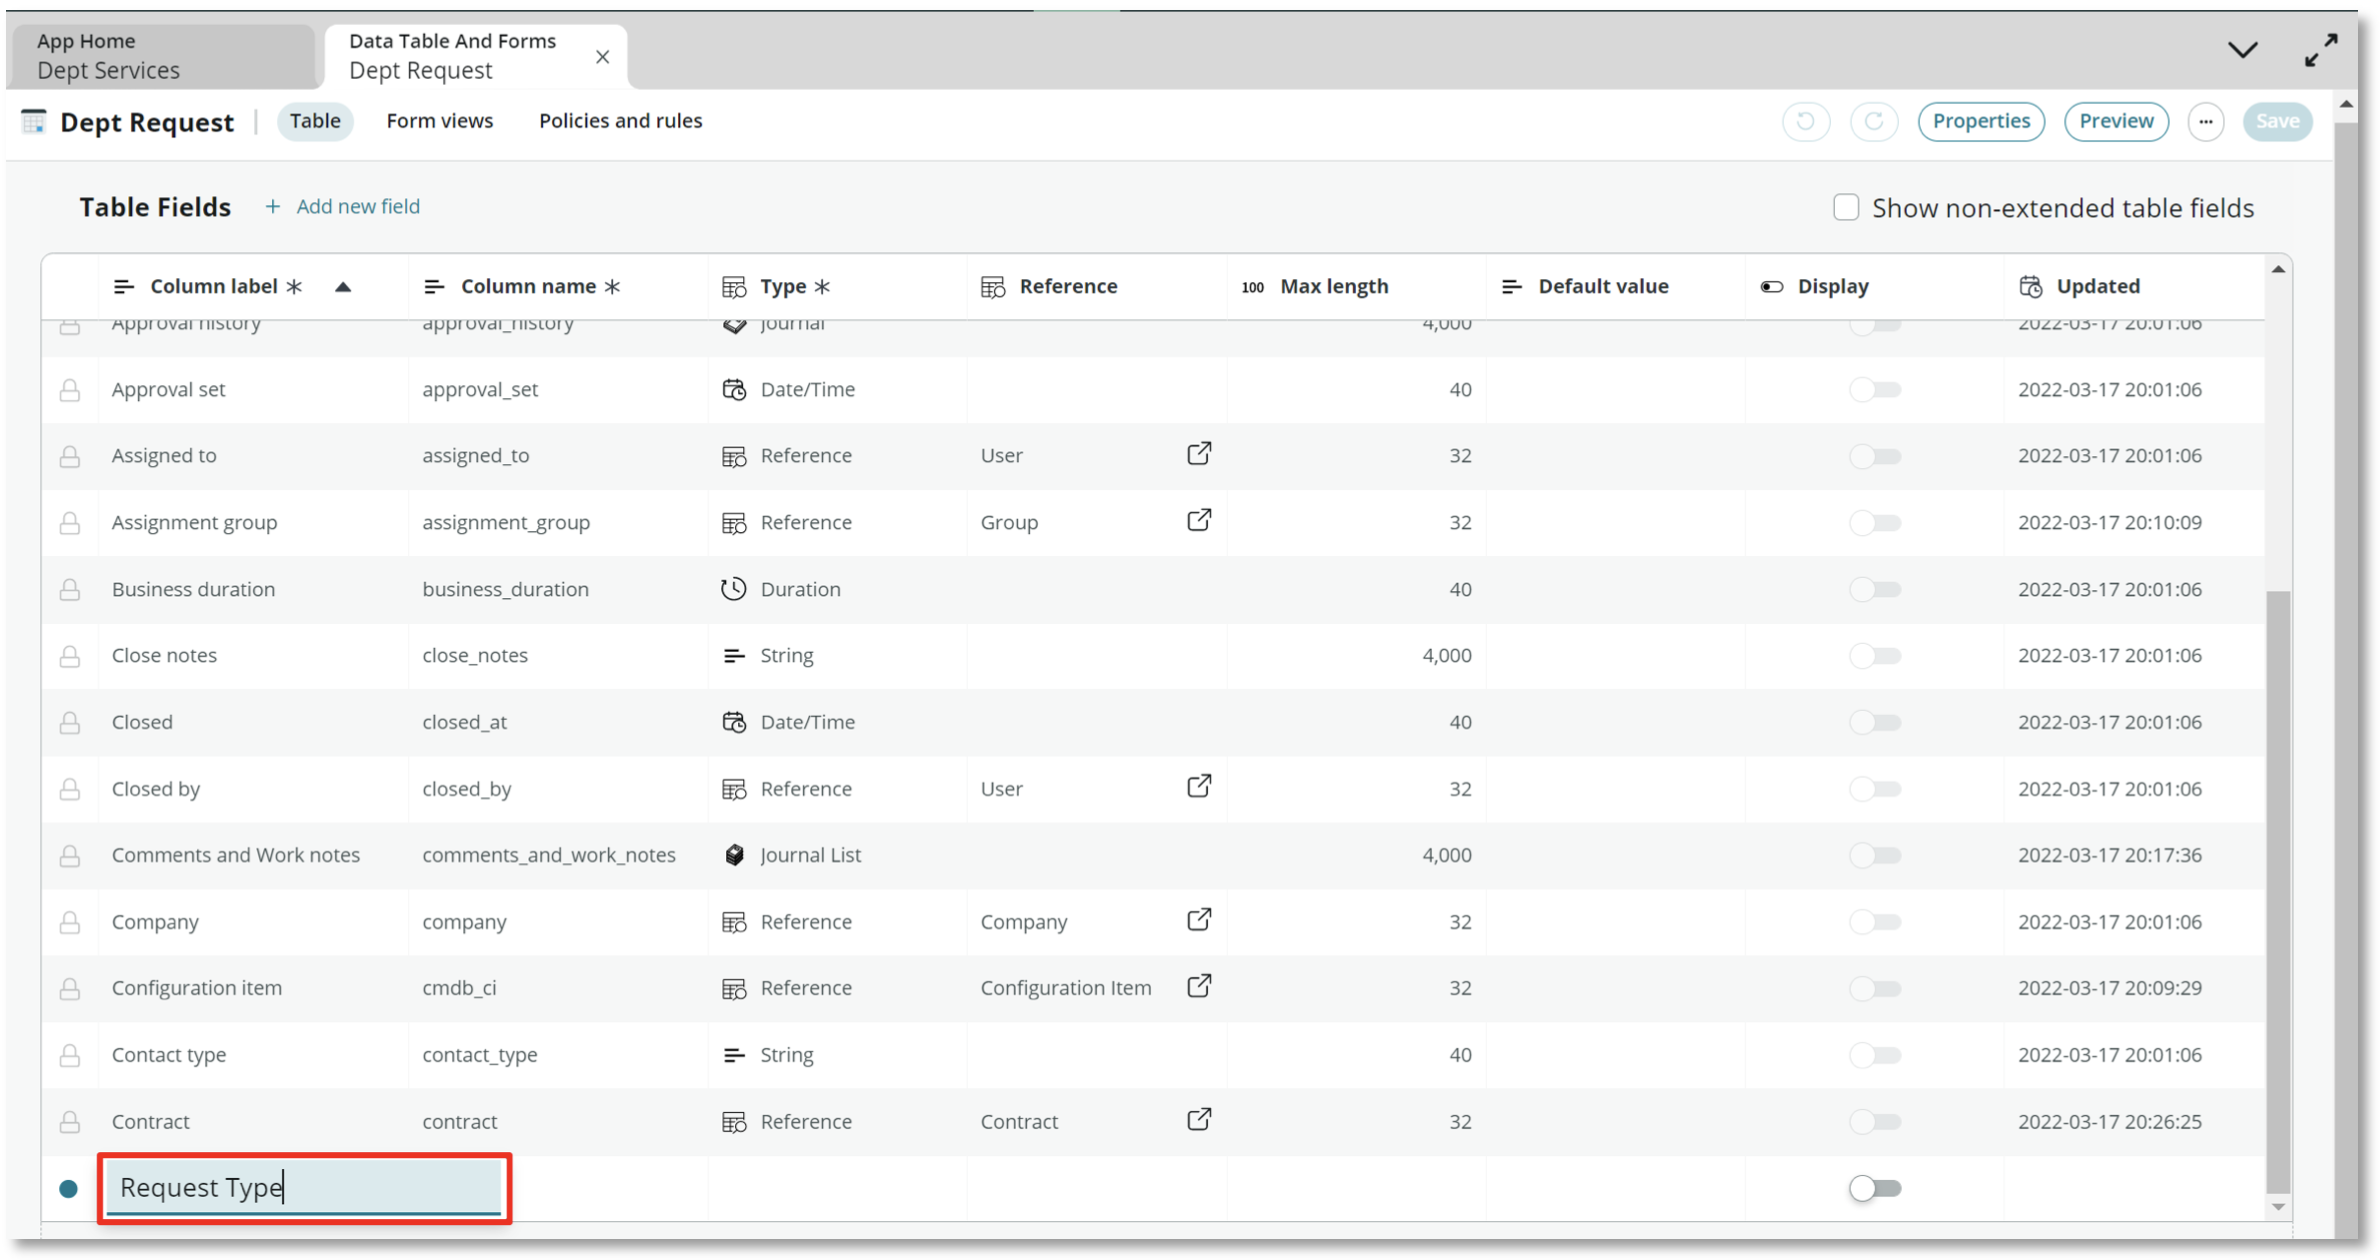
- Enter Choice in the Type cell and select Choice option

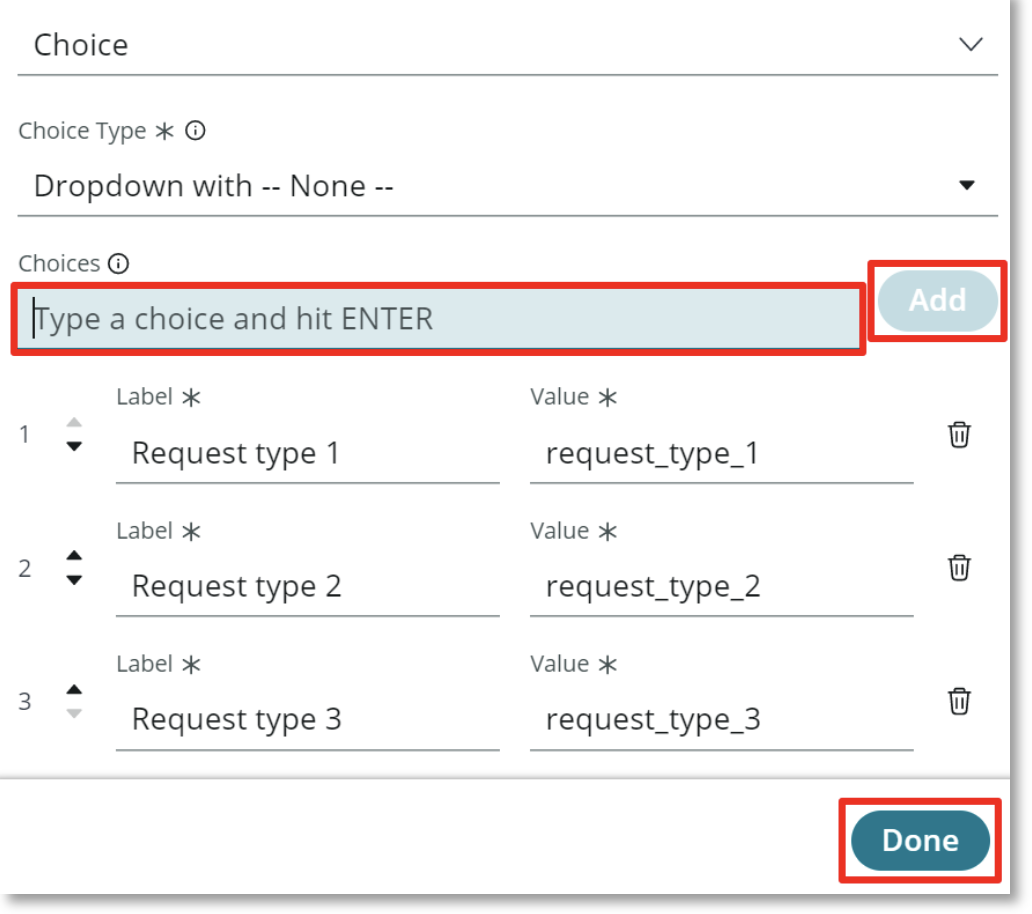
- Choose Dropdown with –None-- for the Choice Type. For the Choices, you should enter different types of services that the department you chose might provide
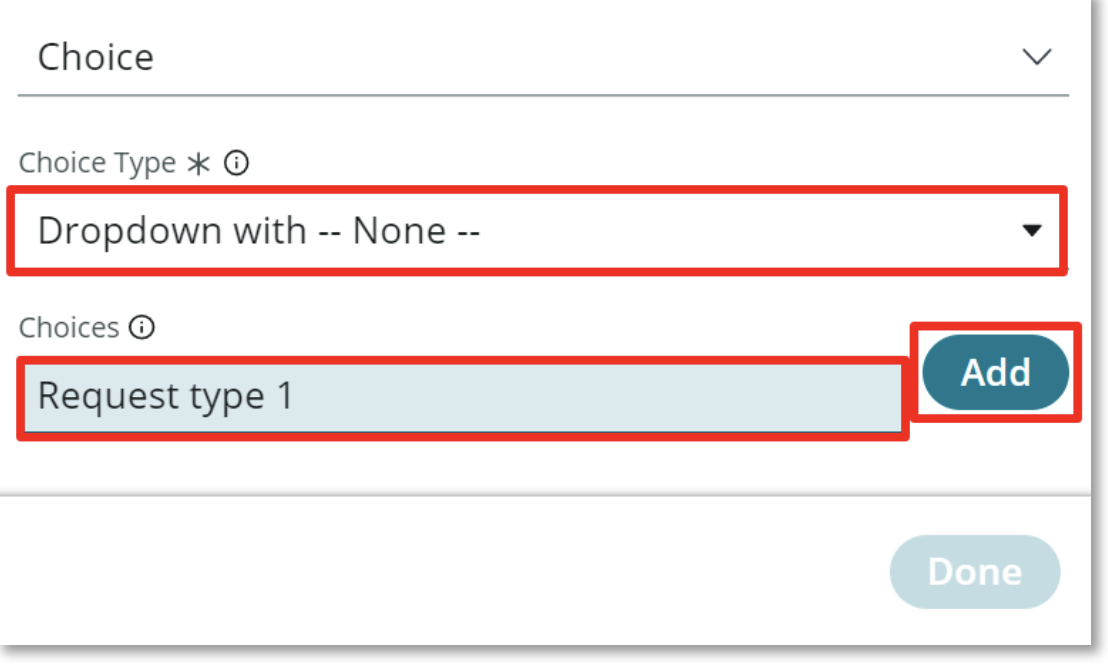
For example, a badging department might use the choices:

- New Badge Request
- Replacement Badge Request
- Add Building Access
- Remove Building Access

Select **Done** when finished adding your choices and save your work.
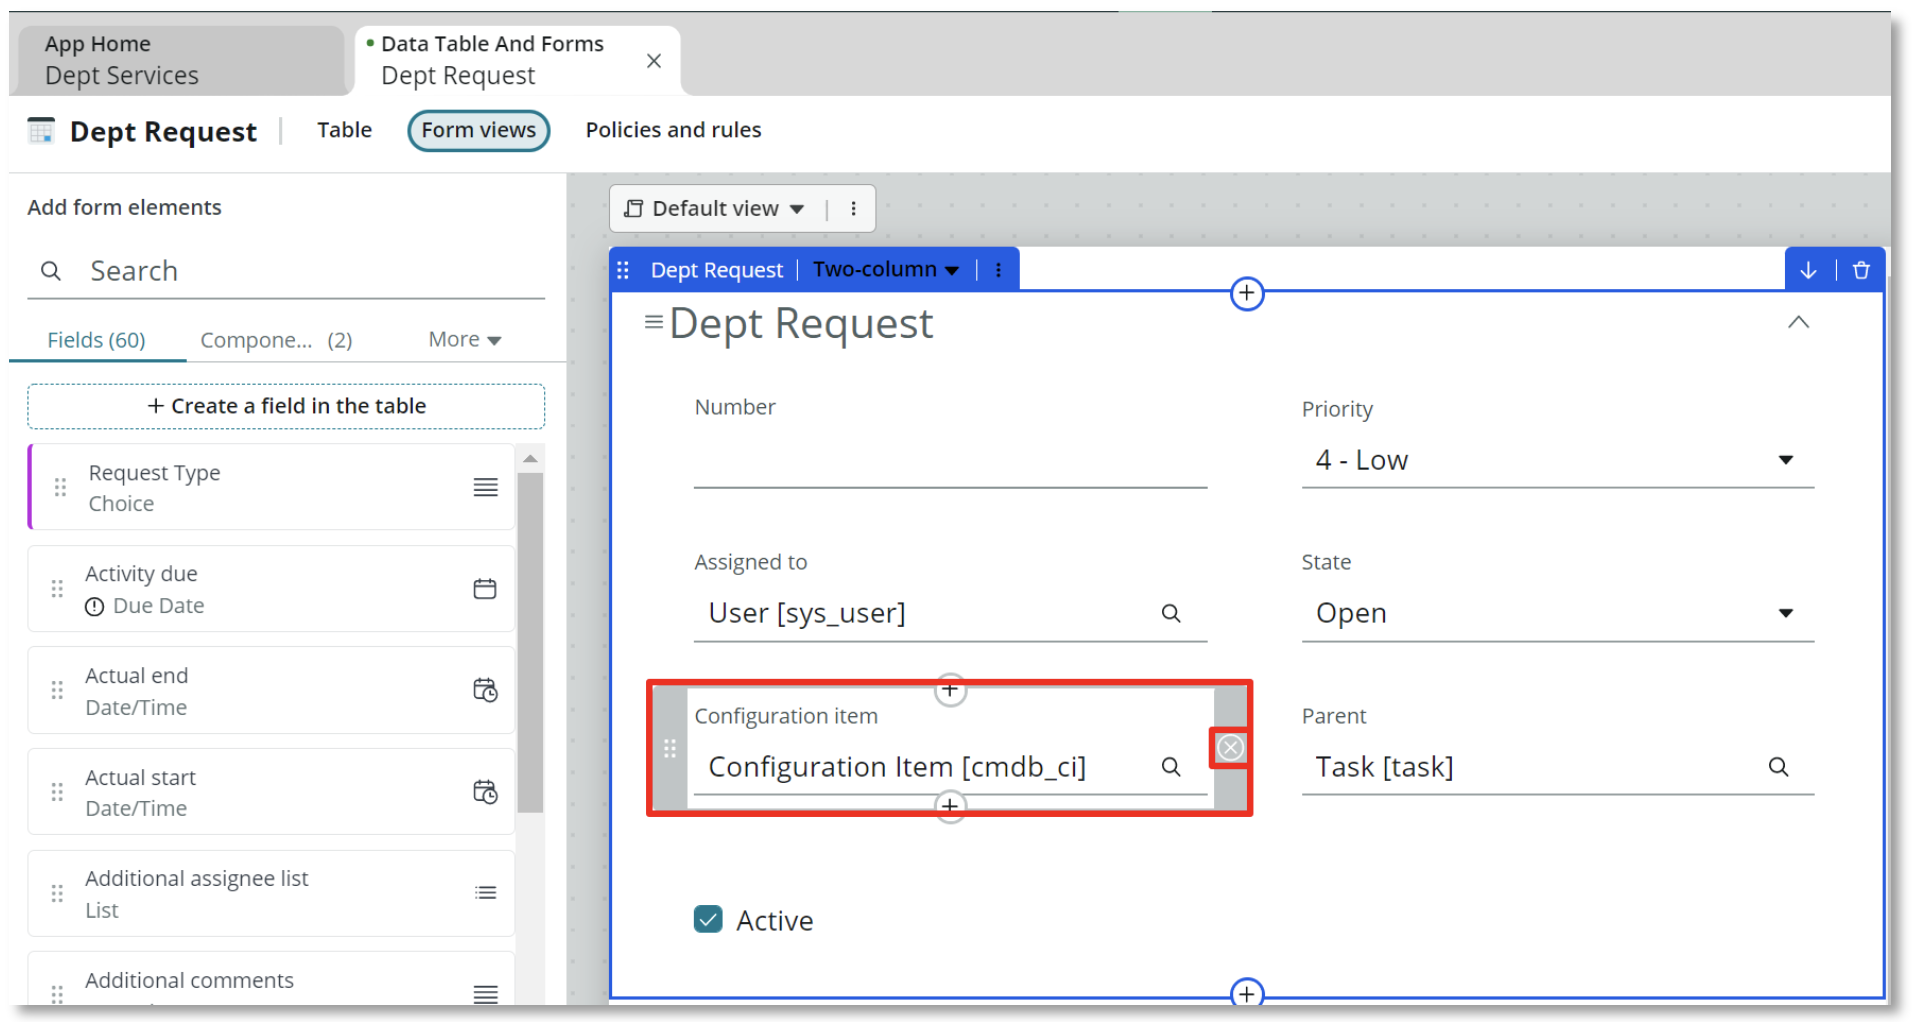
- Select the Forms link to edit the Dept Request form

The default form view contains fields from the Task table that will not be used in in this application. Hover over the Configuration item field in the form view. Select the (X) on the right of the field to remove it\
Repeat for the Active checkbox\ Repeat for the Parent field
- Enter request type in the Search field located towards the upper left of the screen to find the Request Type Choice field you added earlier
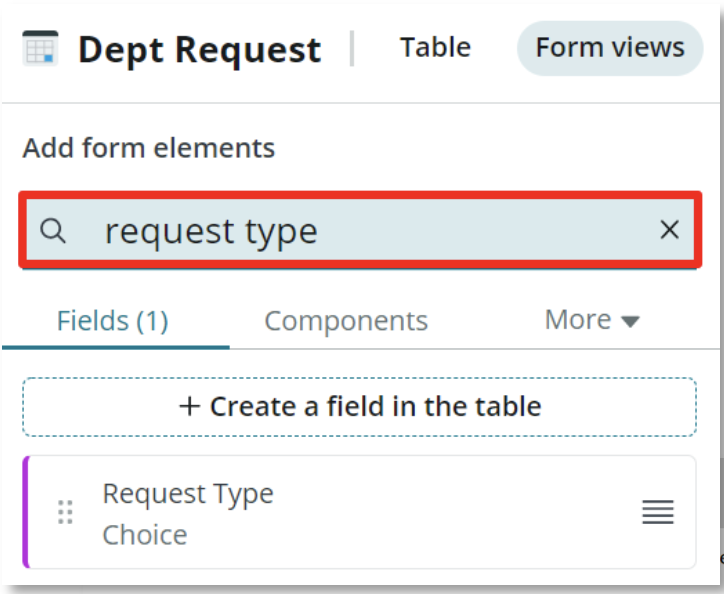
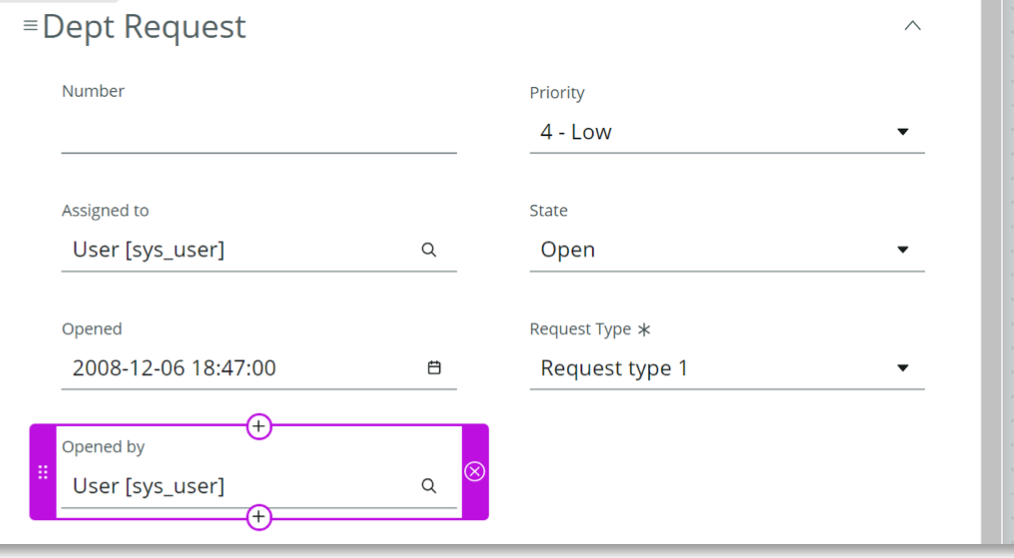
- Drag the Request Type field on the left to the form view underneath the State field

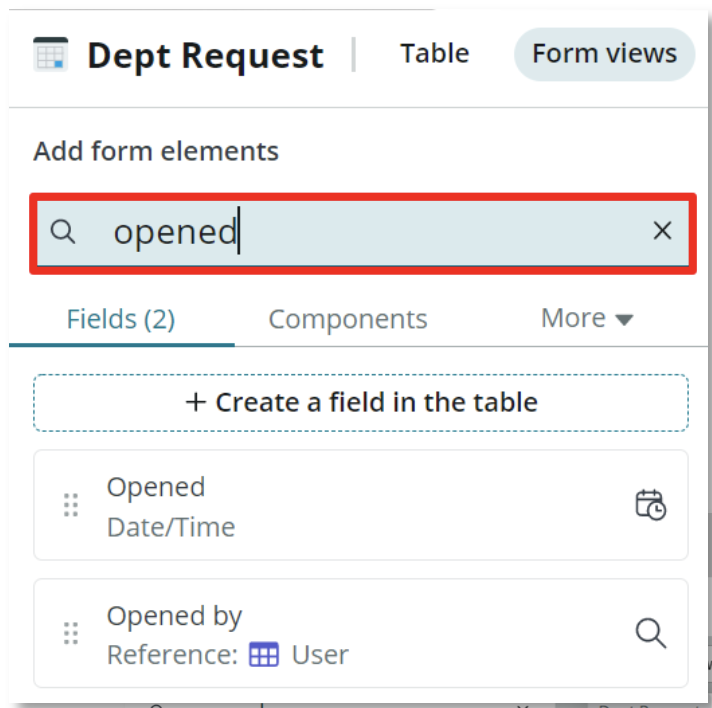
- Enter opened in the Search field located towards the upper left of the. The Opened and Opened by fields will automatically be populated when a user submits a request. These are helpful to track who is submitting a request and when it was submitted
- Enter opened in the Search field located towards the upper left of the. The Opened and Opened by fields will automatically be populated when a user submits a request. These are helpful to track who is submitting a request and when it was submitted
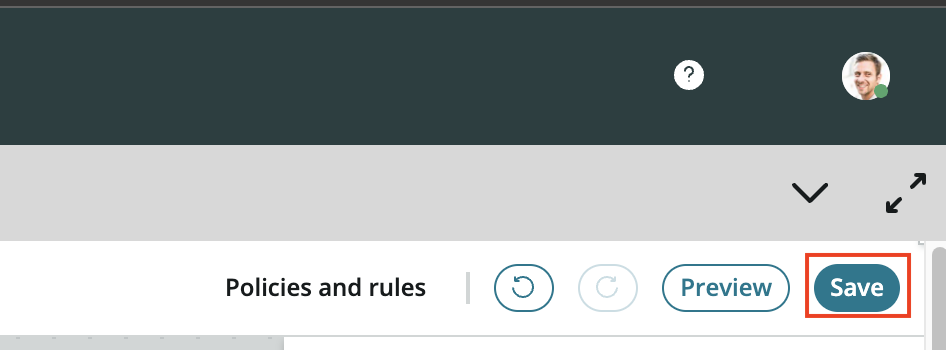
- To finish editing our form, click Save in the top right of the screen
We're all done with the request table.. now we move on to the issue table!