Exercise 4: Creating an approval workflow
Duration: 30 minutes
Within this exercise, we will be creating an approval workflow. Let's describe what we will be designing in a sentence: Whenever a new travel request is raised, we will route the request to the requestor's manager for approval. Once approved, we will mark the status of the request as complete
- Navigate back to the App Home tab
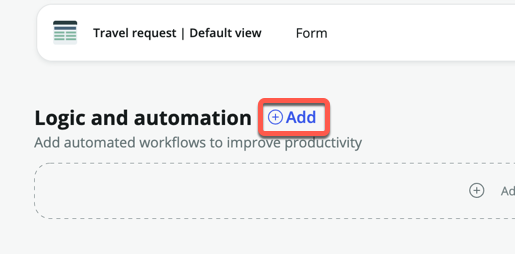
- Click Add under Logic and automation
- Click Flow

- Click Build from scratch
- For Name, enter Travel request approval
- For Description, enter Route travel request approval to requestor's manager
- Expand Show advanced options
- Change Run as to System user
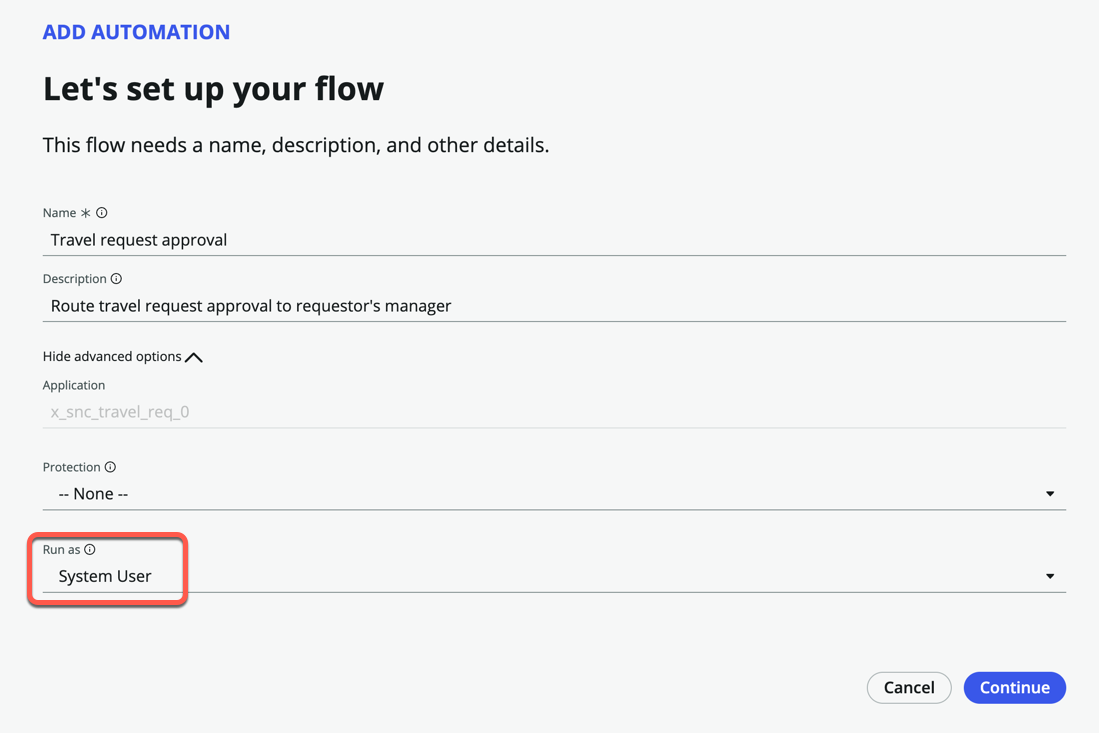
- Click Continue
- Click Edit this flow
- Close the Getting started pop-up box
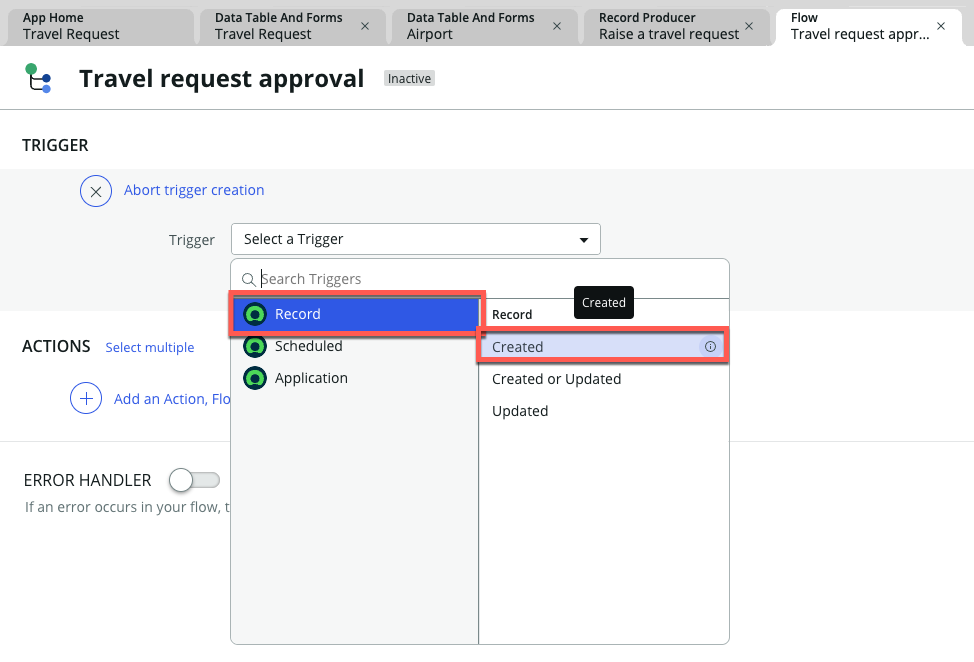
- Click Add a trigger
- Under RECORD, click Created
- Under Table, search and select Travel request
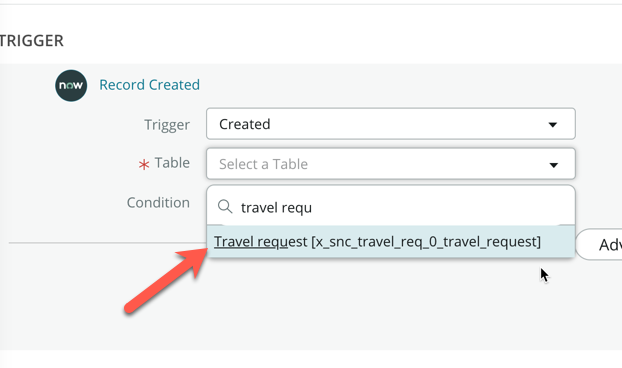
- Click Done
- Click Add an Action, Flow Logic, or Subflow
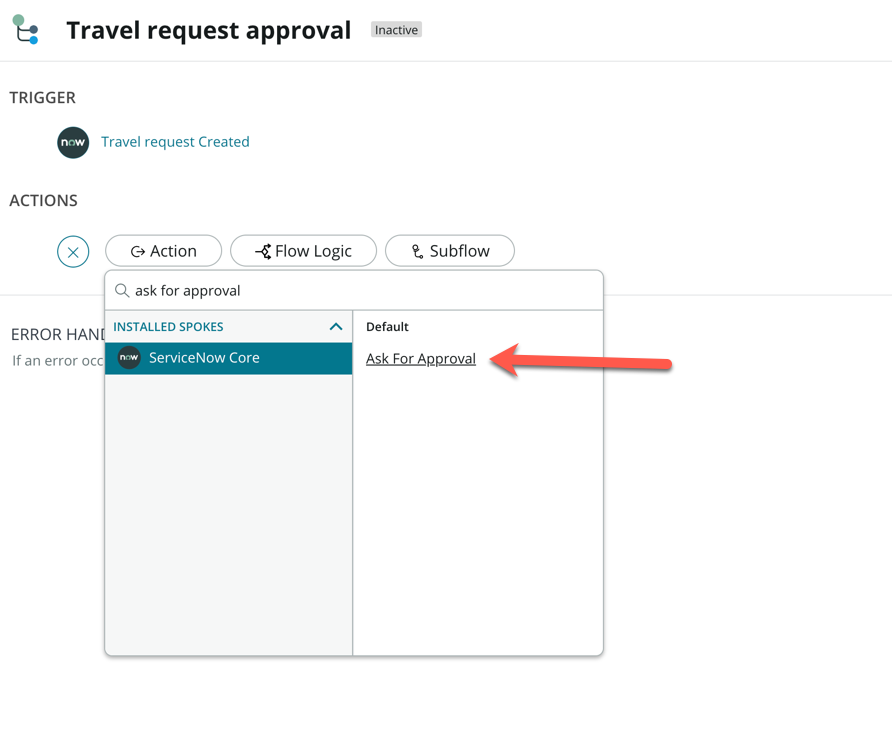
- Click Action
- Search and select Ask for approval
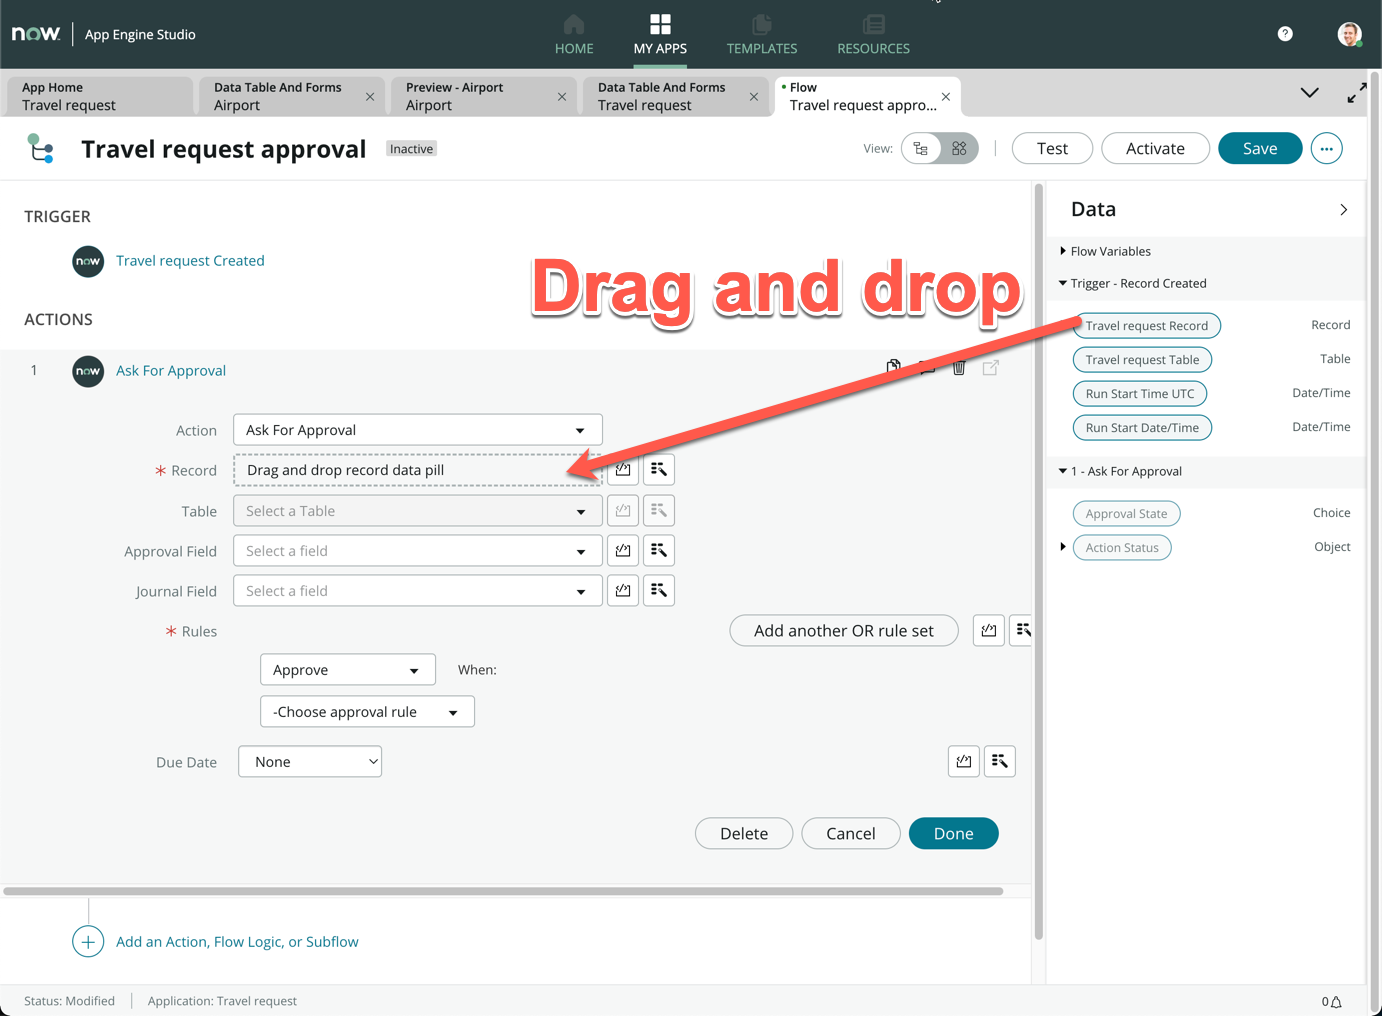
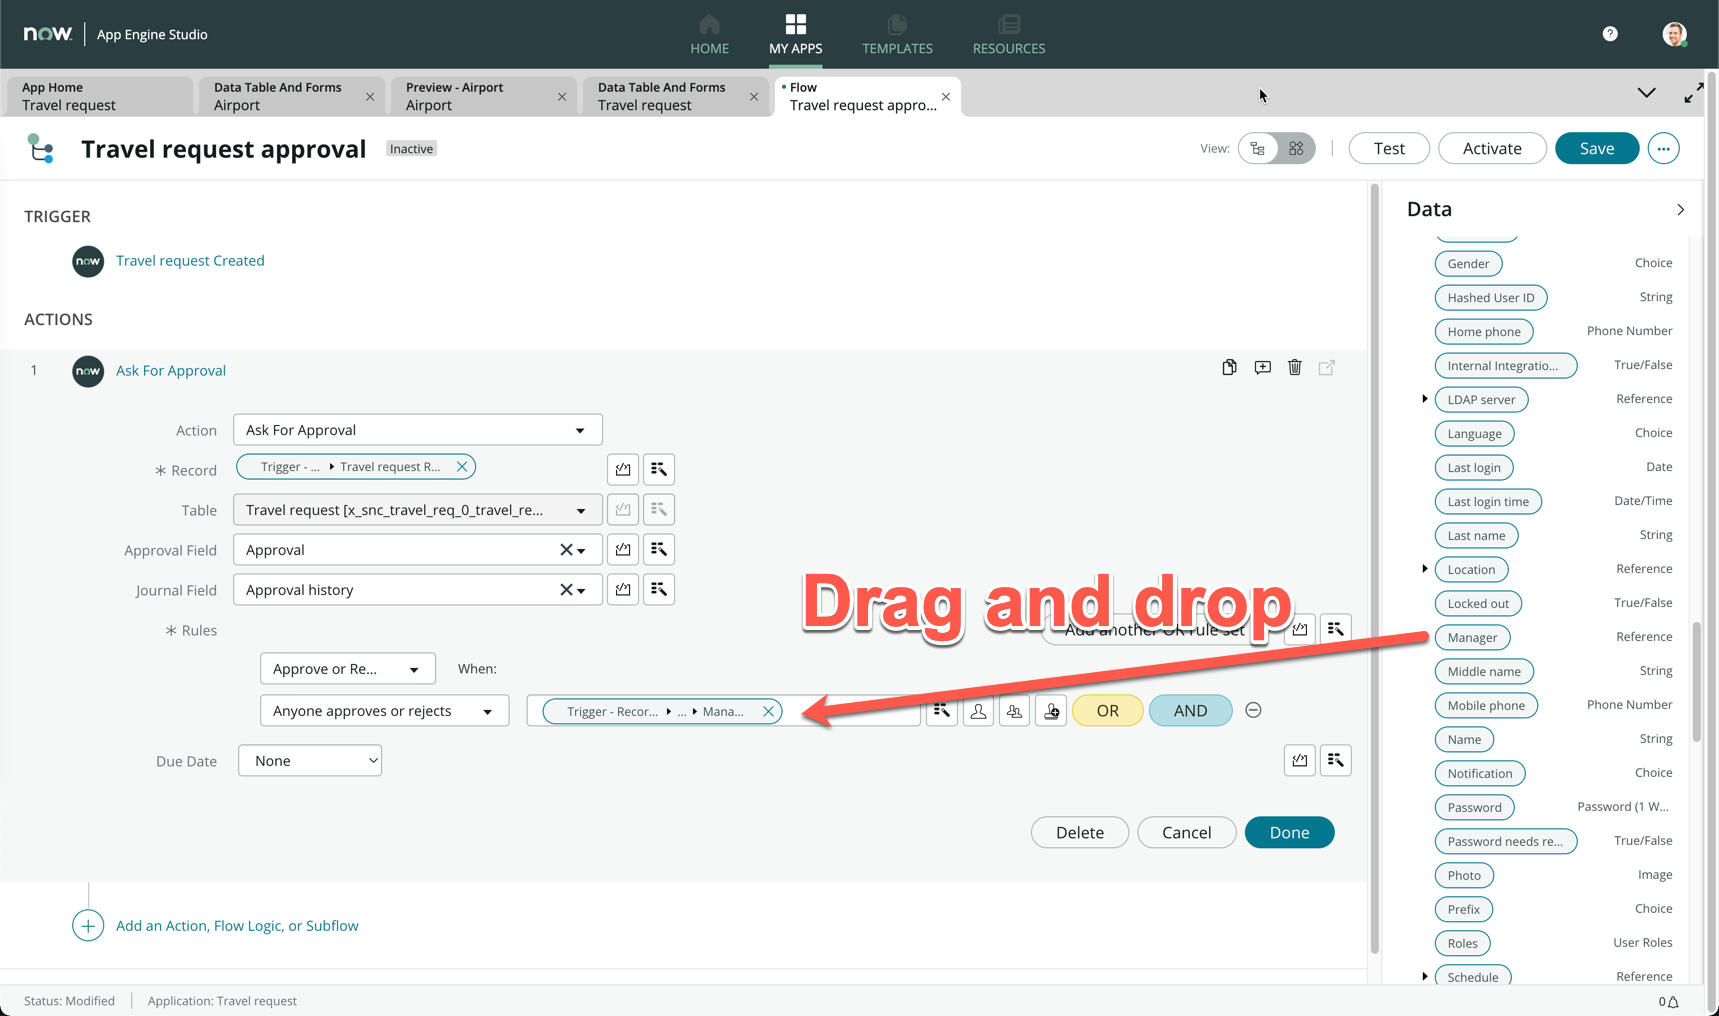
- In the Ask for Approval action box, drag and drop the Travel request Record from the Data pill picker on the right sidebar, into the Record box
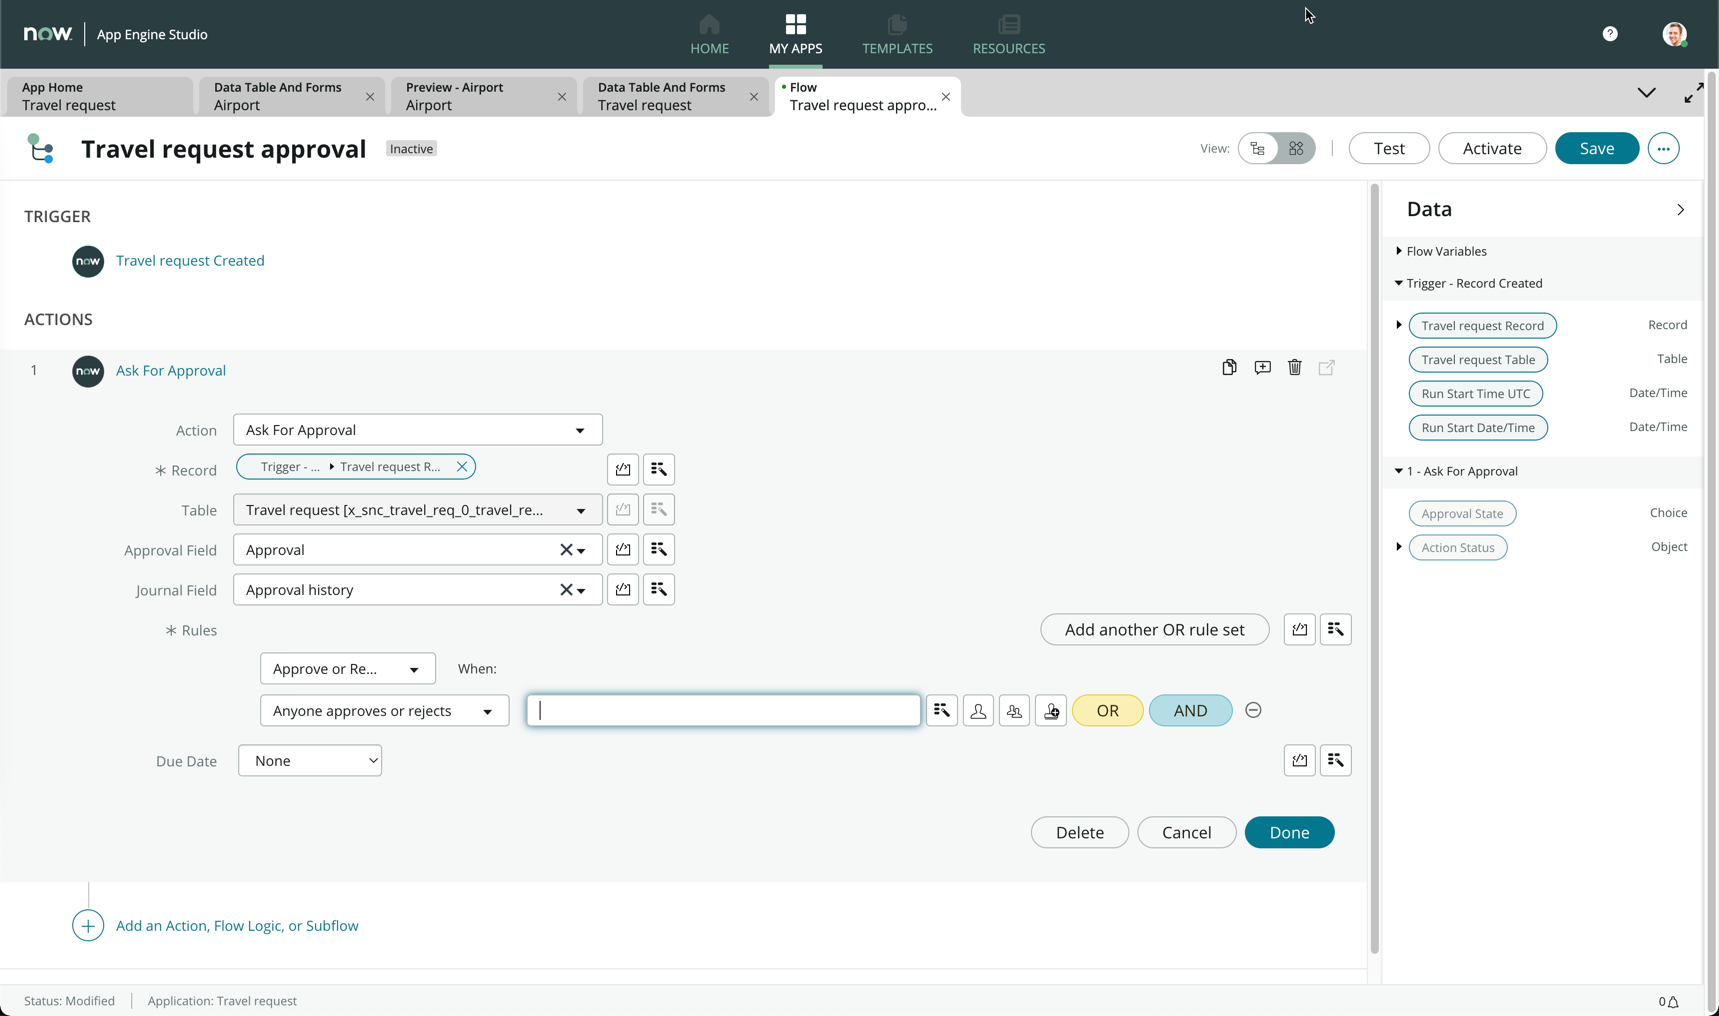
- Under Rules, change Approve to Approve or Reject
- Change -Choose approval rule to Anyone approves or rejects
info
We want the approval to be routed to the requestor's manager, so we will perform what is known as dot-walking to find the related user's manager.
- From the right sidebar (Data pill picker), expand the Travel request Record by clicking the expand arrow
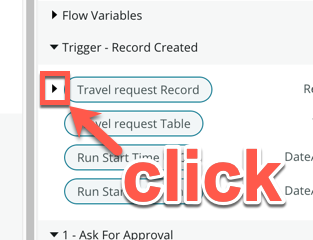
- Look for the Opened by data pill, and expand it
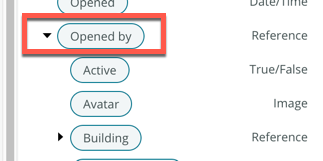
- Under the Opened by section, look for the Manager data pill
- Click Done
- Here is a full video walkthrough in case you had difficulties at any step
What we have achieved here is that we are looking for the user who opened the record's manager to be the approver for this record.
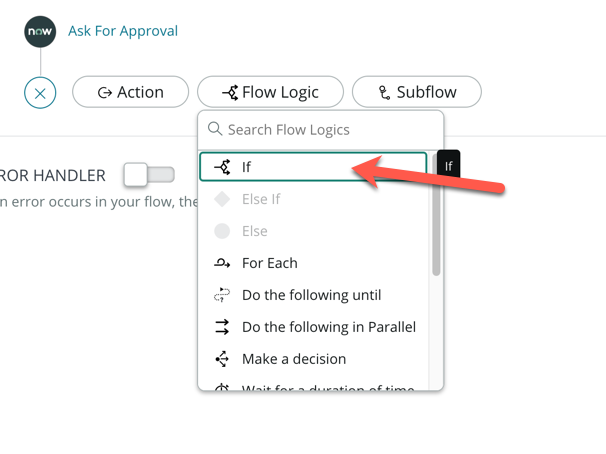
- Click Add an Action, Flow Logic, or Subflow
- Click Flow Logic
- Click If
- For Condition Label, enter Manager approved
- Drag and drop the Approval State data pill from the right sidebar onto Condition 1
- Change the choice to Approved
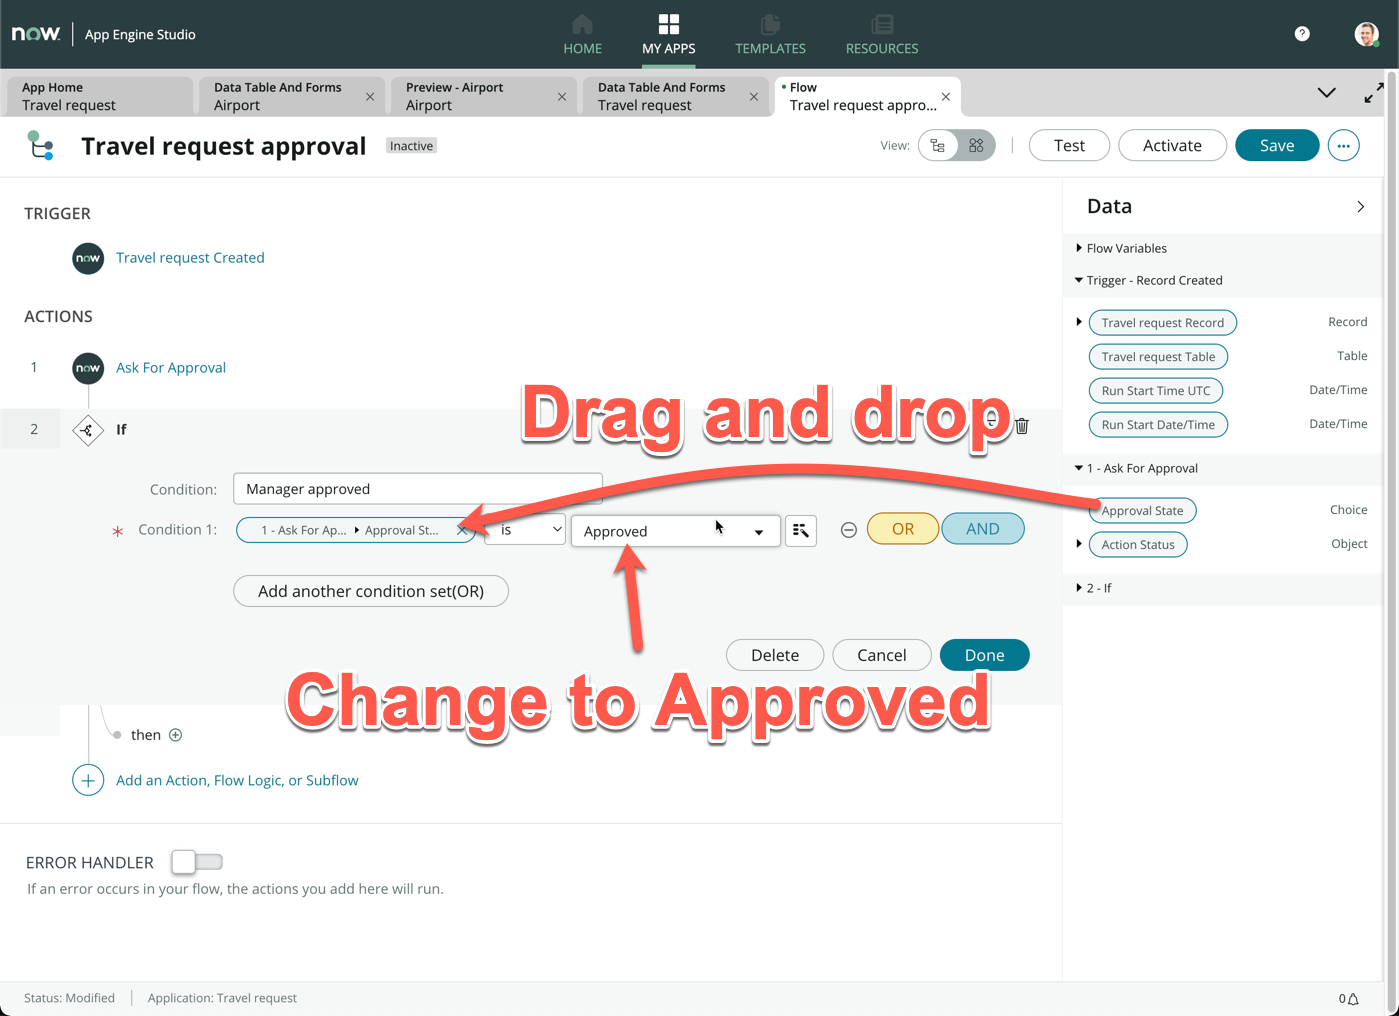
- Click Done
- Click Save on the top right of the screen
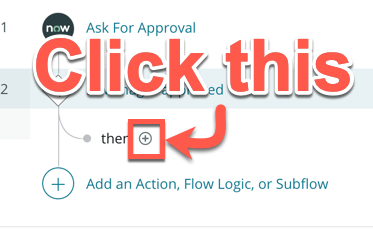
- Click on the + icon next to then
- Click Action
- Search and select Update Record
- Drag and drop the Travel request Record onto the Record field
- Under Fields, select the State field and change the choice to Closed Complete
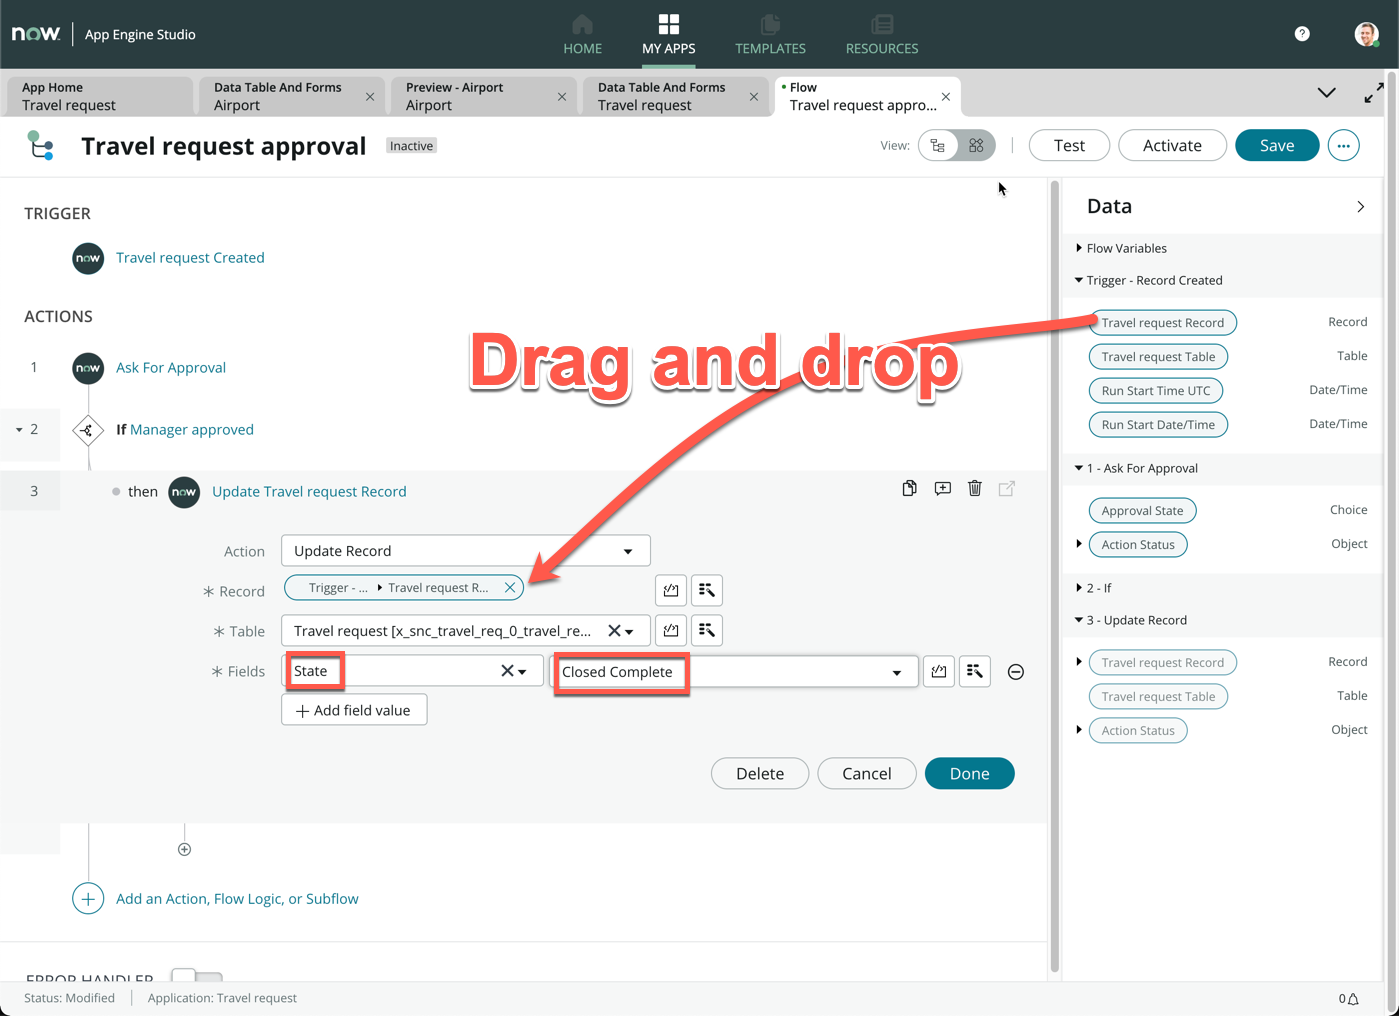
- Click Done
- Click Save on the top right of the screen
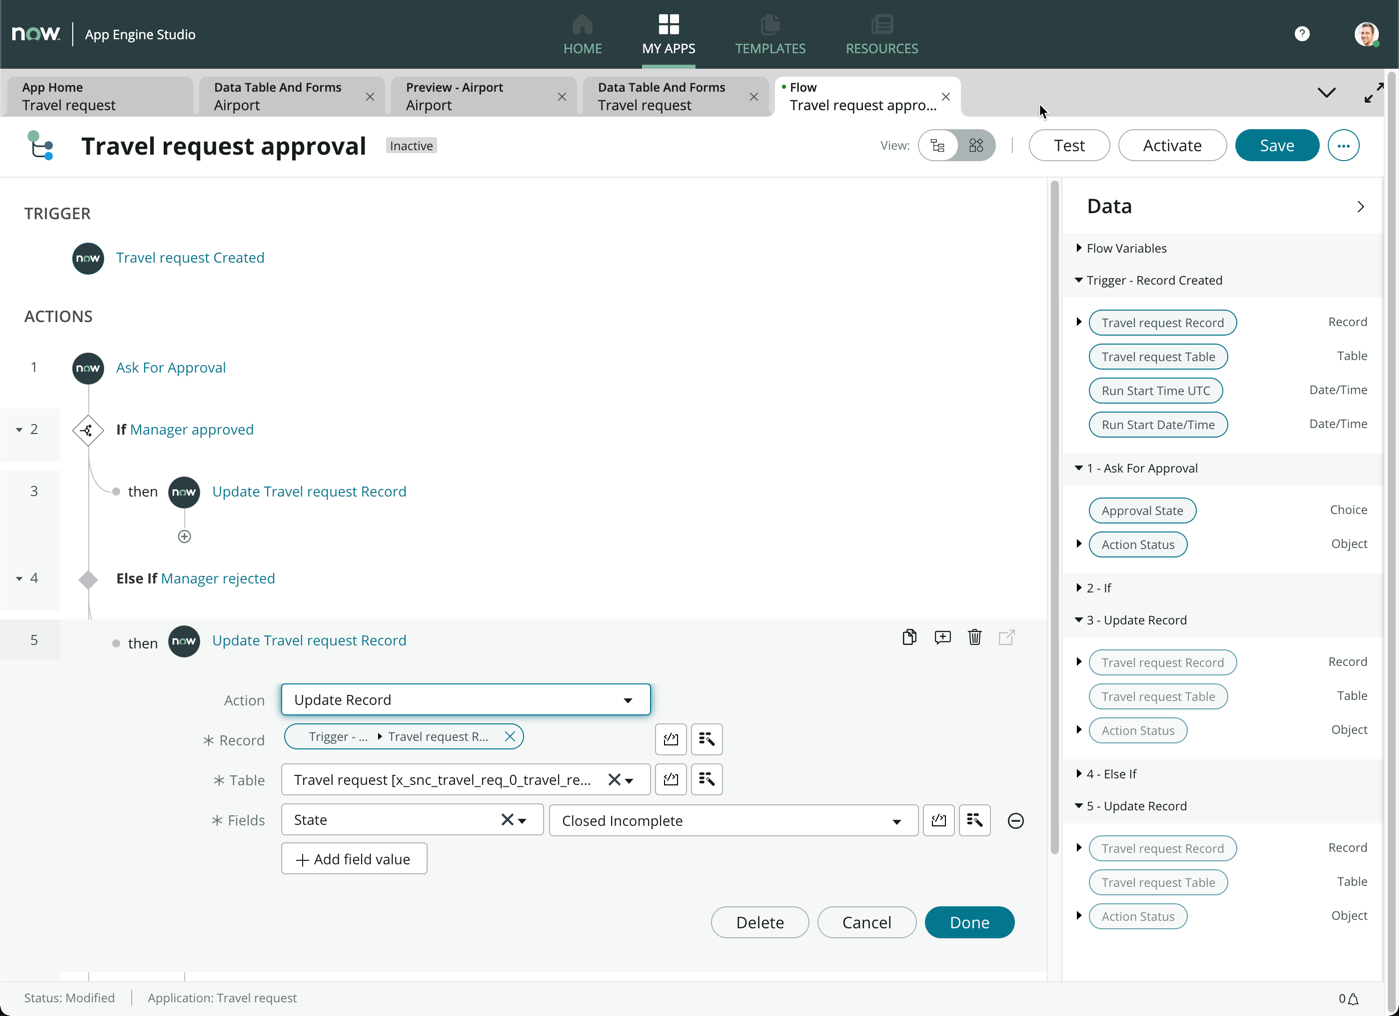
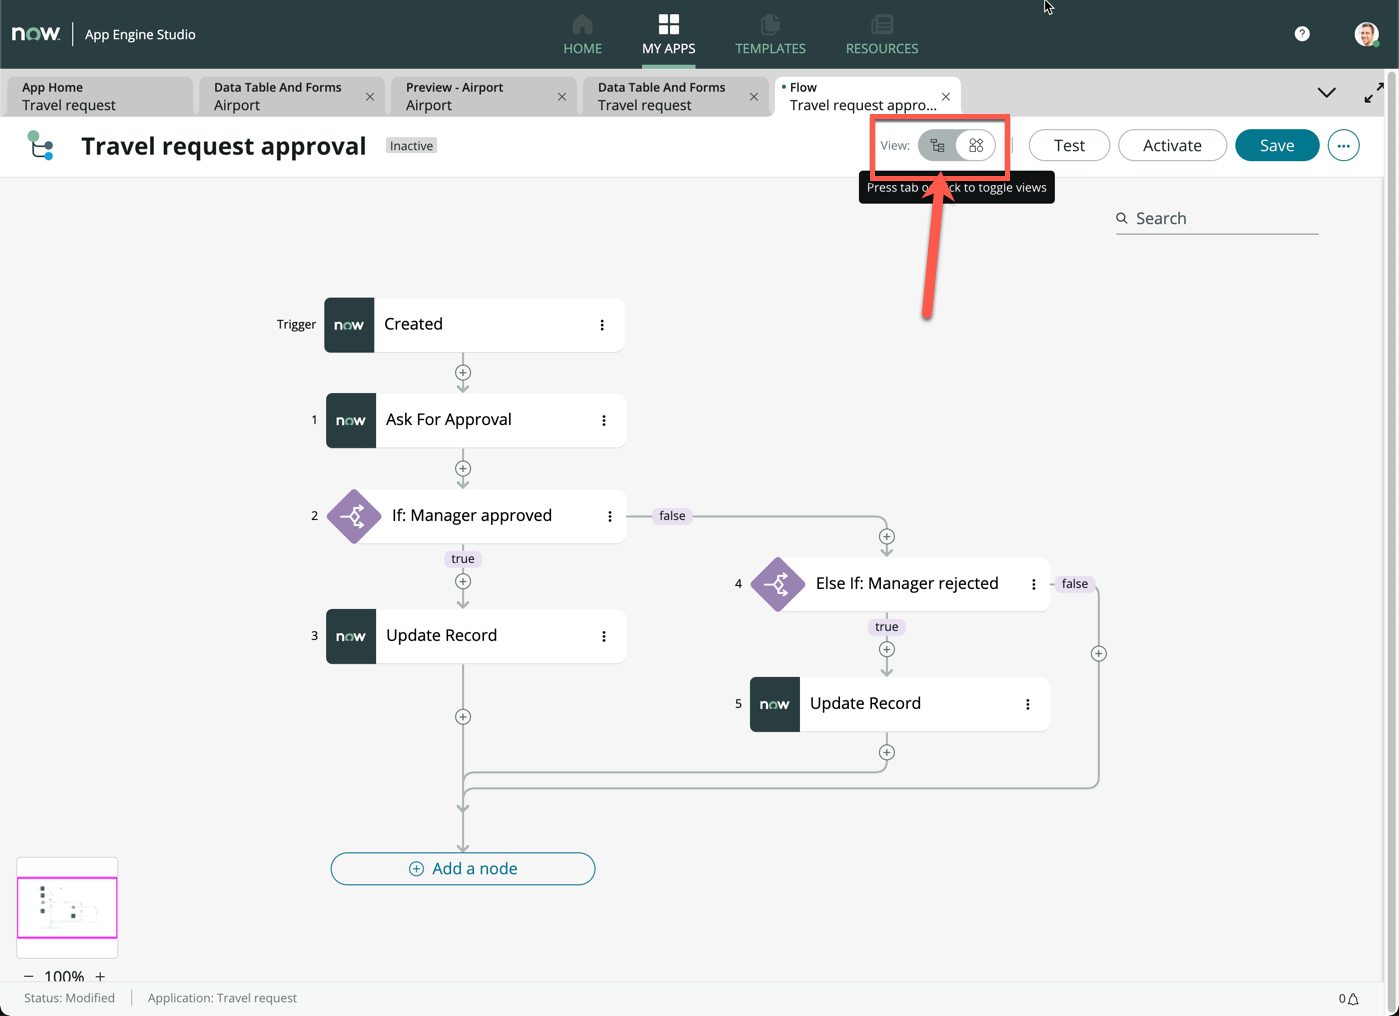
(Optional) Now we will complete the flow by creating the logic of a rejected approval. As a challenge, can you complete the rest of the flow yourself? The end result should look like this: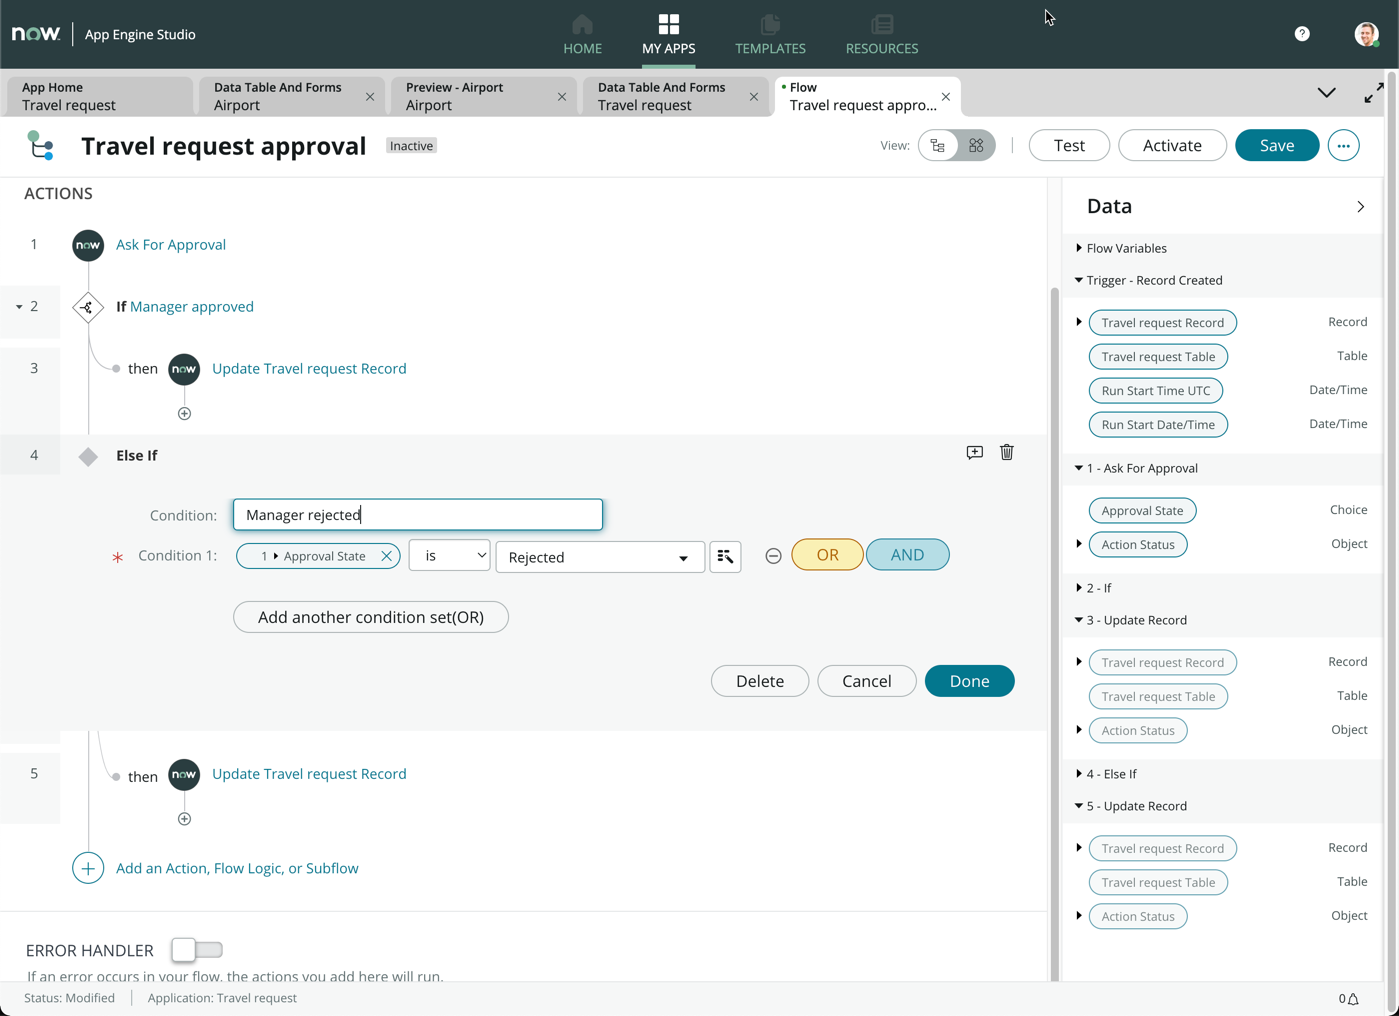
tip
Hint: You can always toggle the flow diagramming view by clicking on this icon
- Click Activate on the top right of the screen