Exercise 5: Putting it all together - Testing our application
Duration: 15 minutes
Congratulations on making it so far!
We have one last thing to do, which is to test our application. Our person of interest here is Billie Cowley who is wanting to raise a travel request. His direct manager is Krystle Stika, and this relationship has already been inherited through a Microsoft AD integration. We will first directly grant the Travel request user role to one of our employees for the test.
- Head back into the main ServiceNow interface
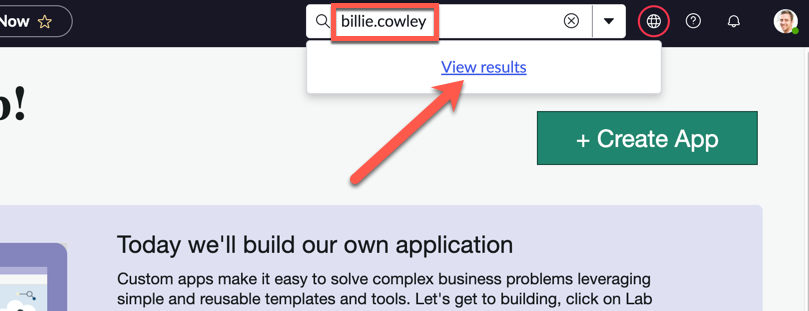
- On the global search, enter billie.cowley and click View results
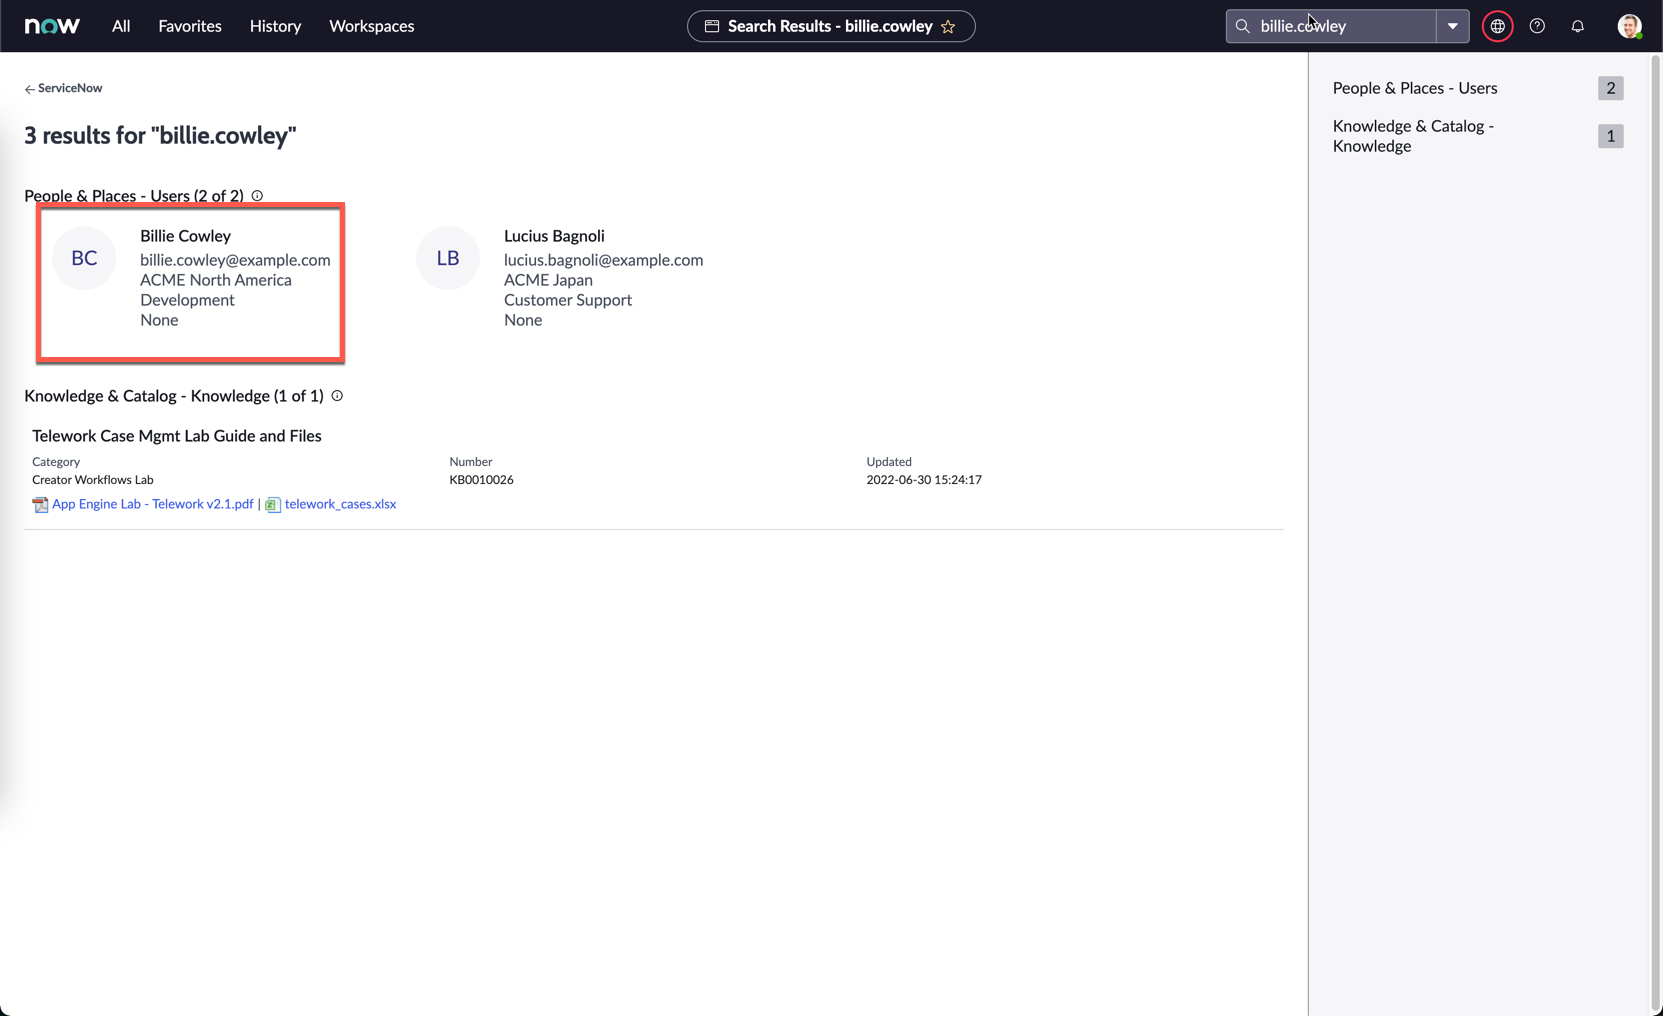
- Click Billie Cowley
- On Billie's user record, click the Roles tab below, then click Edit on the right hand side
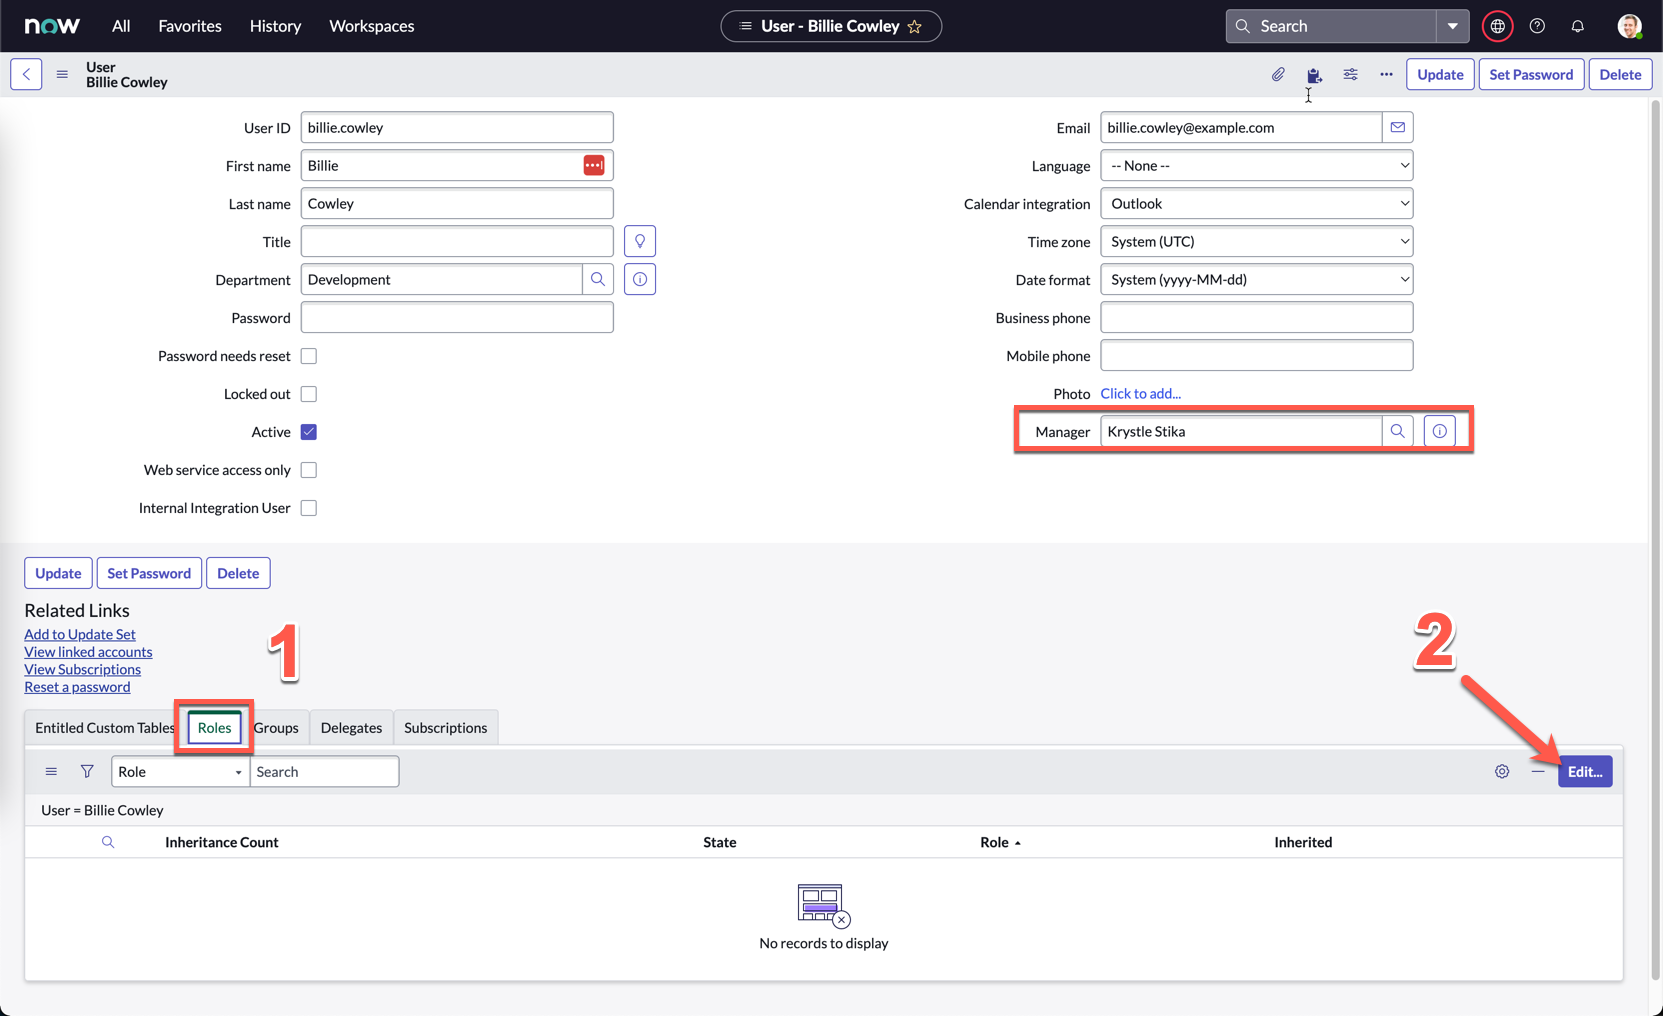
Also notice on the screenshot above that Billie's manager is Krystle Stika. You won't be able to see this on your screen, but note that this has been preconfigured for you.
- Under Collection, search x_snc_travel, you should see the two roles you created for your custom application.
- Grant the user role to Billie by moving it into the Roles List
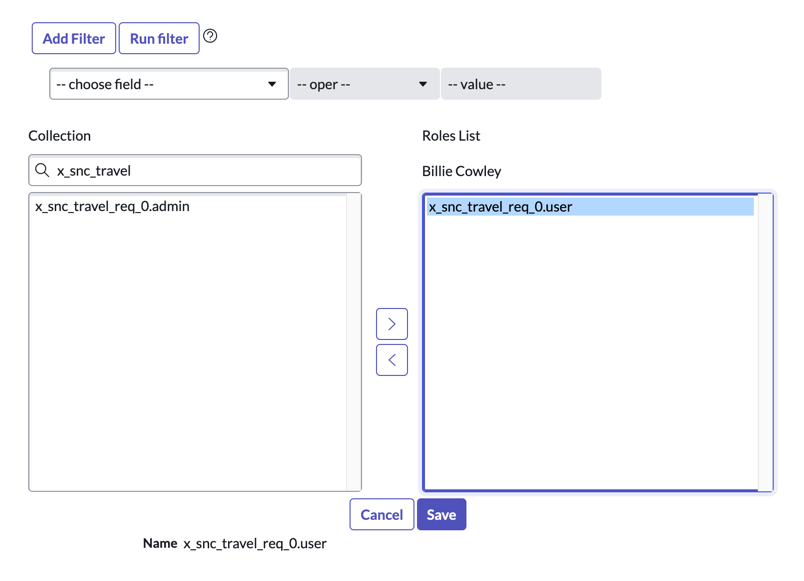
- Click Save
This is actually not best practice, but only for the purposes of today's activity. In a real implementation, it would be best to assign a role to a group, and then assign users to that group so they all inherit that role.
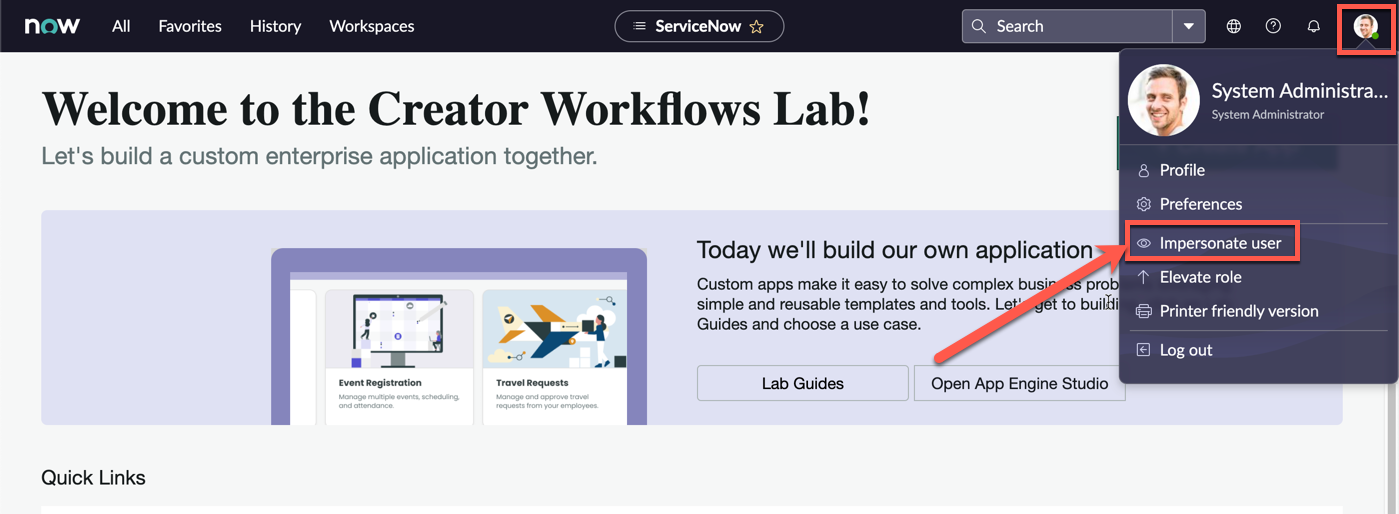
- Click on the profile picture on the top right, and click Impersonate user
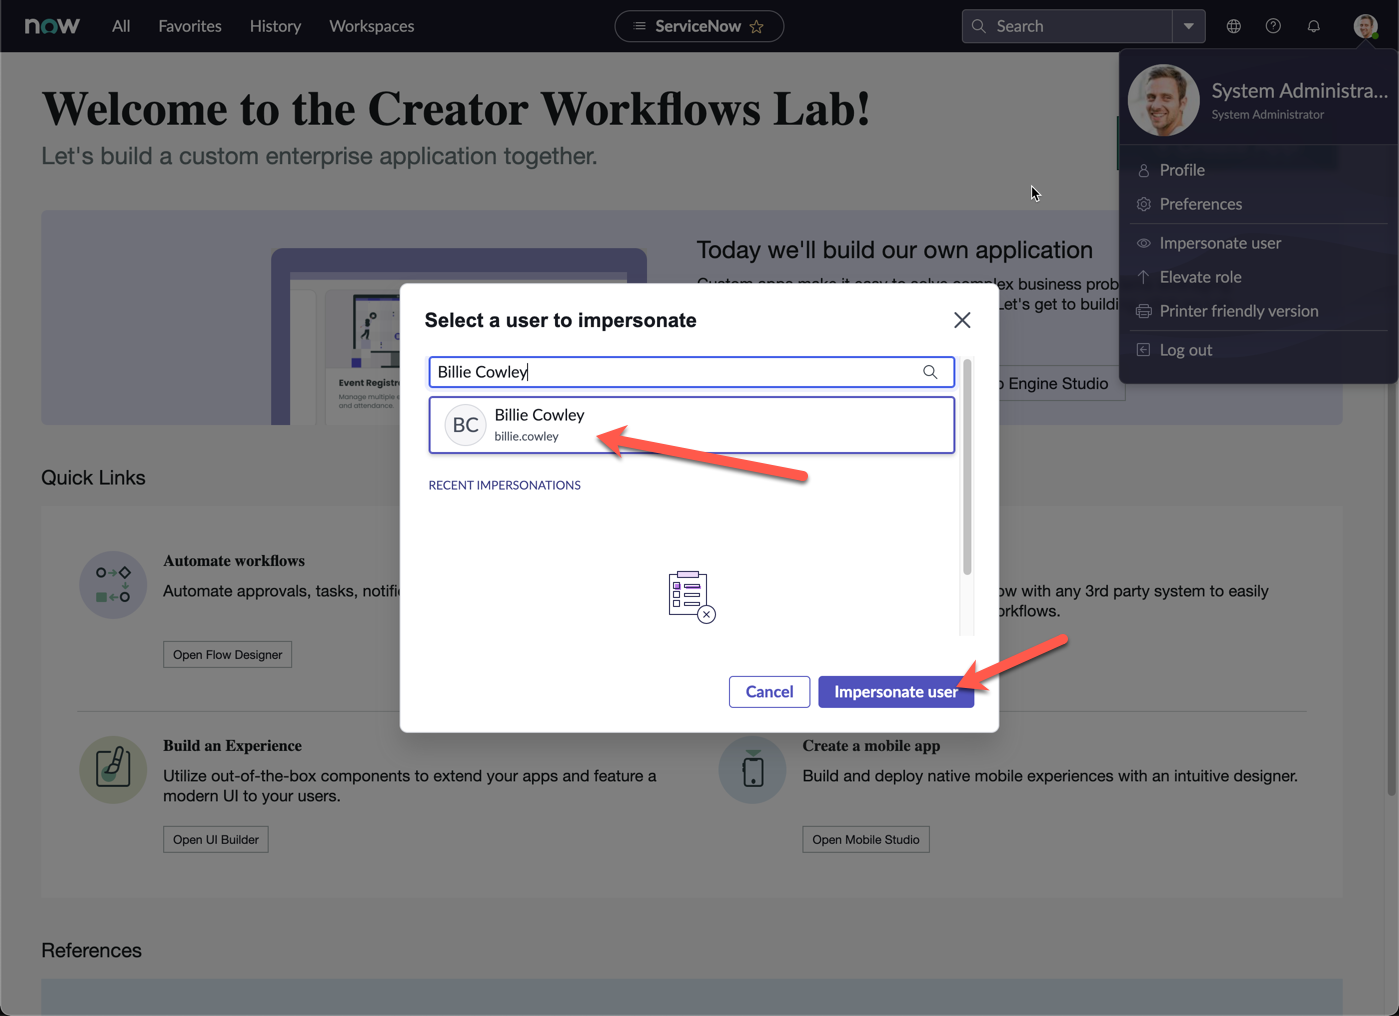
- Search and select Billie Cowley
- Click Impersonate user
- Close the pop-up screen
- Copy the current URL of the page, and open a new Browser tab
- Paste the URL, and replace everything after service-now.com with /sp
if the copied URL is:
https://sad-oct-123-001.lab.service-now.com/now/nav/ui/classic/params/target/ui_page.do%3Fsys_id%3De7766625074130102b8affa08c1ed037
change it to:
- The Service Portal home page should now open
- Under How can we help?, search for Travel request
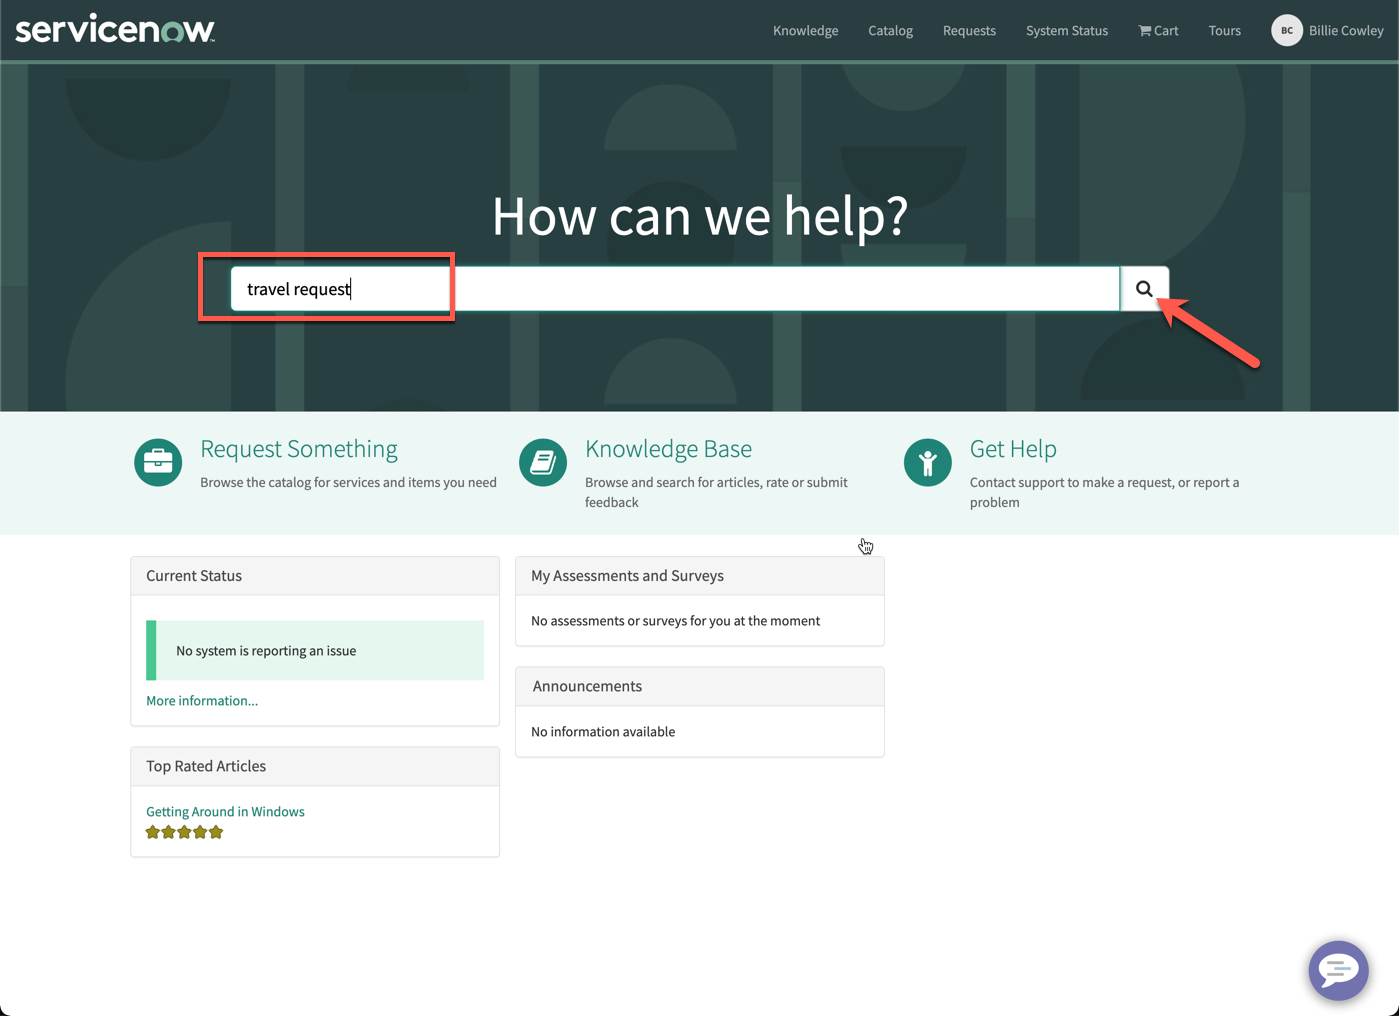
- Click the Search icon
- The top result should return the form we had created in Exercise 3
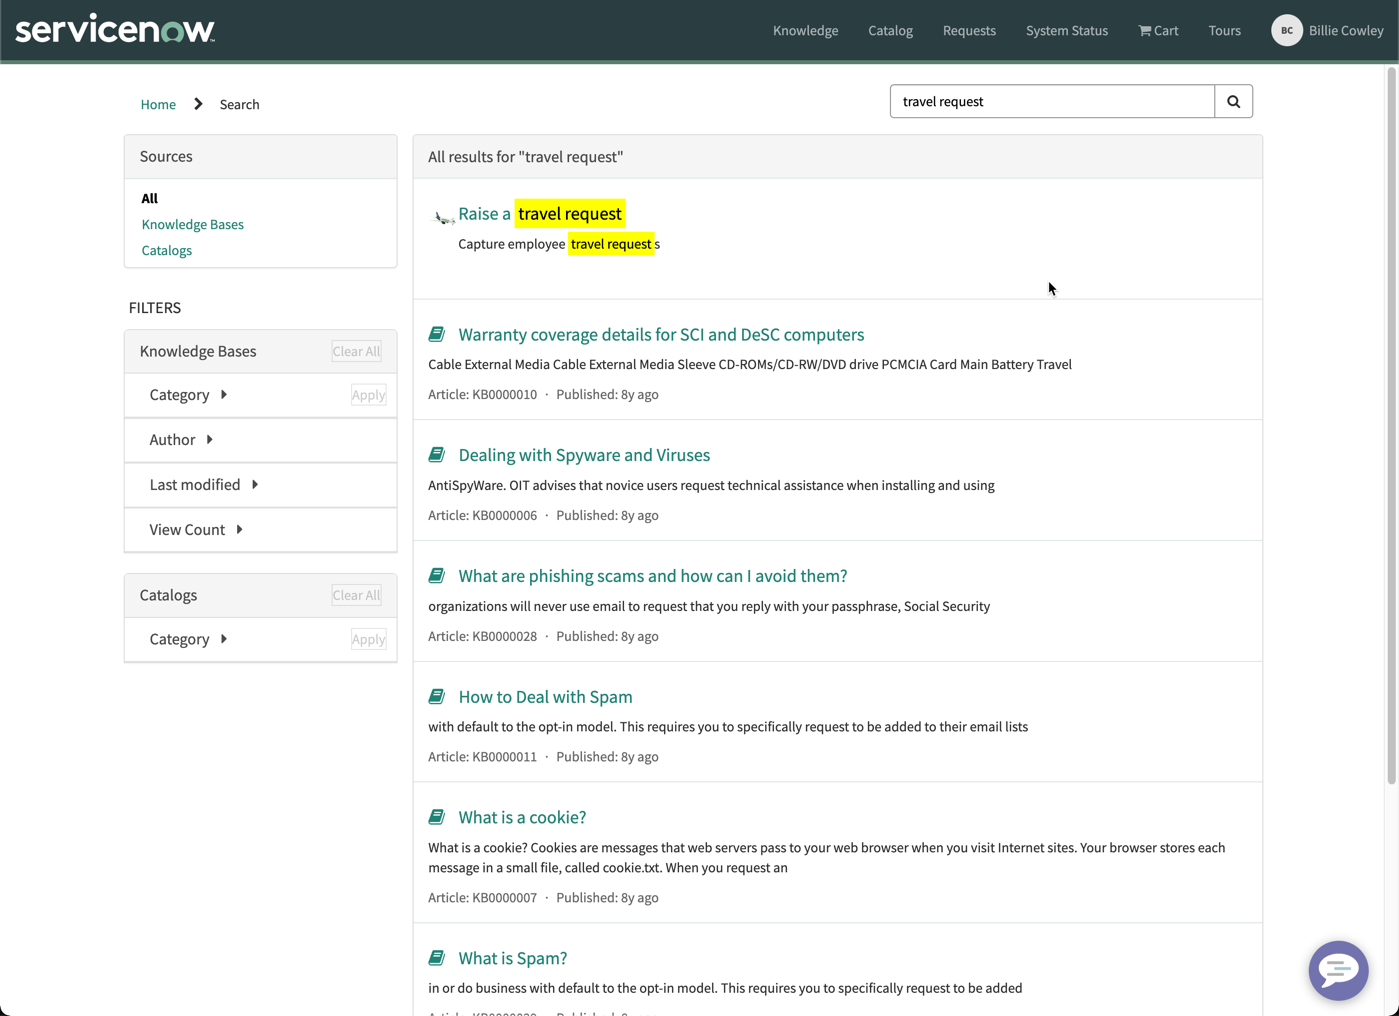
- Click Raise a travel request
- Confirm that the form appears as expected, then fill in all the fields
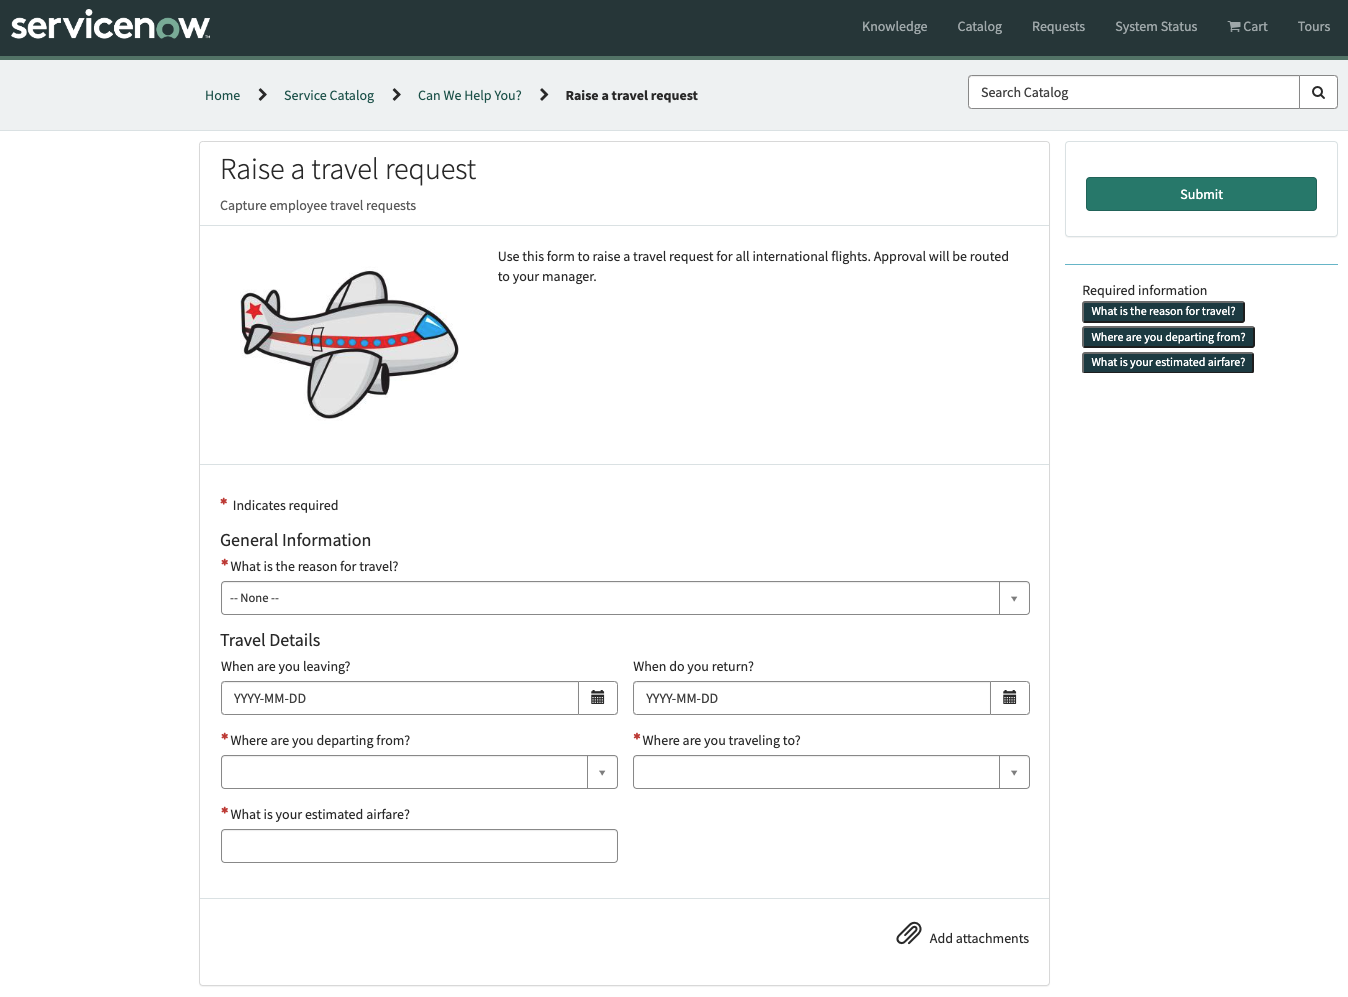
- Click Submit
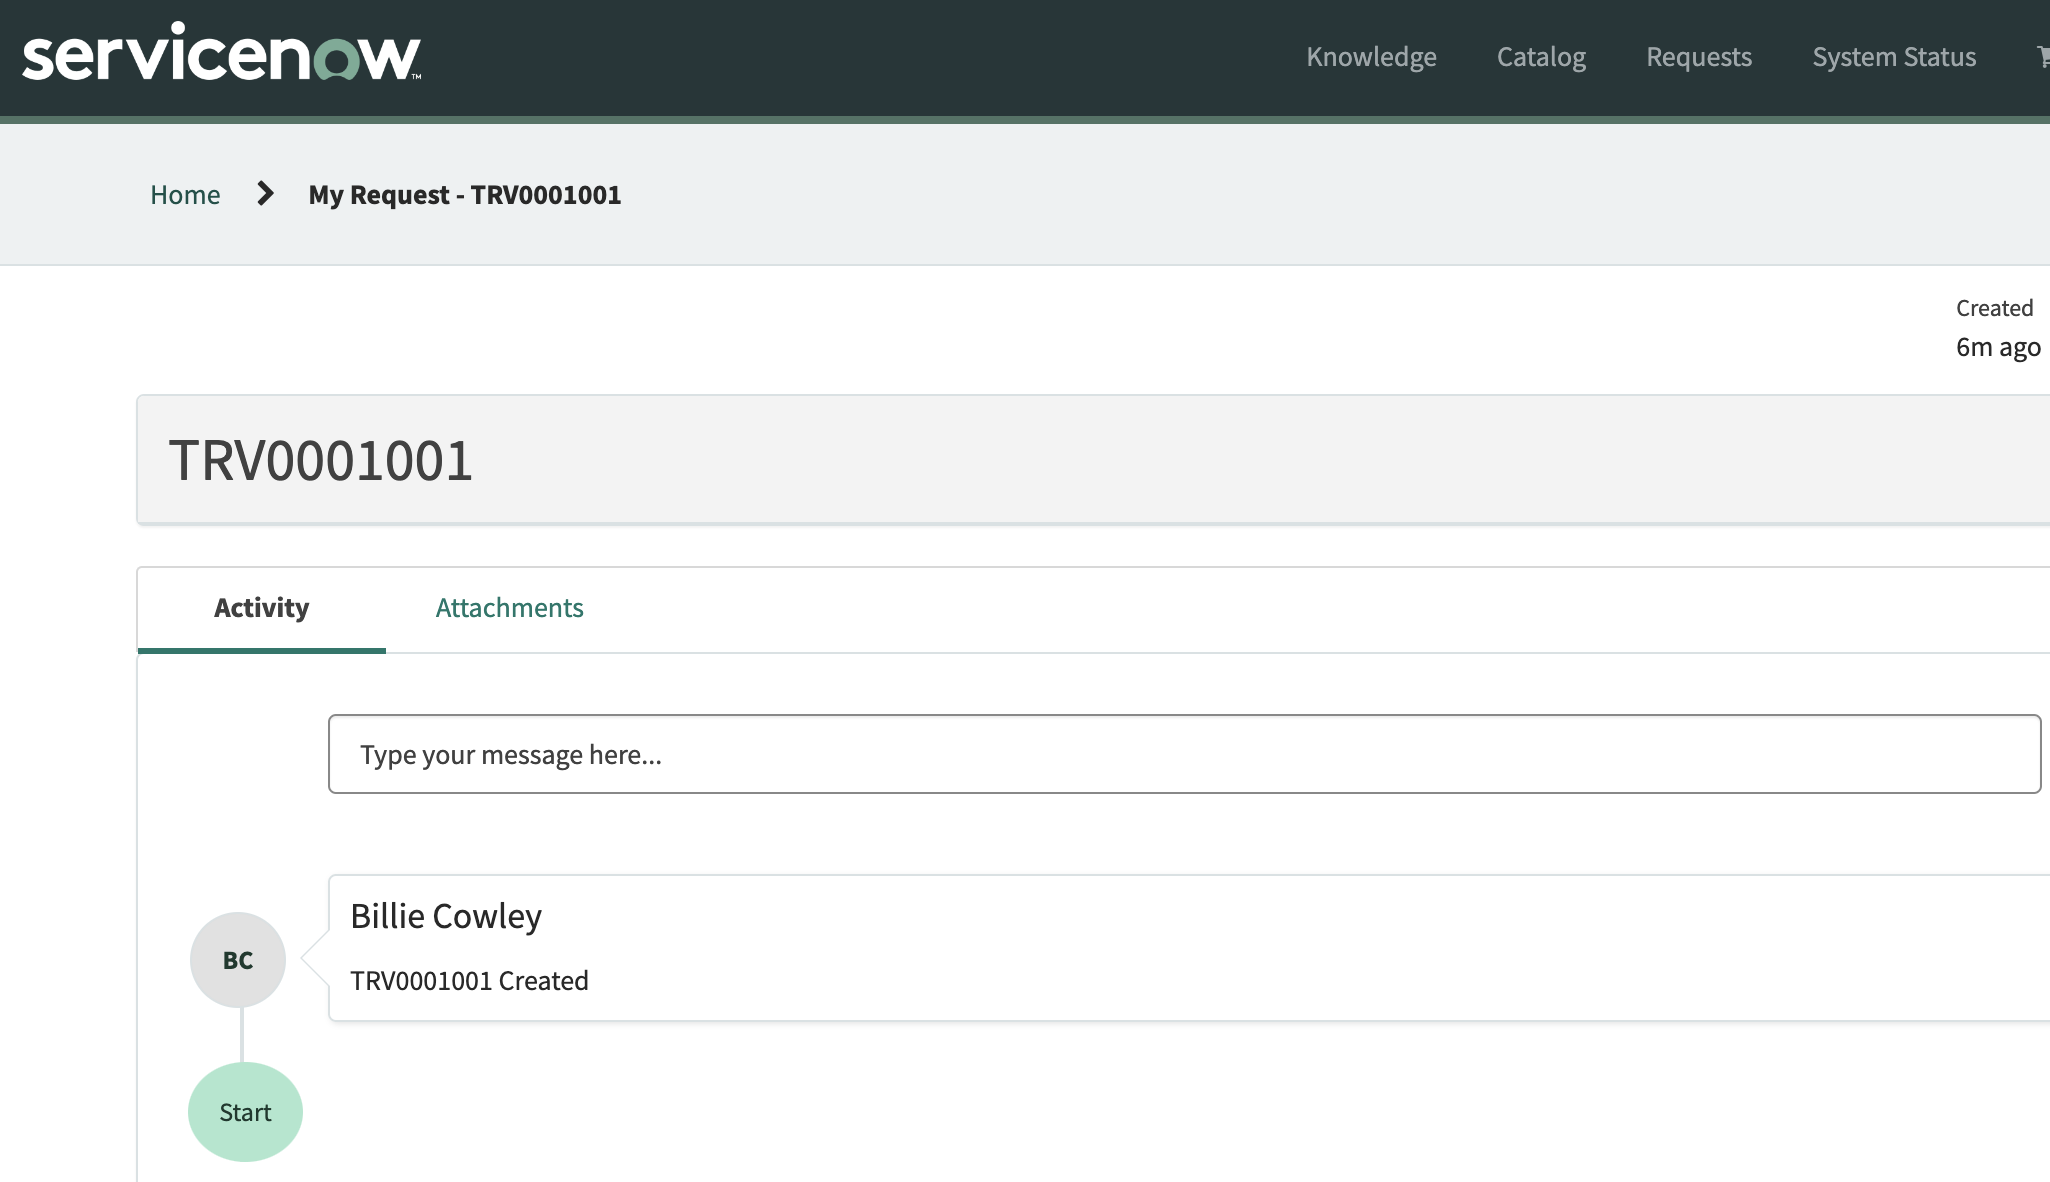
- The next screen can be used to track the status of the request and add attachments
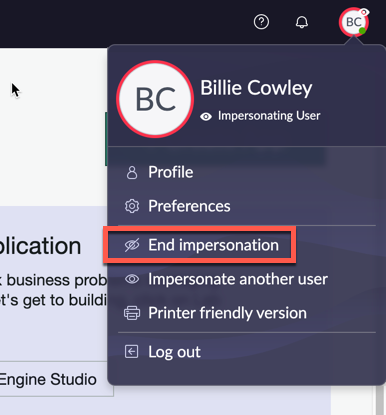
- Go back to the ServiceNow main interface, and End impersonation
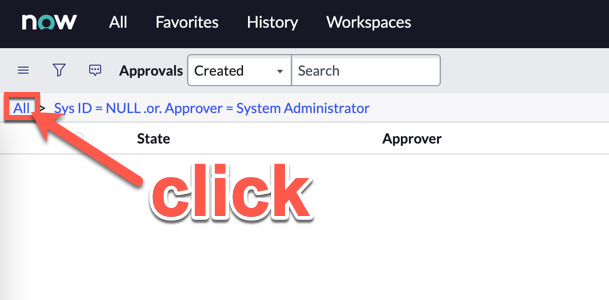
- Under All, search and select My Approvals

- Remove the filter by clicking All
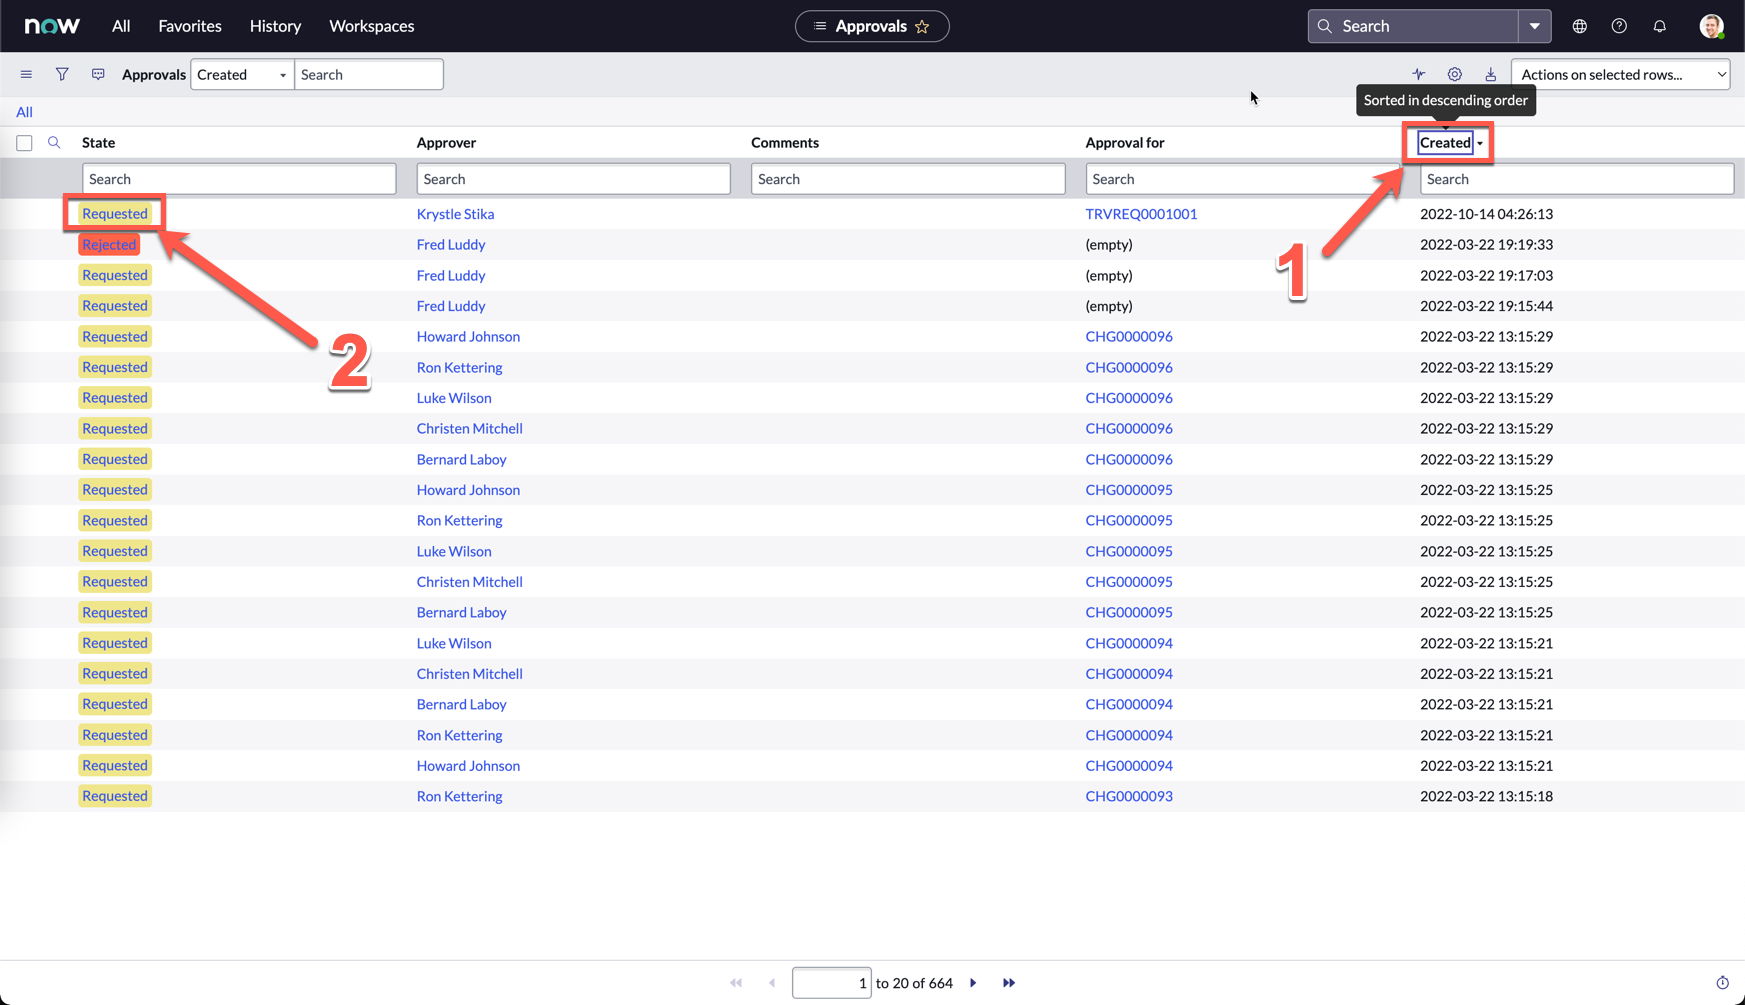
- Filter by the latest created approval date by clicking Created
- Click on the Requested record for Krystle Stika as the Approver
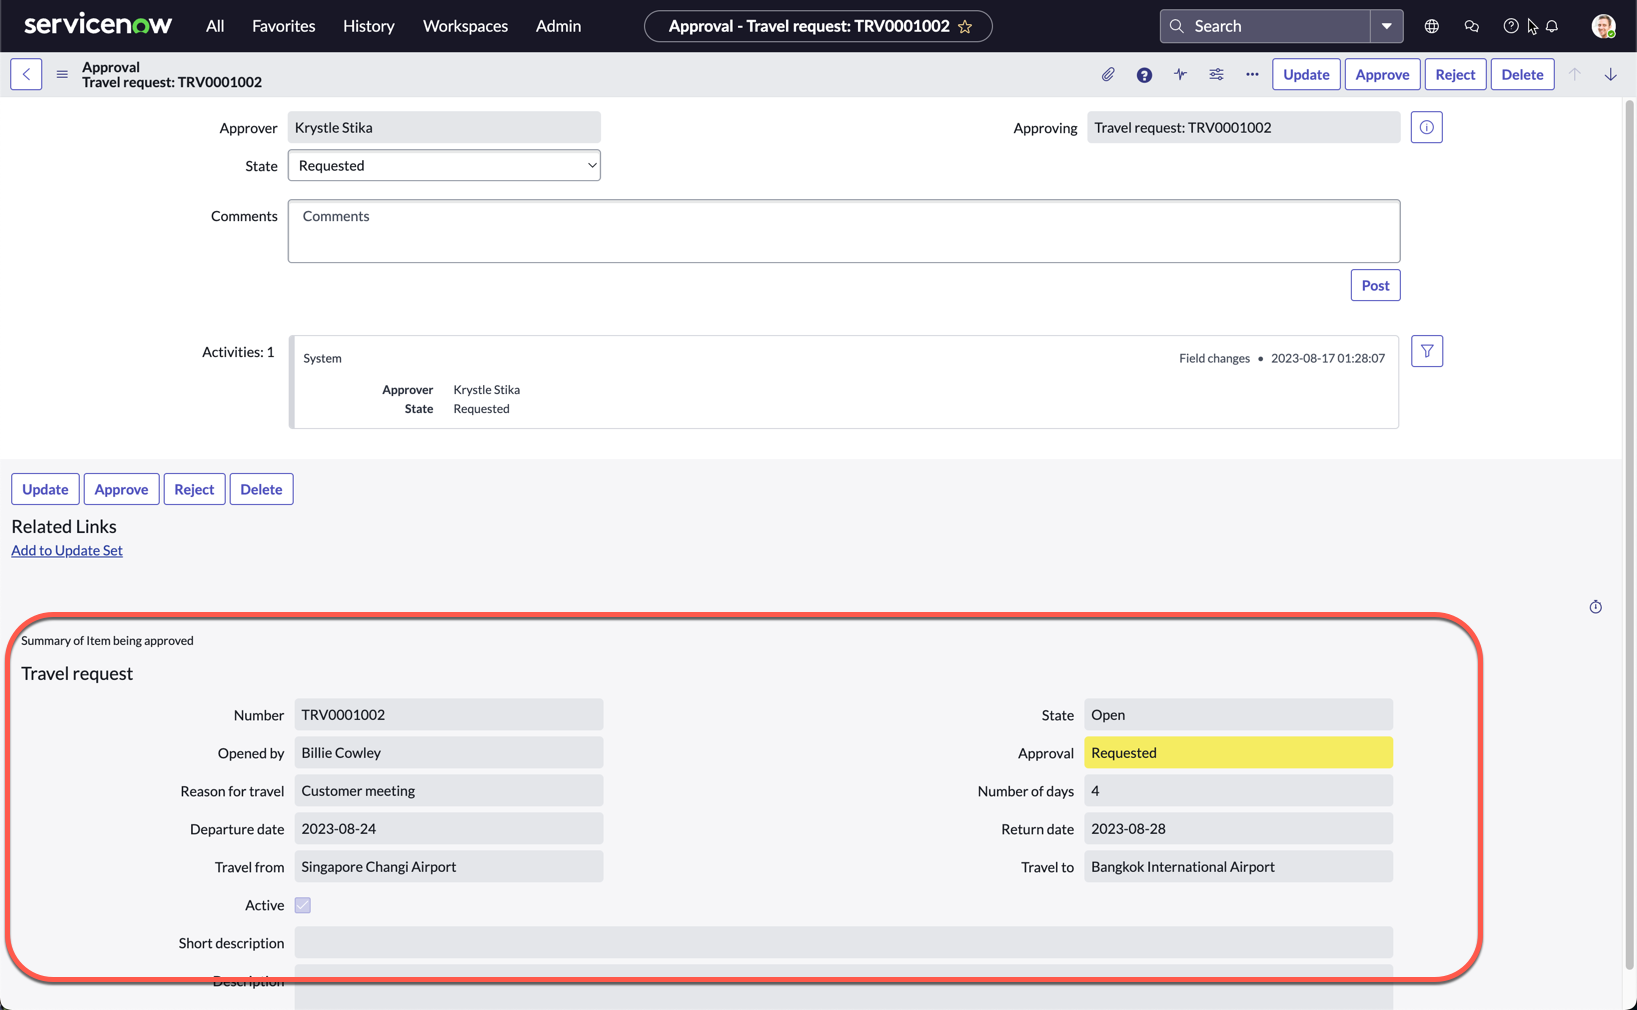
- Review the details you submitted on the bottom of the form, then click Approve
- You will be brought back to the list view
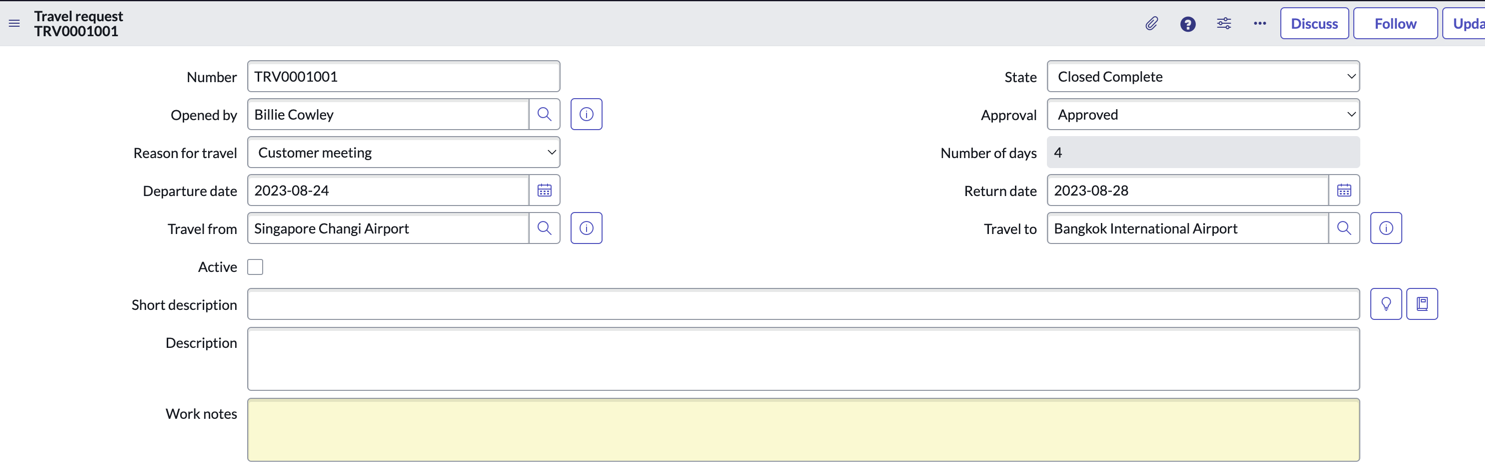
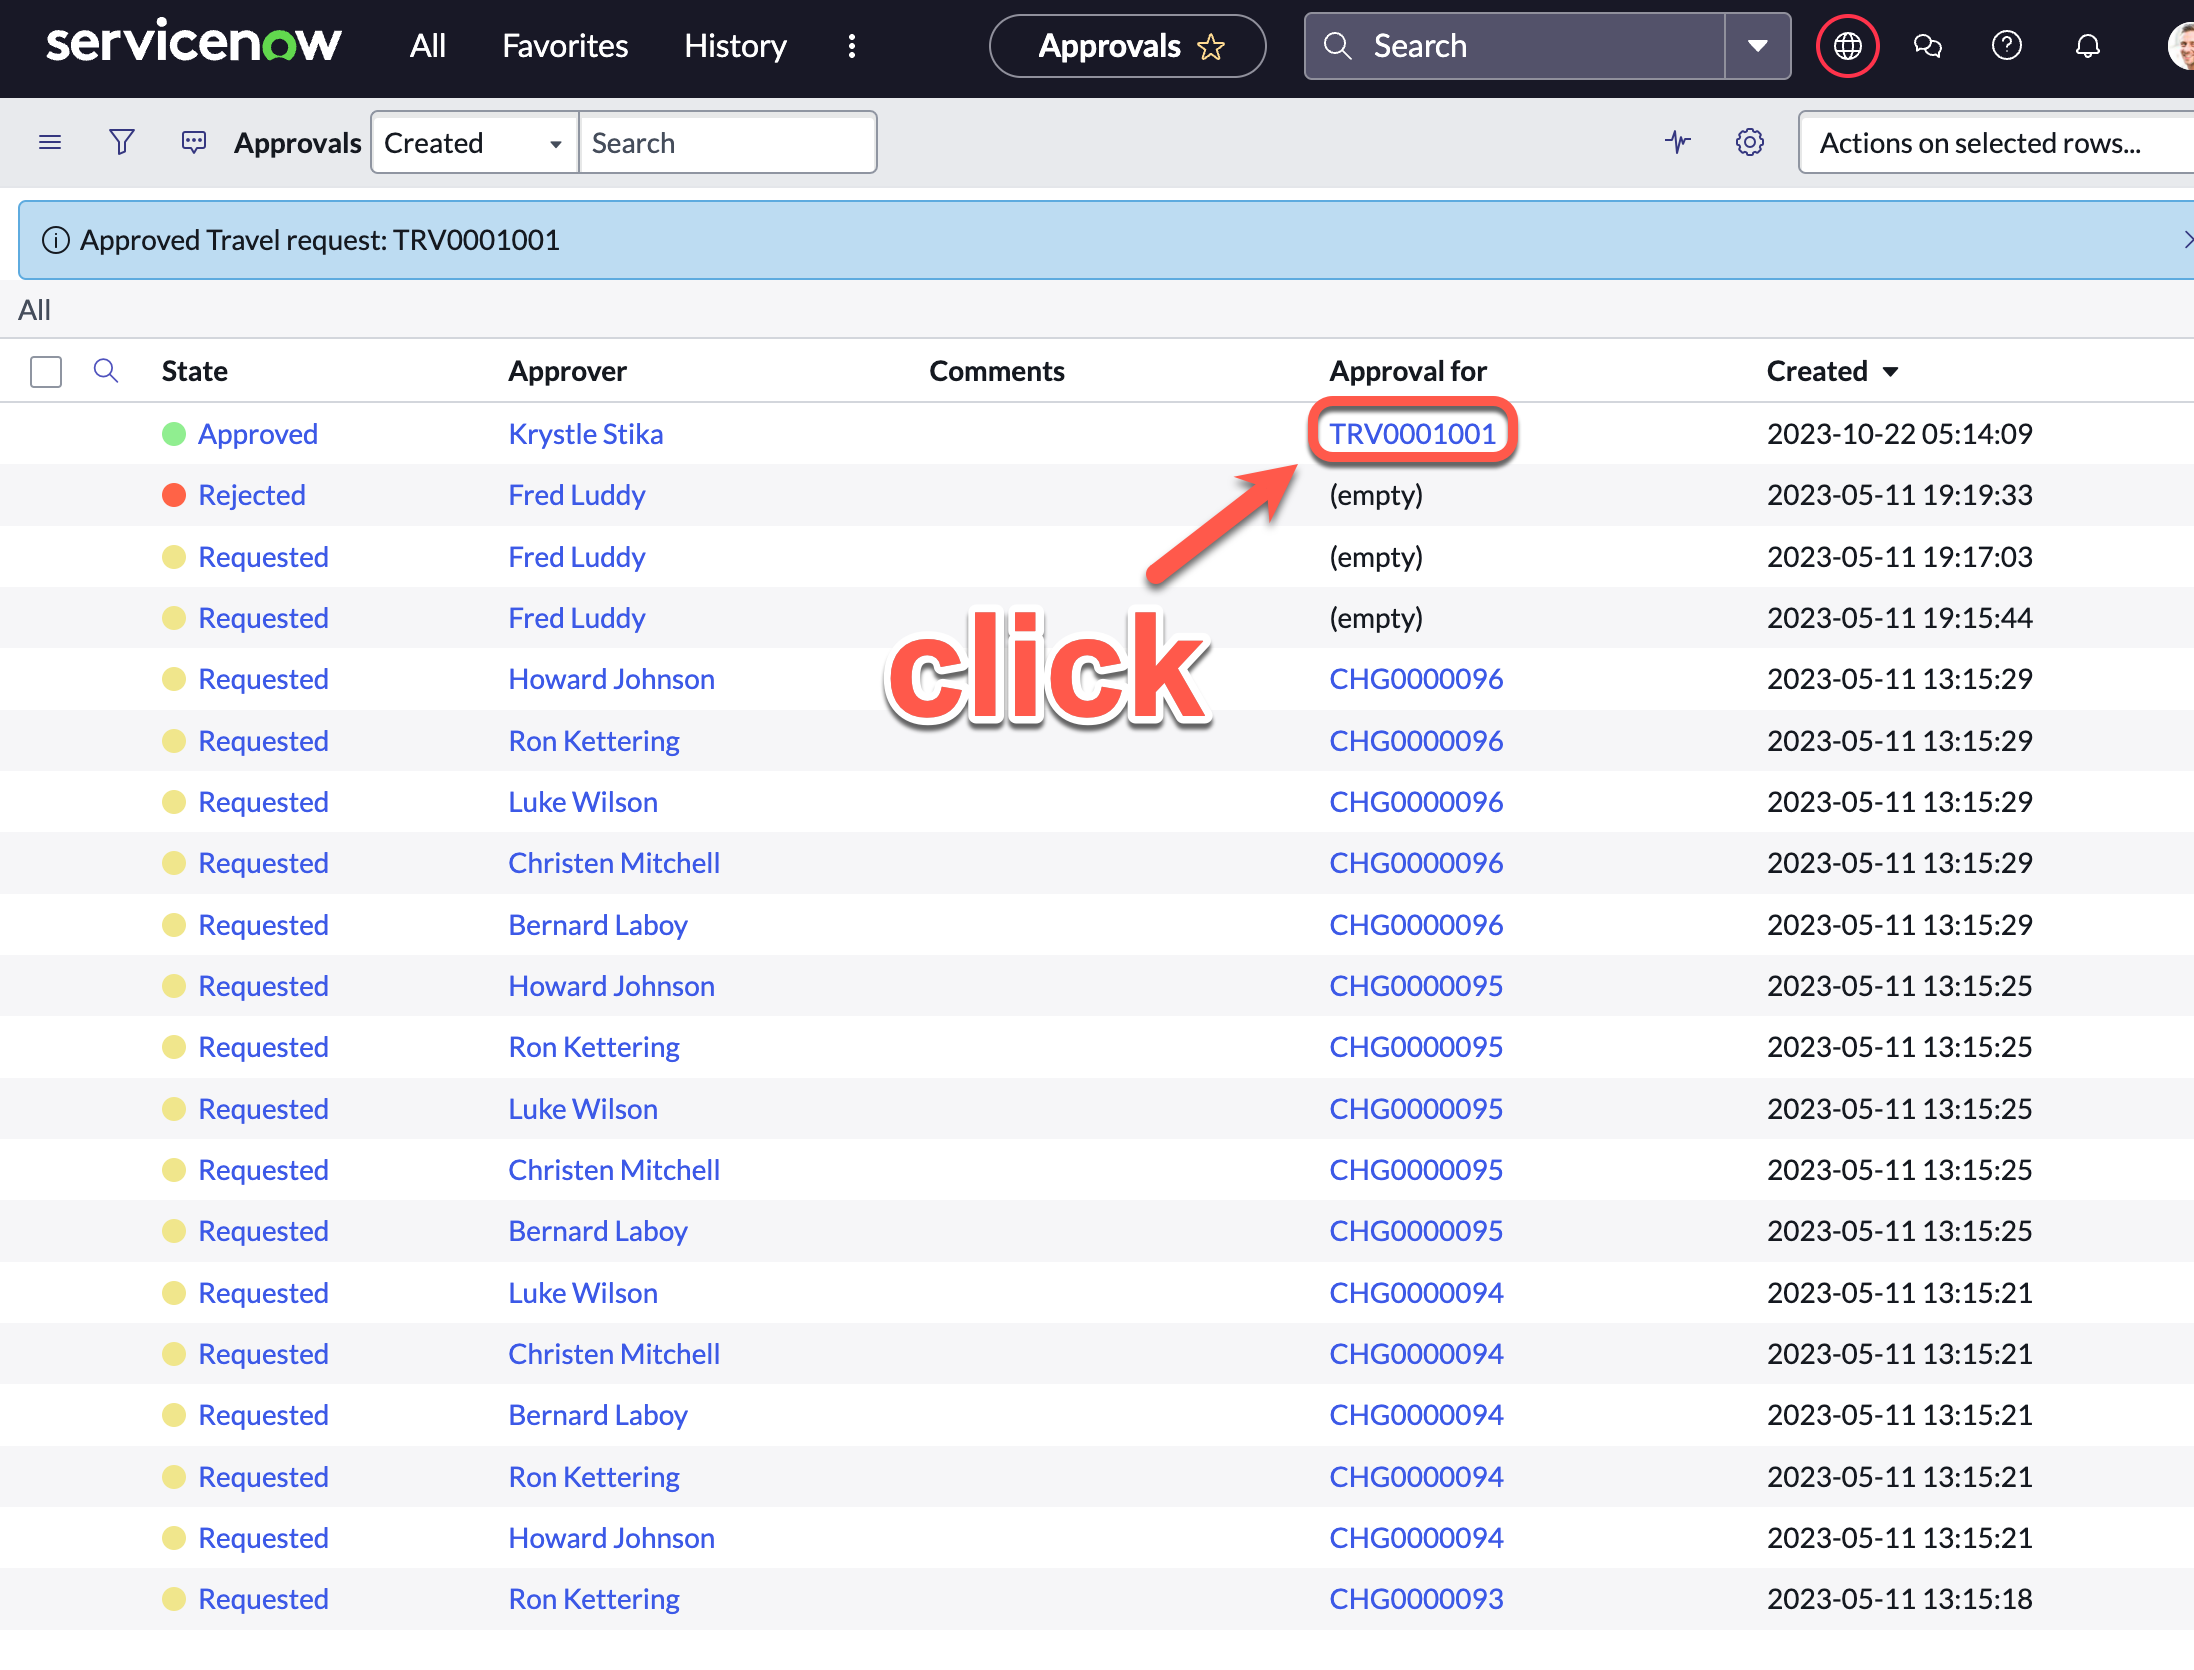
- Click on the Approved record for your Travel request, if you followed all the steps so far, this should be the first record created: TRV0001001
- On the record, notice that the State was automatically changed to Closed Complete, as per our approval flow that was designed