App Engine Innovation Workshop Lab Guide
Exercise 2: Import data and create tables
Goal
In this exercise, you will add new tables to your App.
This is the place where your data will be stored within your ServiceNow Instance. Because ServiceNow has a database built-in on the platform, it is very easy to create new tables for your App.
Add the first table (Import from spreadsheet)
The first table you create, will be set up in an easy and fast way, by importing and converting an existing Excel file to a working table in ServiceNow.
In the same moment, you will also import the data from the Excel file into the new table in your App.
Let’s go…
Steps
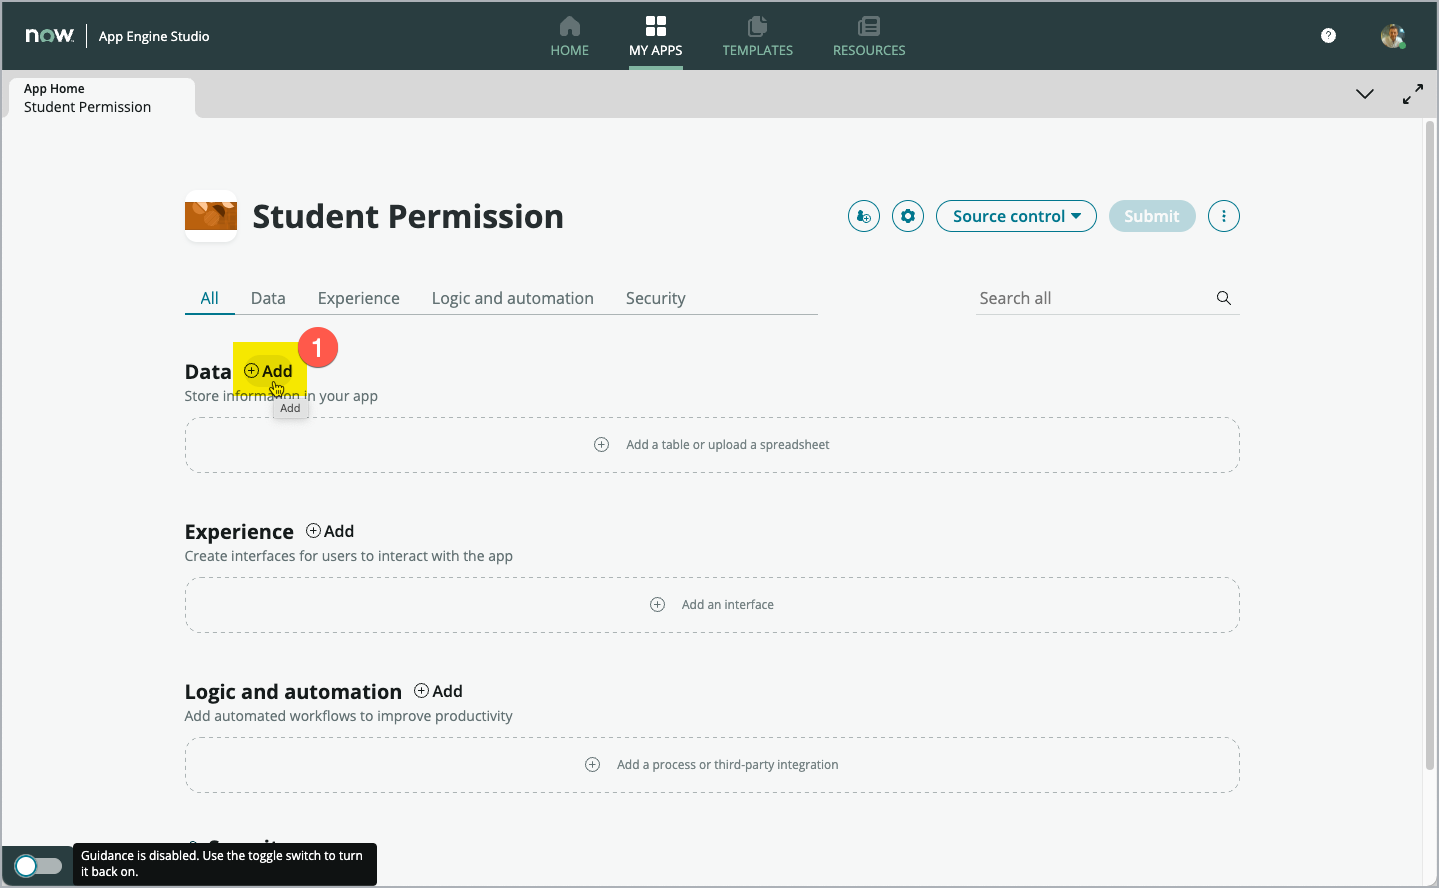
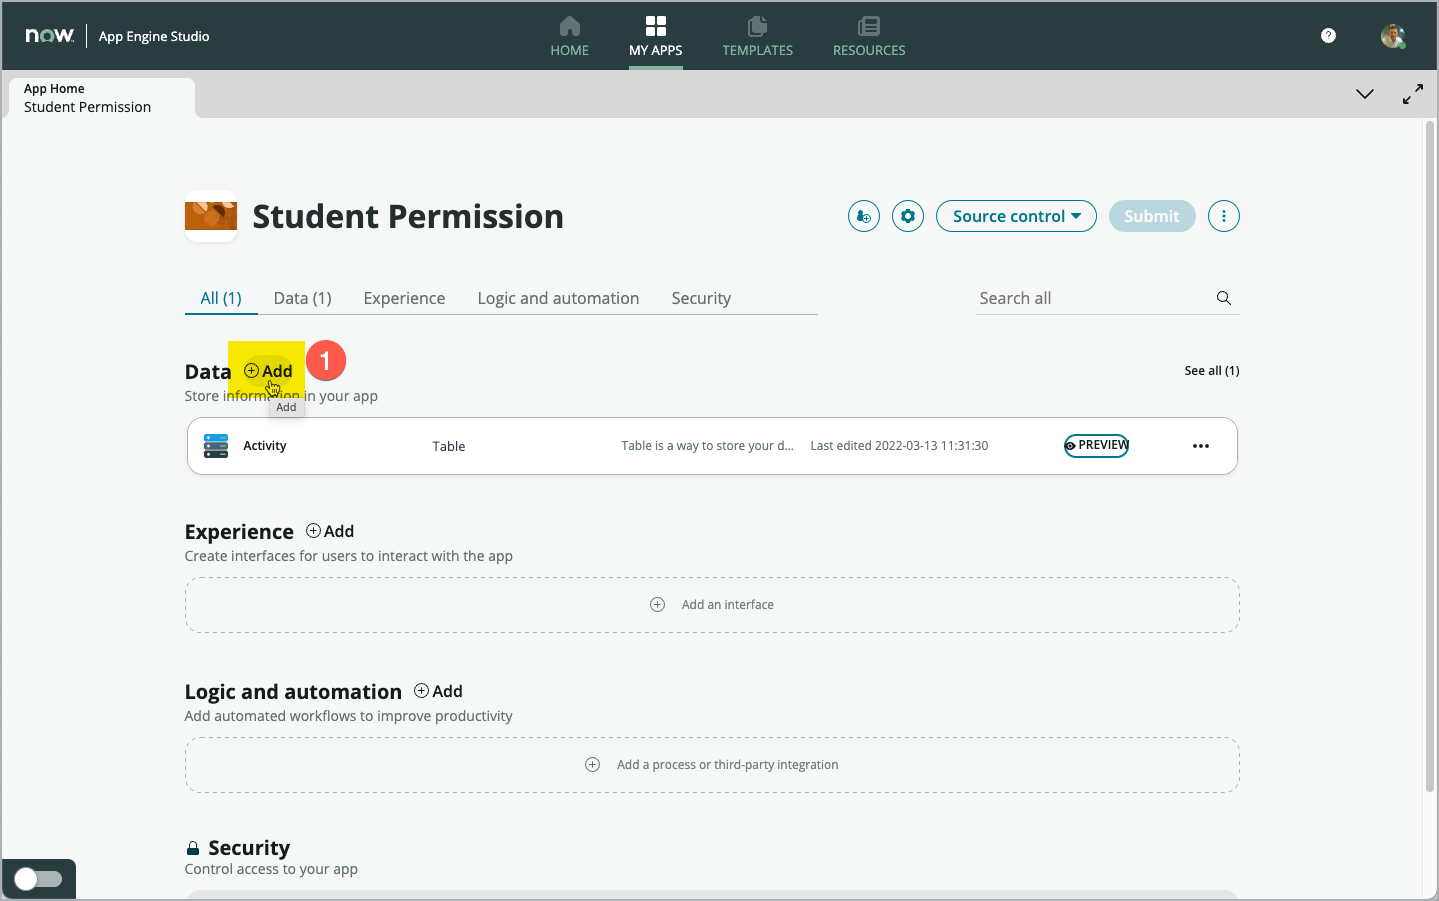
Start adding tables by clicking the Add button (1) in the Data section.
Note: You can find the sections from the App Dashboard in App Engine Studio, where we stopped the previous exercise.
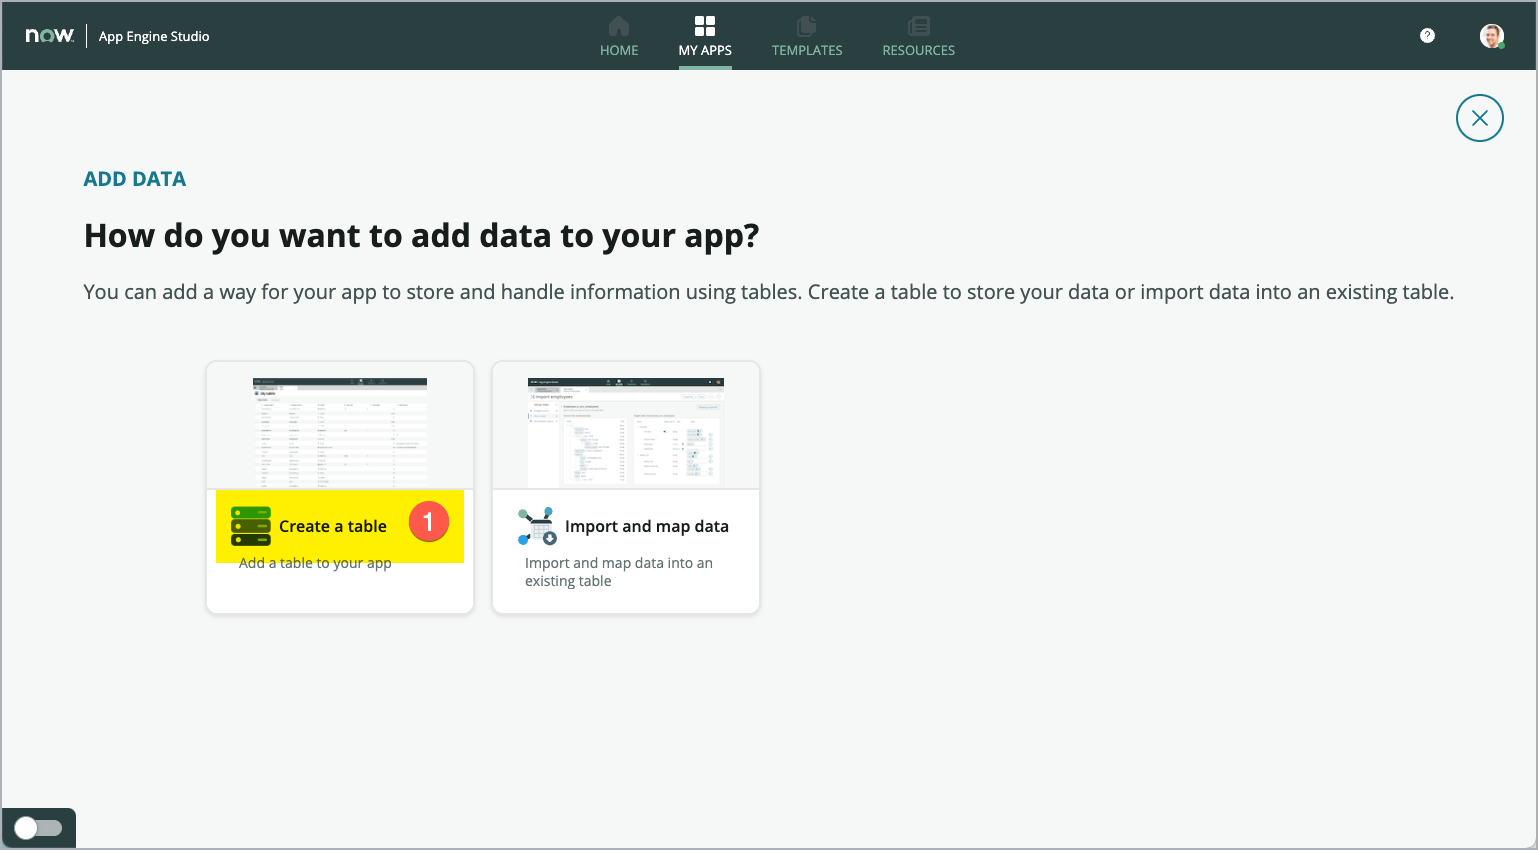
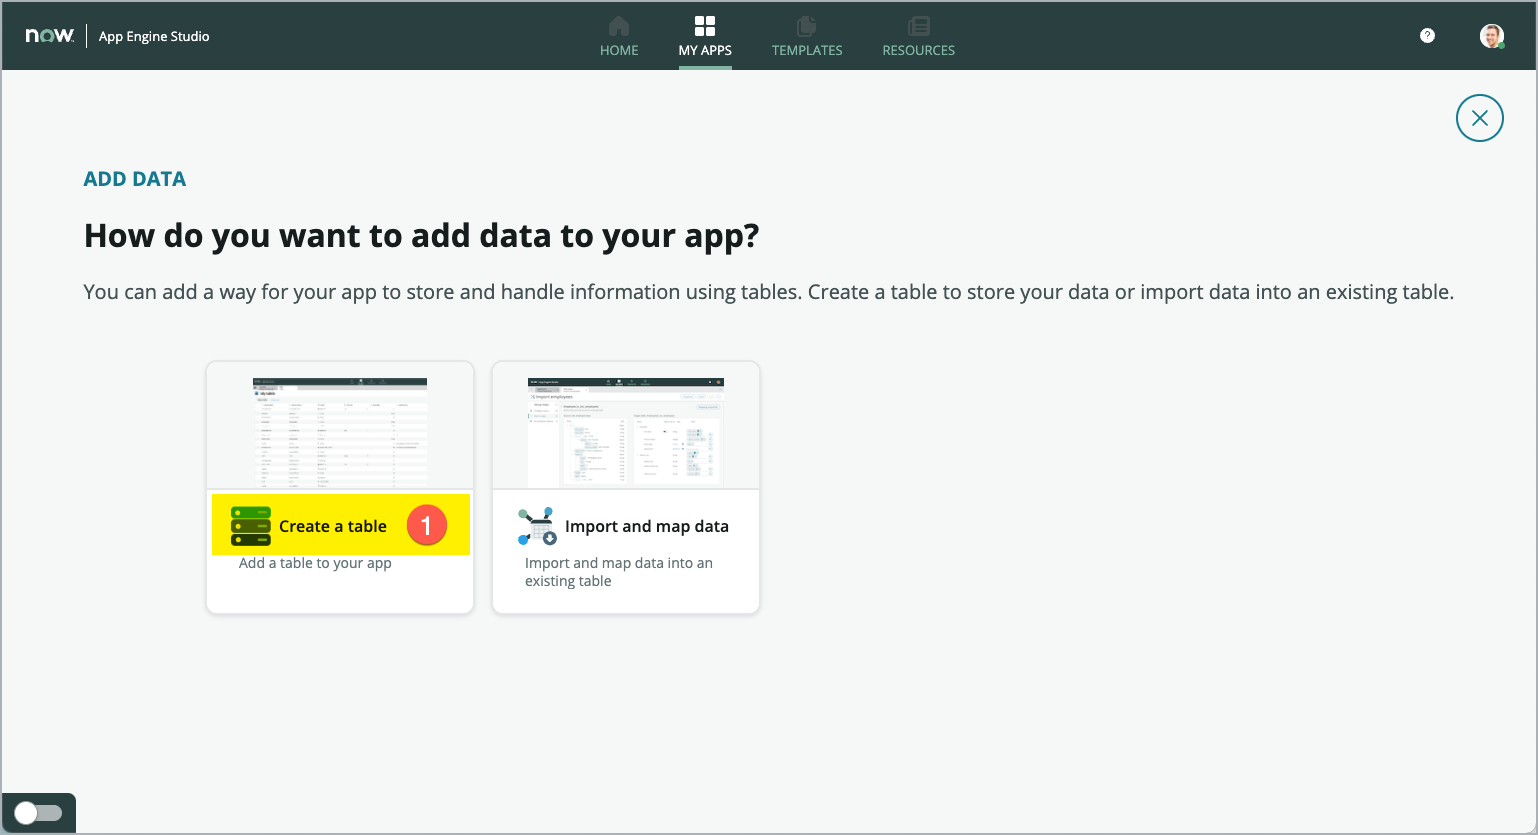
Select the option Create a table (1) - see screenshot below (in your instance, this card may be shown on the left, instead on the right like shown in the screenshot).
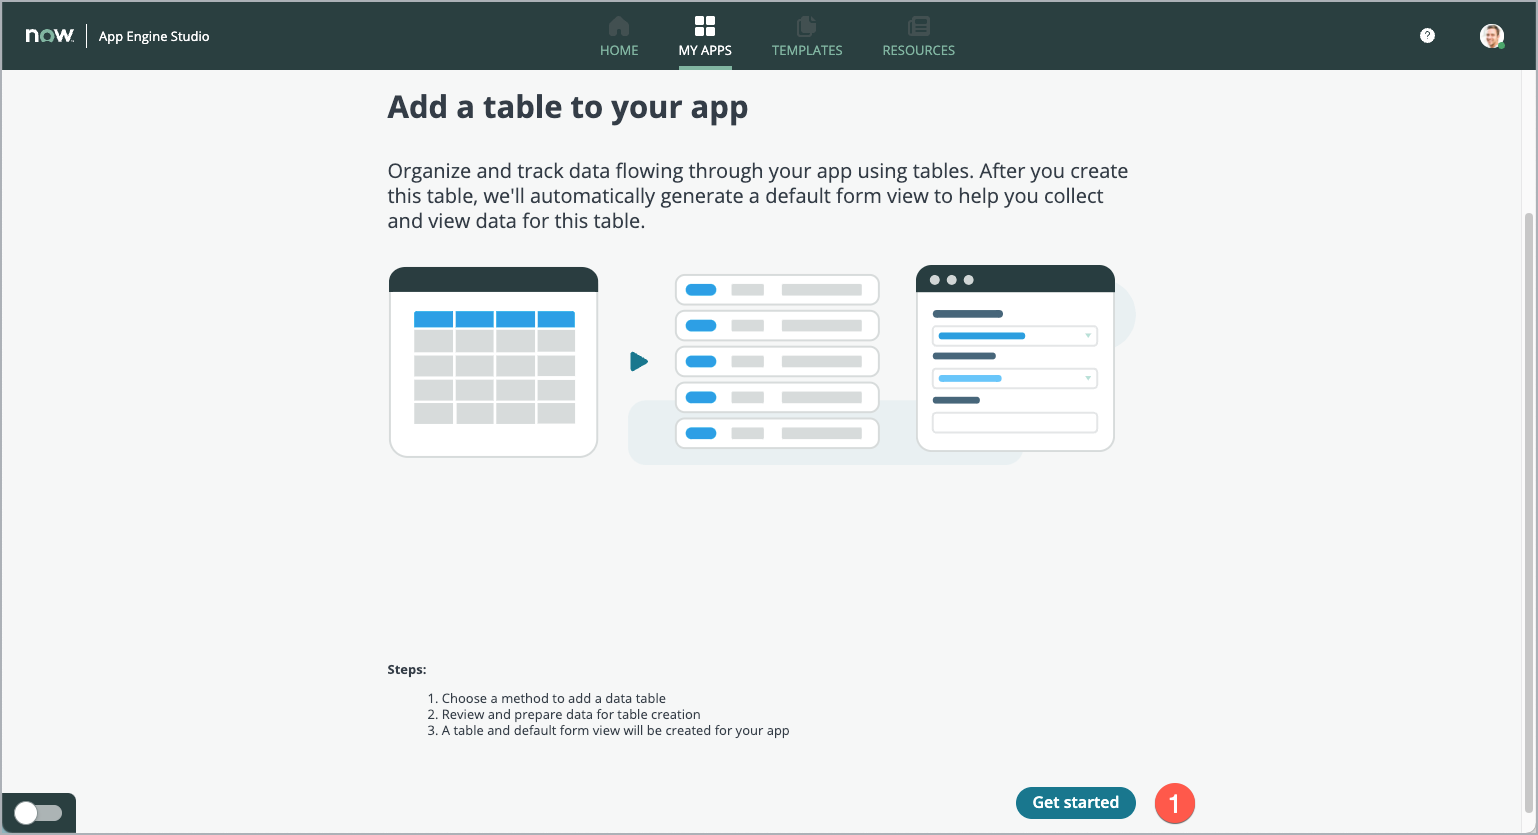
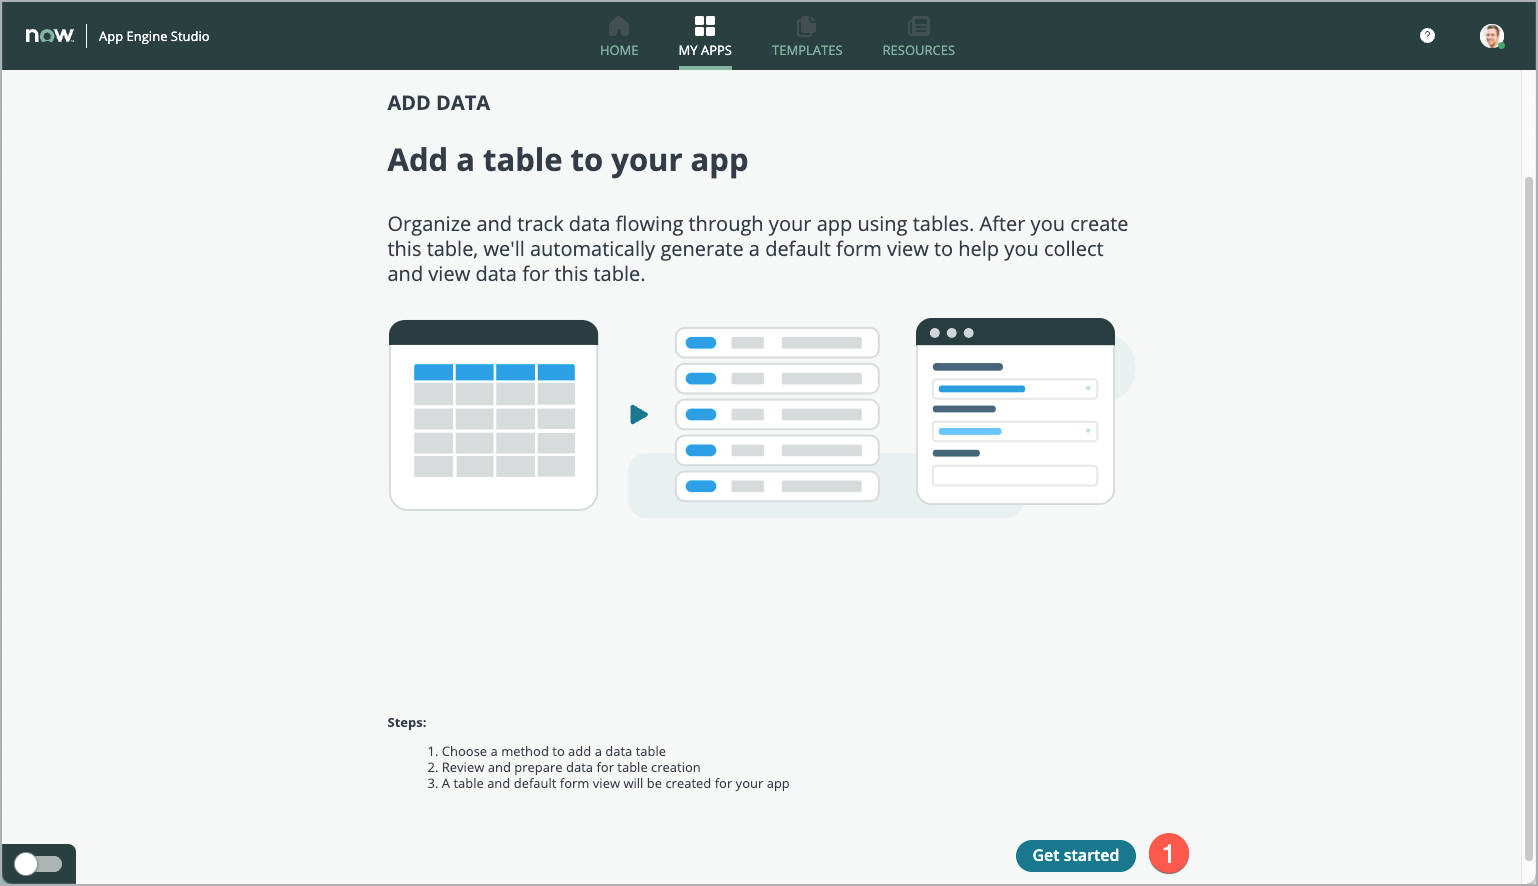
Click Get started (1).
Note: If the button Get started is not visible on your screen, scroll down a bit.
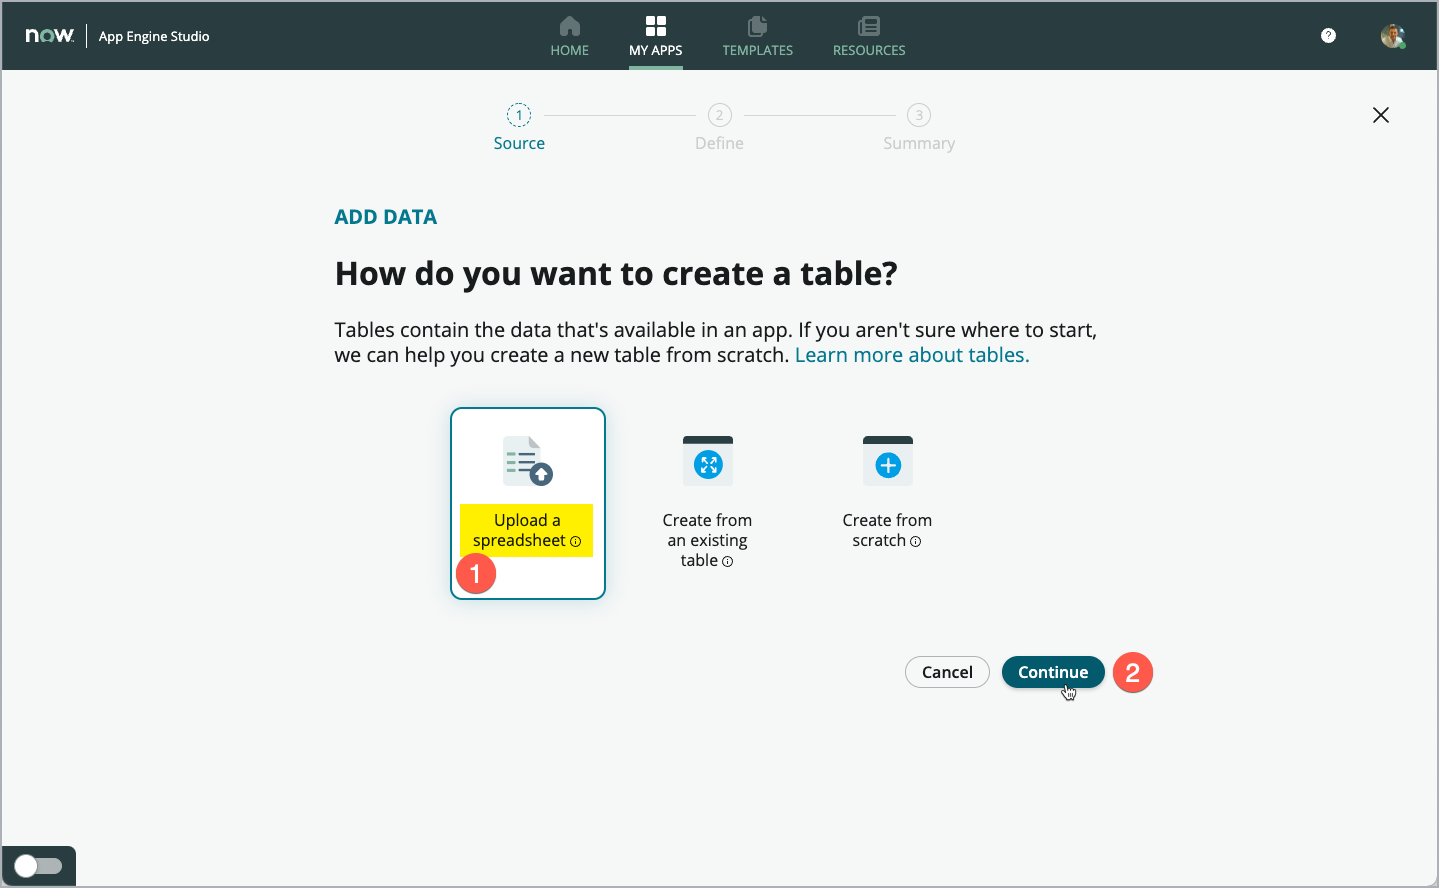
In the next step, click the left-most option Upload a spreadsheet (1) and click Continue (2).
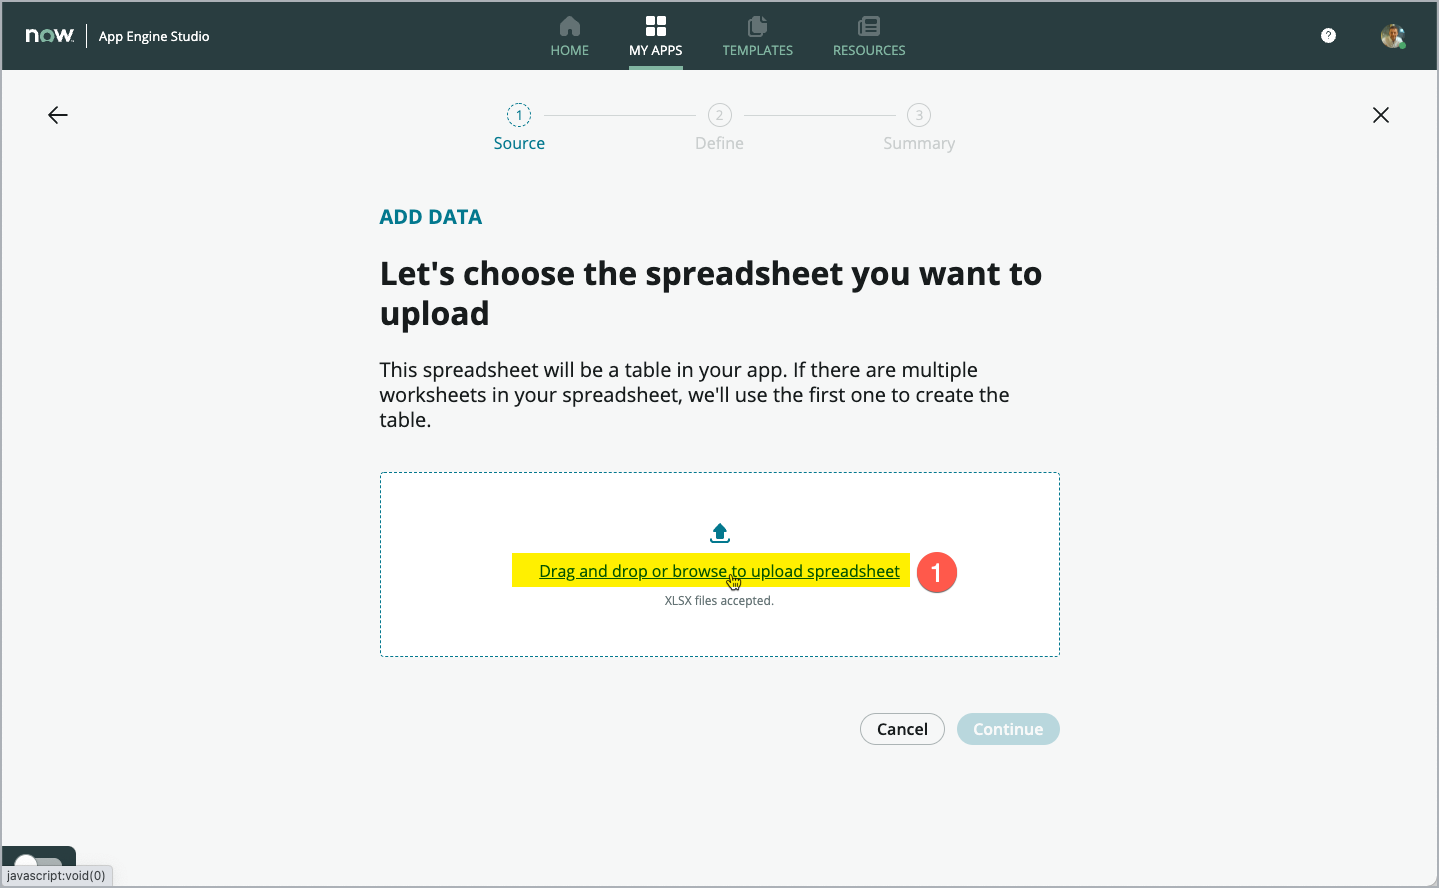
Now add your previously downloaded Excel spreadsheet to import the data structure and the data in one step.
You can click the link (1) to open your file selector dialog OR you can also drag and drop the file to the box (1) on the form.
Note: For convenience, here is the link to the Excel spreadsheet once more:
Click here to Download the Excel file

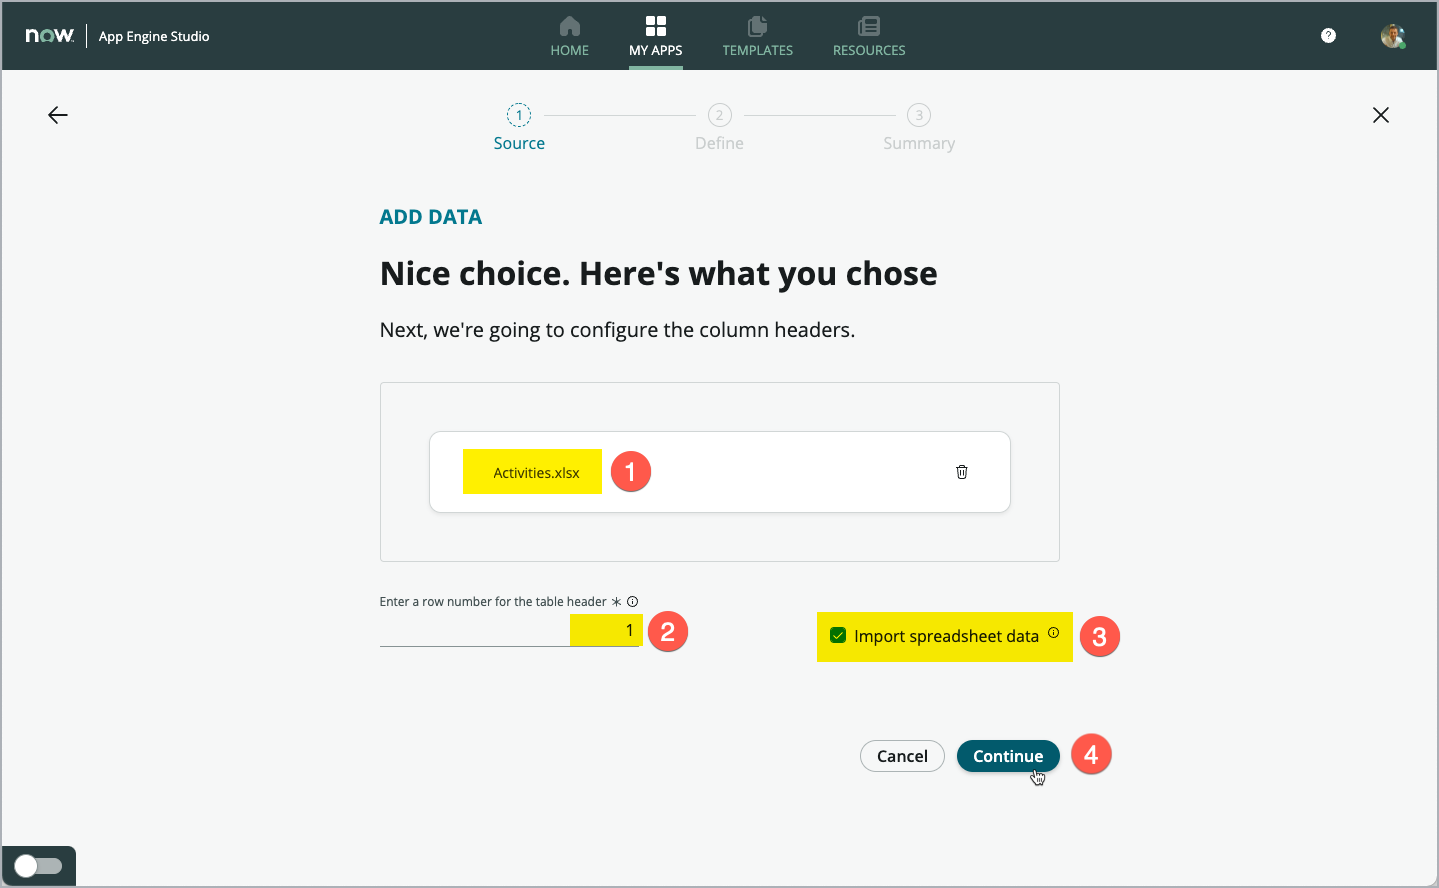
As soon as your Excel file is selected, you can see it shown in the dialog (1) - see screenshot below.
Leave the value “1” in the field for the header line (2). This defines the row in your Excel file holding the field names for your new table to create and import.
Make sure, that you check the Import spreadsheet data checkbox (3).
This ensures that not only the table structure will be created, but also the data from the Excel spreadsheet will be imported to the newly created table as well.
Click Continue (4) to move on.
Note: You can change the selected file, if you chose a wrong file. To chose a different file, click the trashcan icon and select the file desired.
The system then analyzes the Excel file. This takes a few seconds.
For reference, you can see the content of the Excel file in the screenshot below:
Review the table columns identified from the previous step.
Find the Status field (1) and change the Type of that field to Choice (2).
This results in the Status field displayed as a dropdown field in ServiceNow, where all options from the Excel file are available for selection automatically.

Scroll down in the list of fields to the *Teacher** field (1) and change the Type column (2) to Reference.
In the Reference table column (3) select the User [sys_user] table from the list of tables.
Note: As this list contains a lot of tables, type sys_user in the search field to faster find the User table.
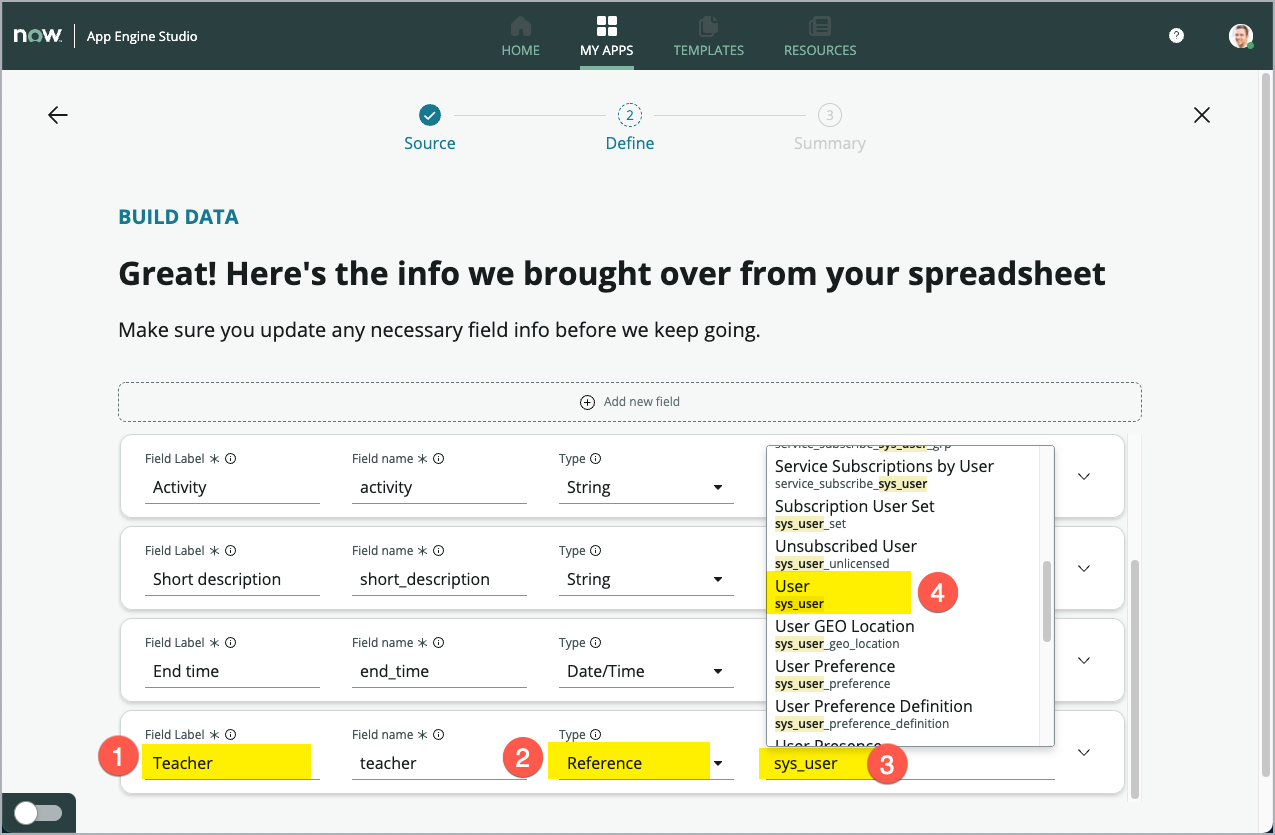
Click the Continue button (4).
Note: The Teacher field references an existing system table (User [sys_user]). Using a reference field here improves reporting capabilities and reduces human data entry issues.
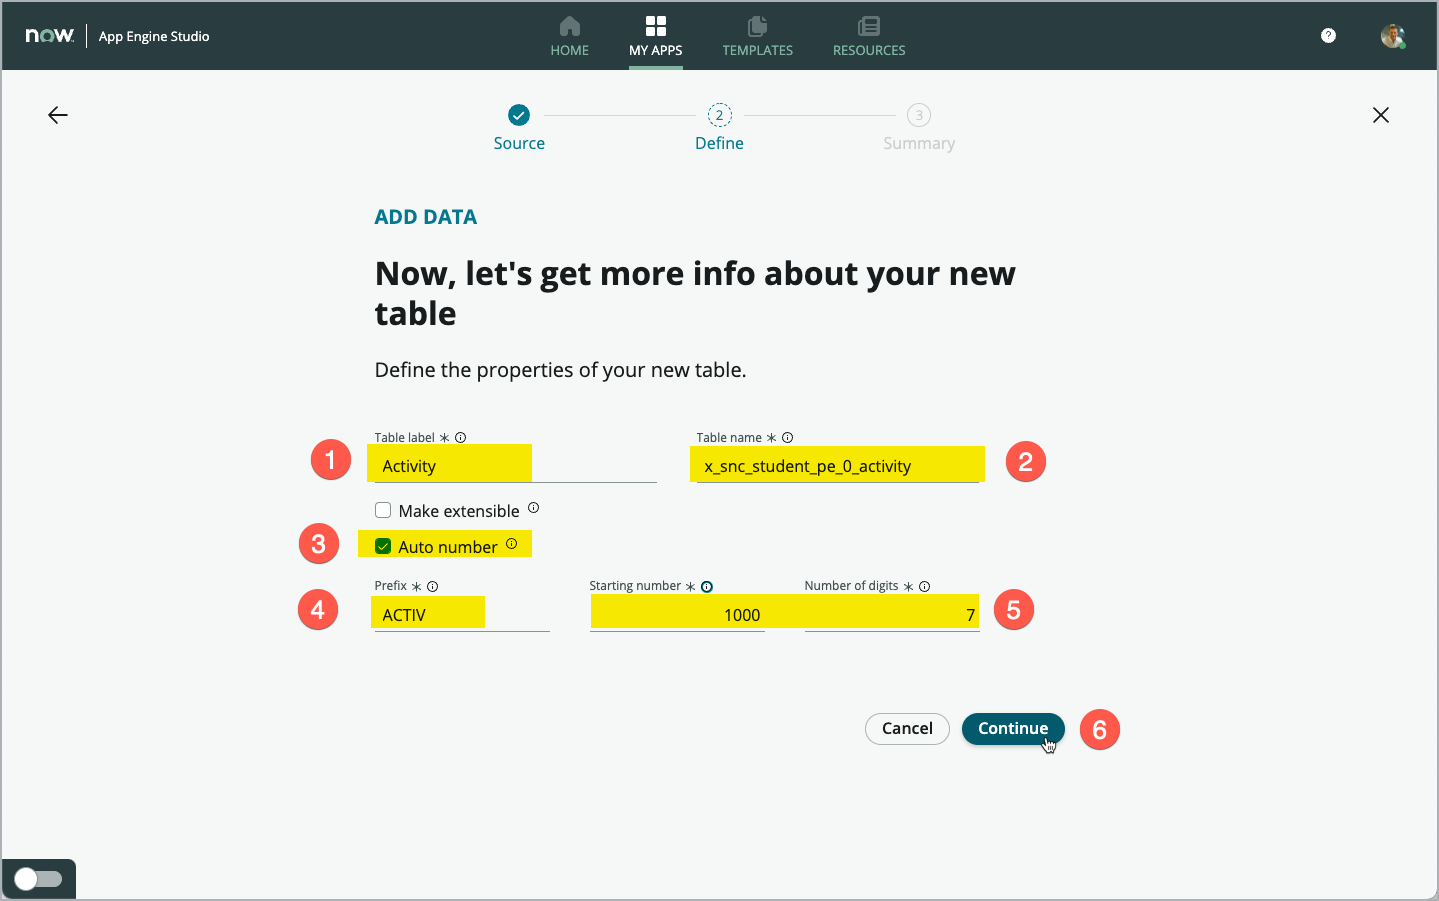
Enter the name Activity for the new table in the Table label field (1). No changes are needed for Table name (2).
Select the Auto number checkbox (3) and enter ACTIV (all capital letters) in the Prefix field (4). The Prefix is used for the automatic numbering of records, e.g. like “ACTIV0001001”, giving each row in the table a unique human readable number.
No changes are needed to the two fields Starting number and Number of digits (5).
Click Continue (6).
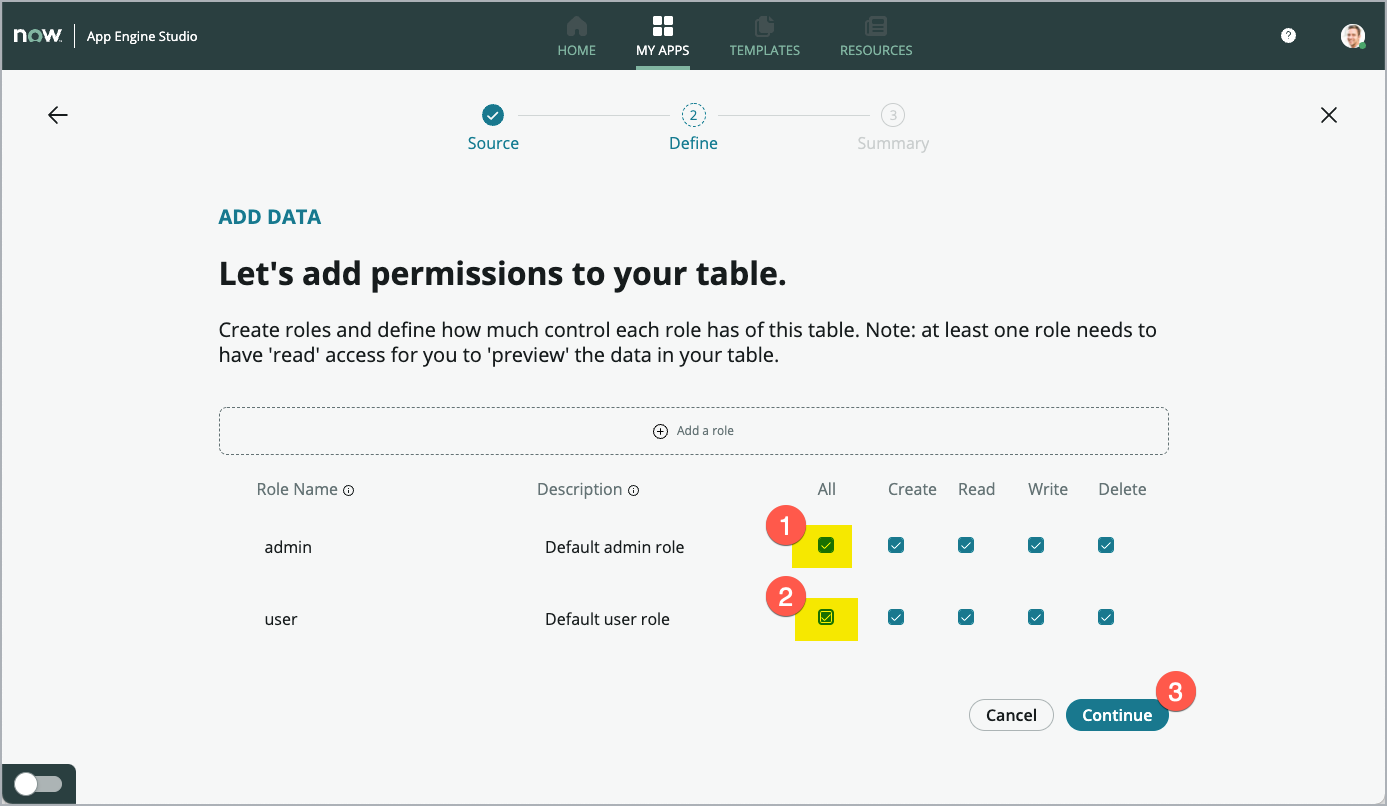
In this step, you define, which Roles will have access to the table data in it. Mark the checkbox in the All column for the “admin” Role (1) and the “user” Role (2). Then click Continue (3) to proceed.
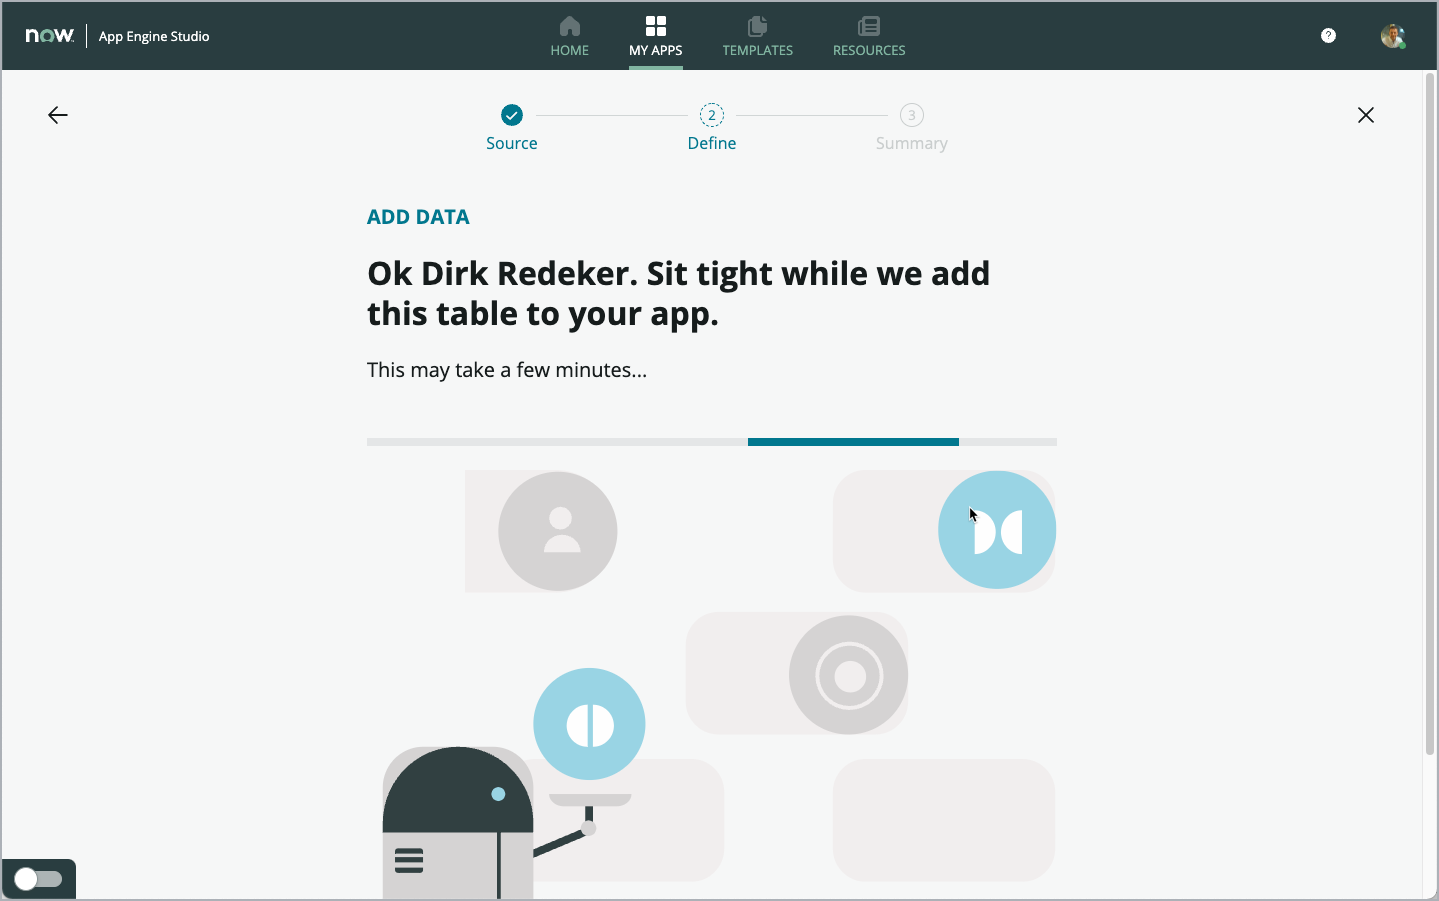
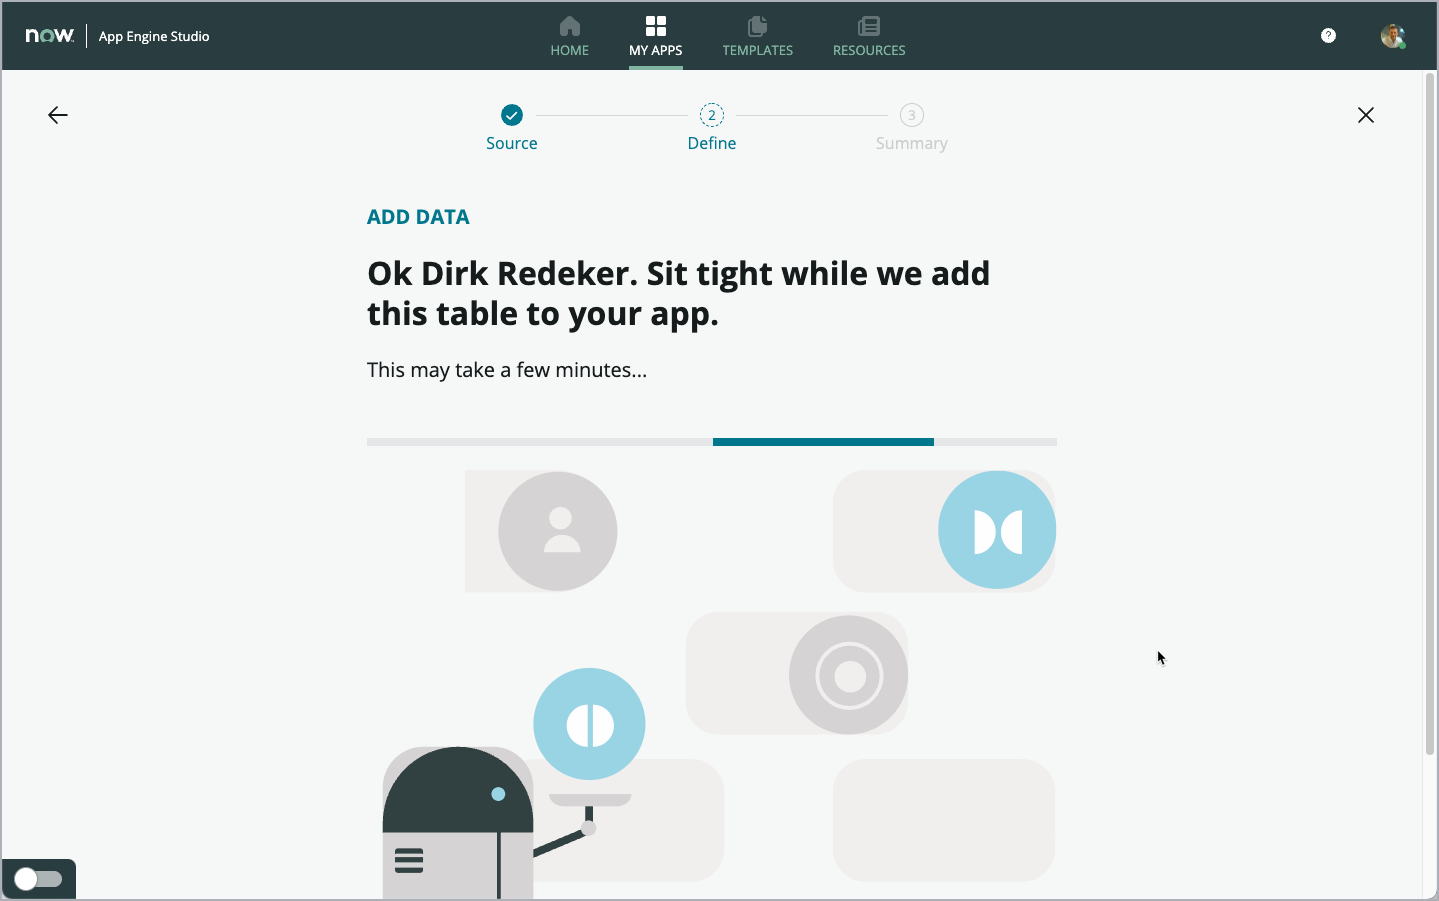
The system takes a few seconds to create the table and import the data from the spreadsheet to the new table.
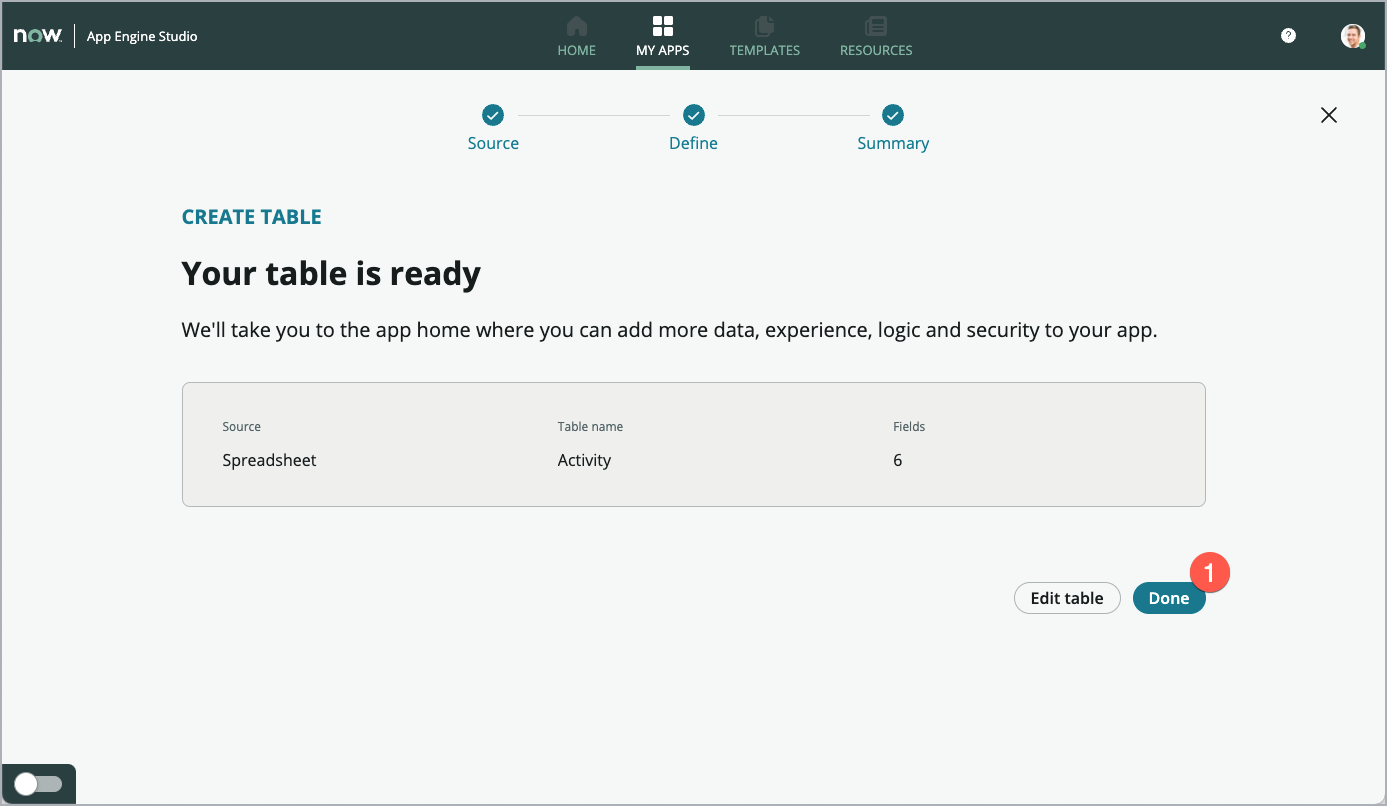
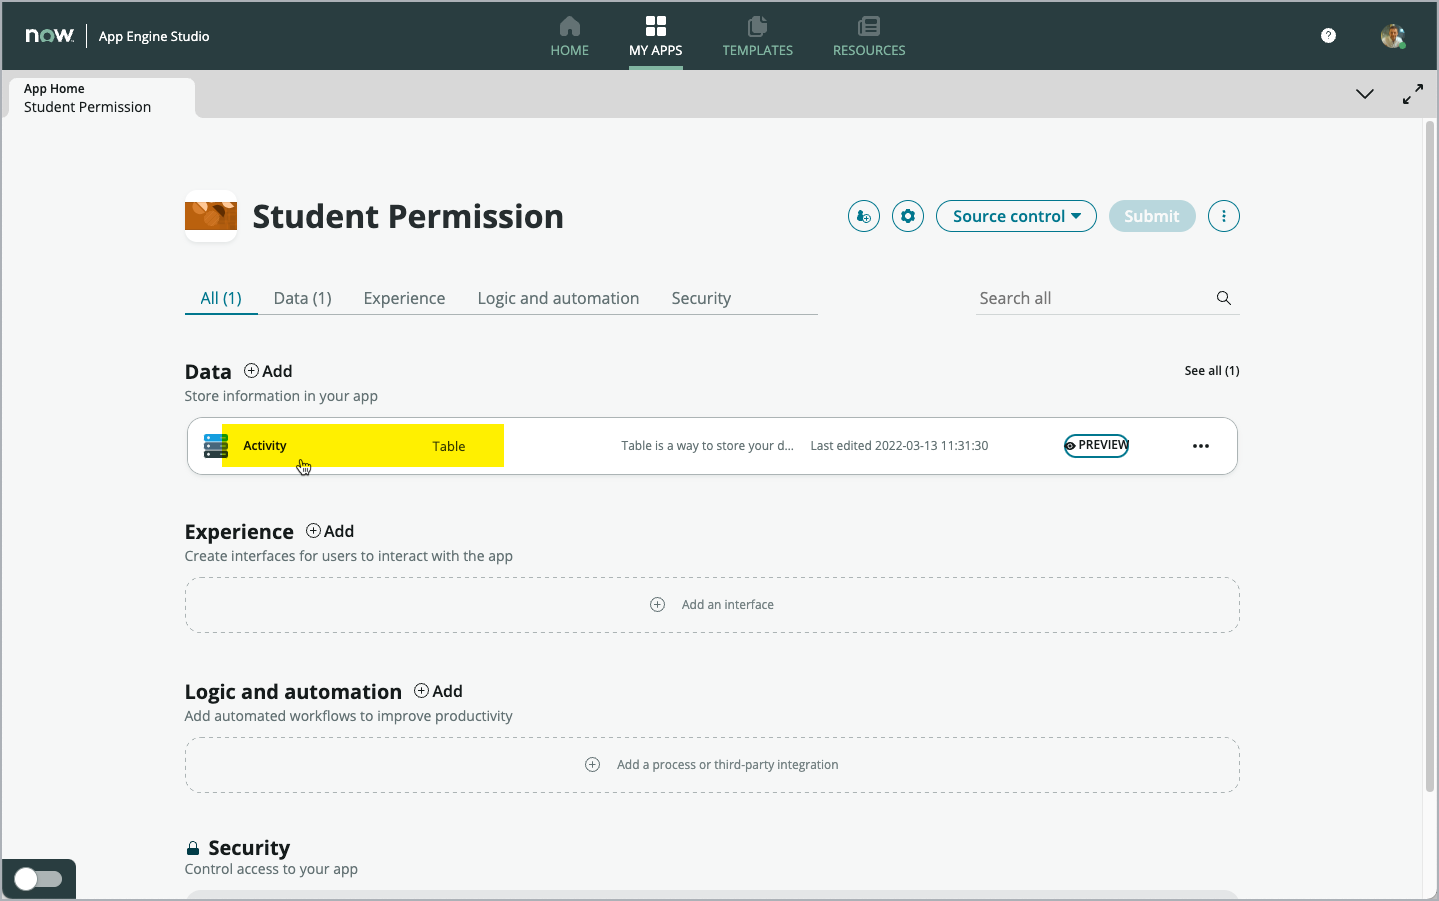
When the import has finished, click Done (1).
You can now see, that your table is shown in the Data section of your App Dashboard.
Add the second table (Create from existing table)
Now, let’s add another table to your app. This time, create a new table based on the structure of an existing table (the Task table) in ServiceNow.
By extending an existing table, your new table inherts several fields and functionality from the original table. This can save a lot of time when making tables when the situation calls for it.
On the App Dashboard, click Add (1) in the Data section.
Again, the wizard for adding tables to your app is started.
Like for the first table, click on the right-hand option Create a table (1).
Scroll down a bit an click Get stated (1).
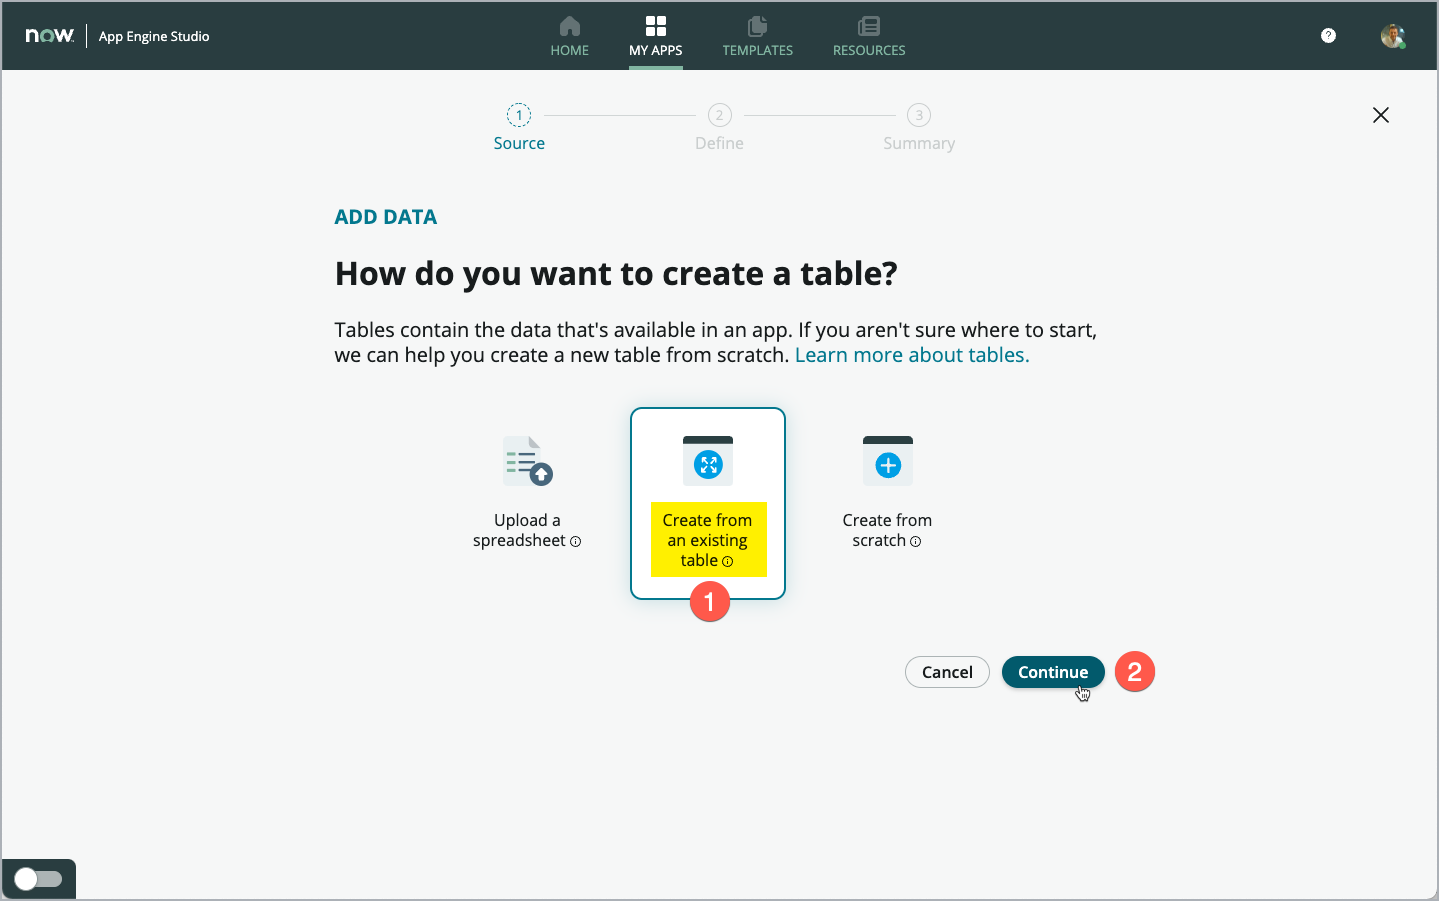
This time, click the option in the middle Create from an existing table (1) then click Continue (2).
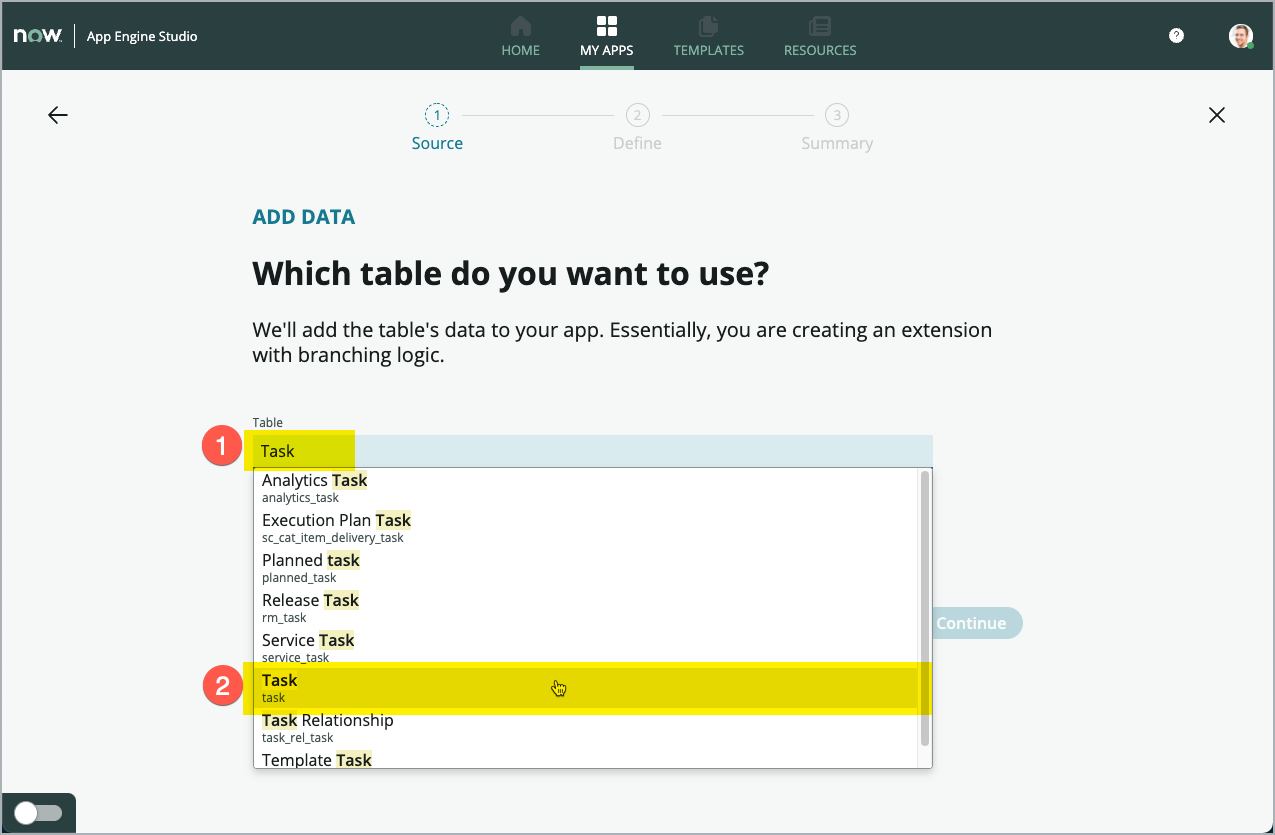
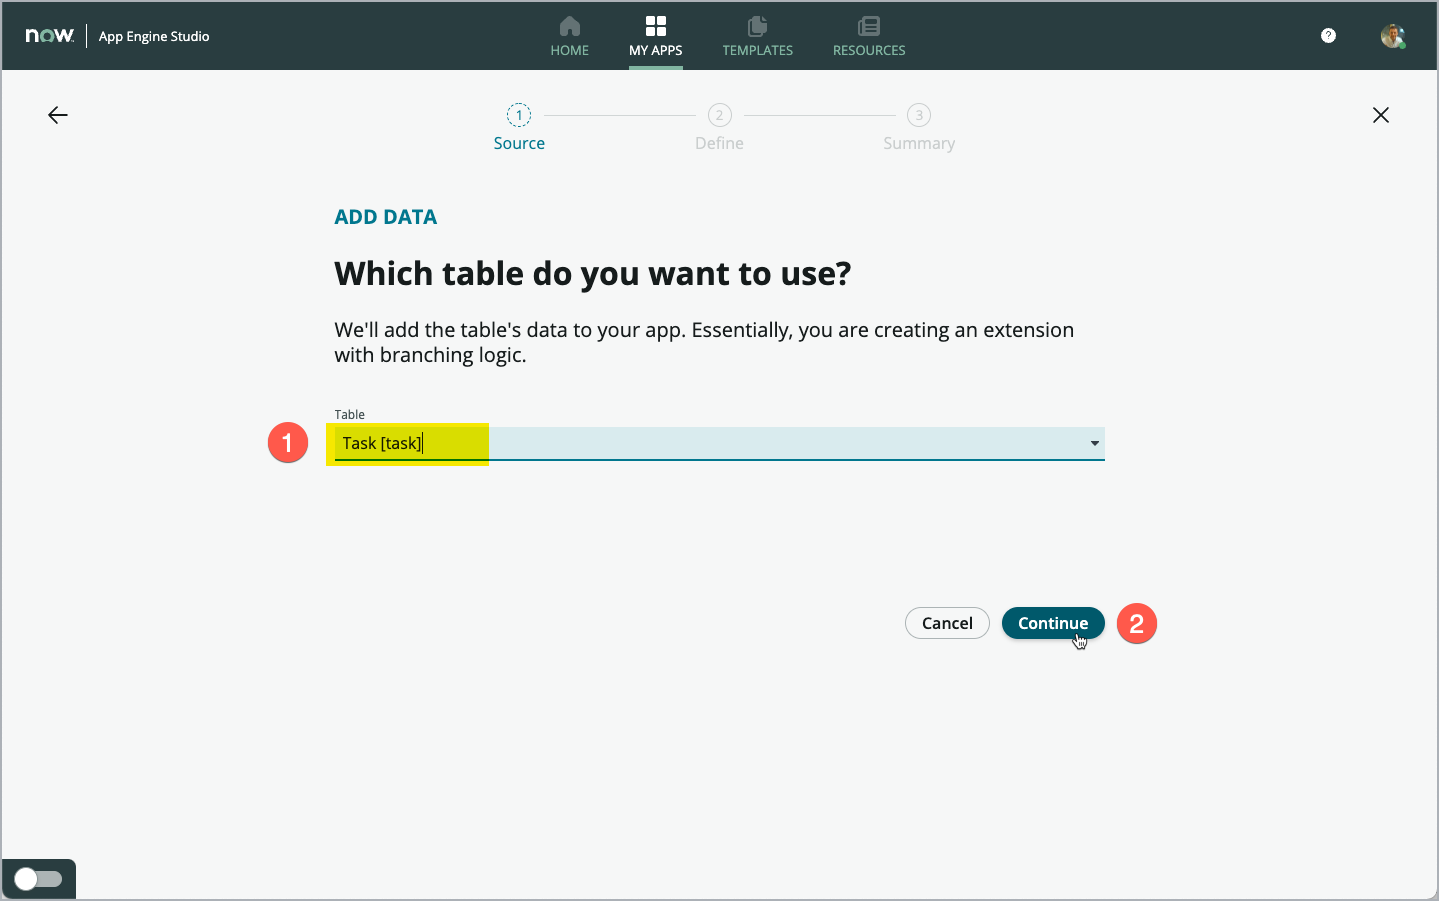
In the Table field (1), select the Task [task] table and click Continue (2).
ATTENTION: There are a lot of tables named something with “task”. Be sure to choose the table named Task [task]. Type Task in the Table field to narrow the list of tables shown in the dropdown. Then select the table named “Task” (with the small “task” below).
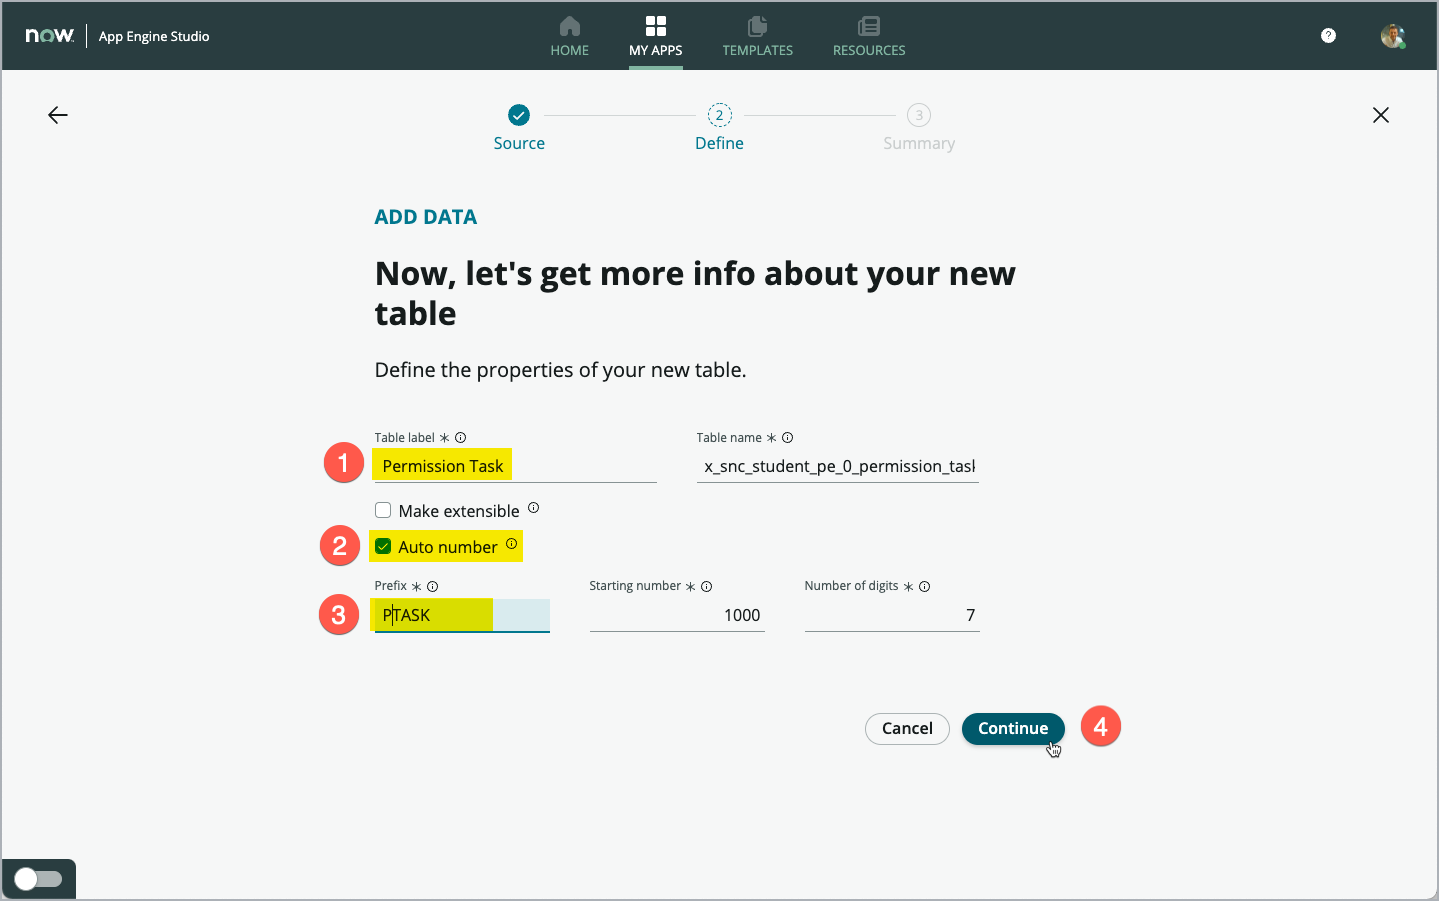
In the Table label field (1), enter Permission Task and check the Auto number heckbox (2).
Enter PERMTASK (all in capital letters) in the Prefix field (3). No other fields need to be changed here.
Click Continue (4) to proceed.
Mark the both checkboxes in the “All” column (1) and (2) to allow access to the new table for the “admin” and “user” role of your App. Then click Continue.

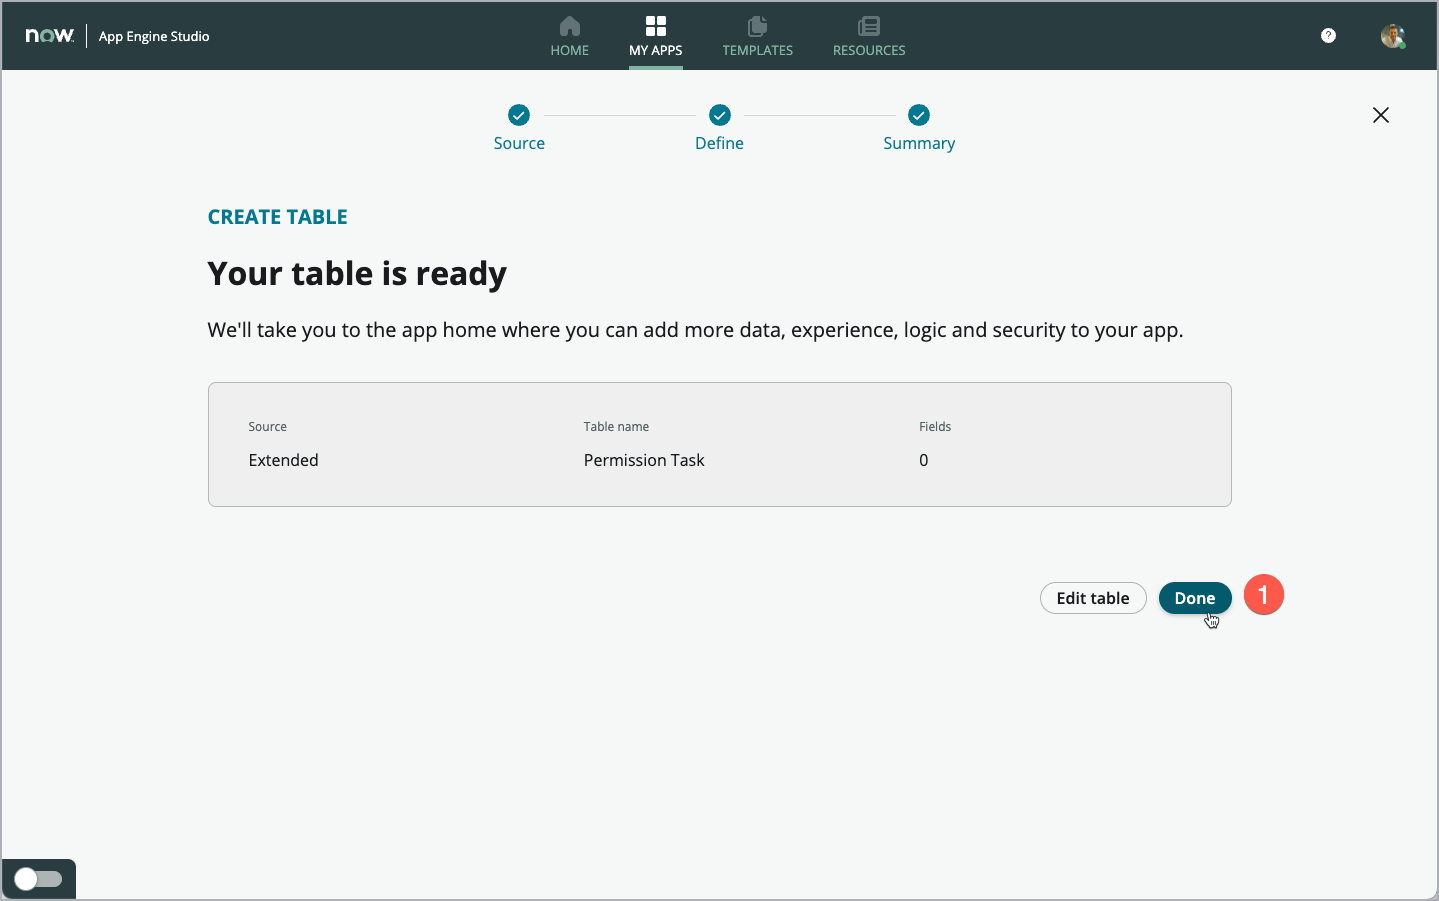
The system takes a few seconds to create the new table in your app.
Click Done to end the wizard and return to your App Dashboard
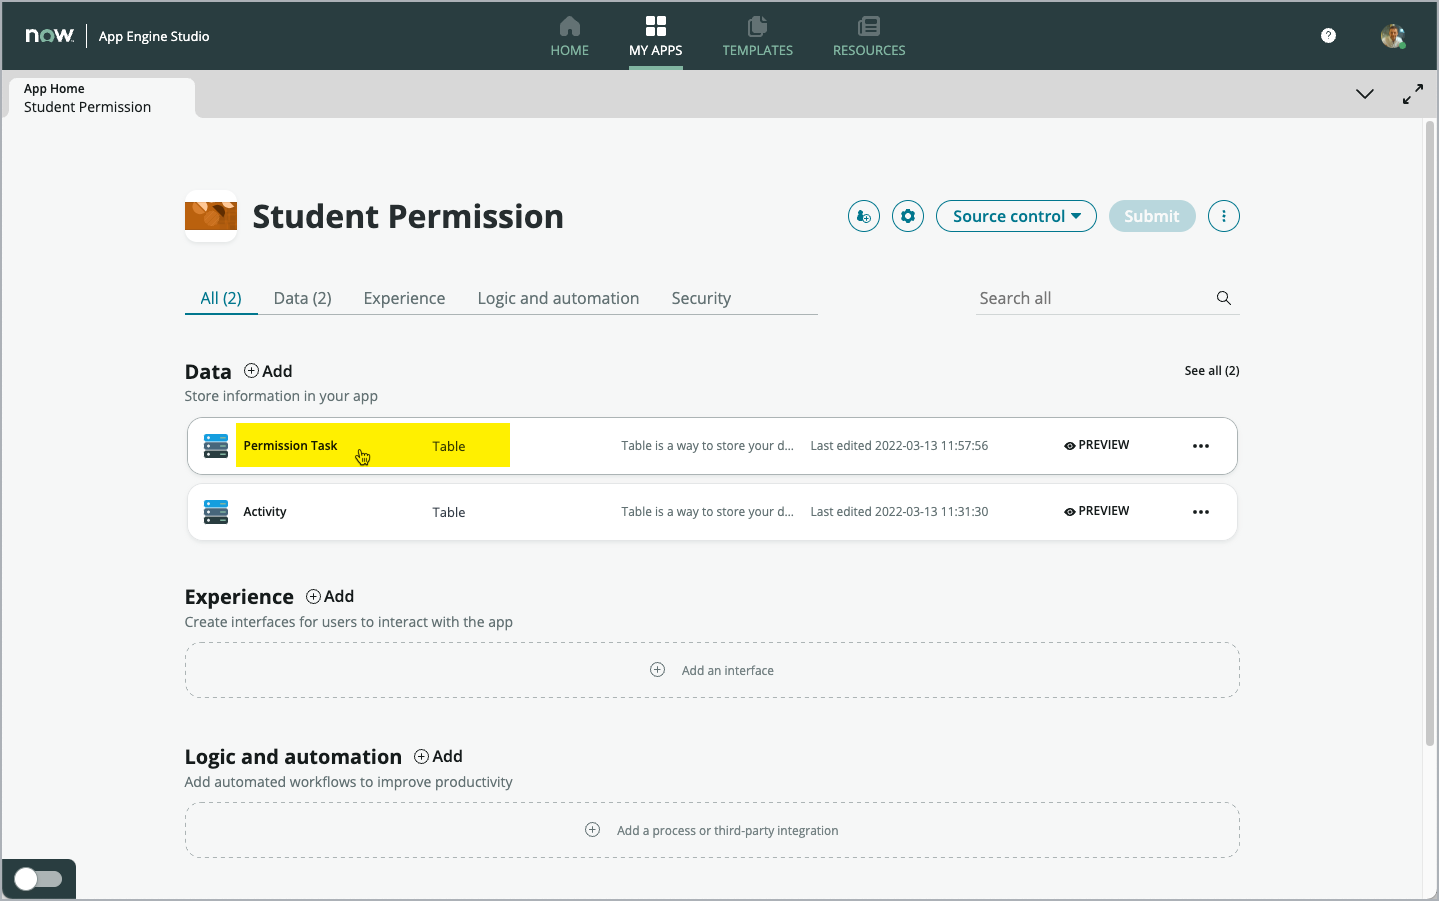
Verify that you have the Permission Task table now also added to your app.
Congratulations !!!
You have just created two new tables for your app. The tables and their data will be stored in the database of your instance.
You used two different methods to create those tables. The first, uploading an Excel spreadsheet and the second, extending form an existing table in your instance.
The Task table is a very central and important table in ServiceNow. Starting workflows by extending from the Task table provides a lot of functionality to your app as a baseline. That is a very nice and fast way to jump start new applications.