1.5 Configure Telework Case Form
Overview
The Forms tab in Table Builder is your canvas for visually creating, configuring, and customizing form views for your fulfiller users without the need to navigate between different tools.
In this exercise, we will focus on creating a new default form unique to the Telework Case table.
This form view is the 'back-end' view that will be visible in the Platform to the fulfillers working on the Telework Cases.
The fulfillers have asked that the following fields be added to the form:
- Opened by
- Arrangement
- Days per week
- Justification
Instructions
- Click the Forms button in the center of the page.
 This is the default form view inherited from the
 Tasktable, which we'll customize for theTelework Casetable.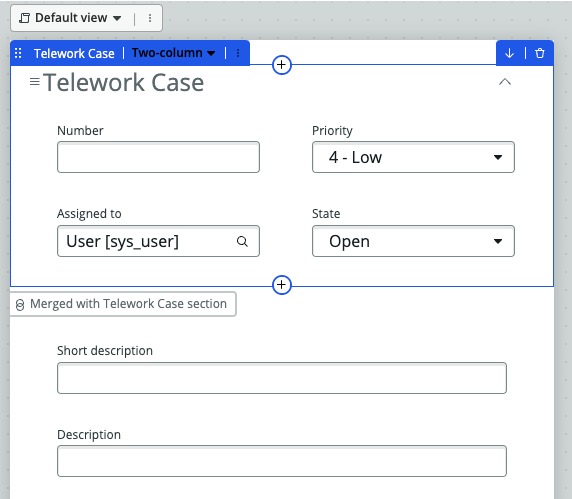
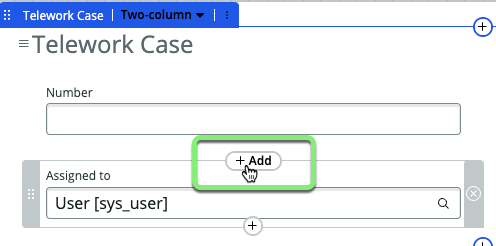
- Add the 'Opened by' field to the form.
- Hover your cursor above the field 'Assigned to' until the "+Add" button appears and click the button.
- Type
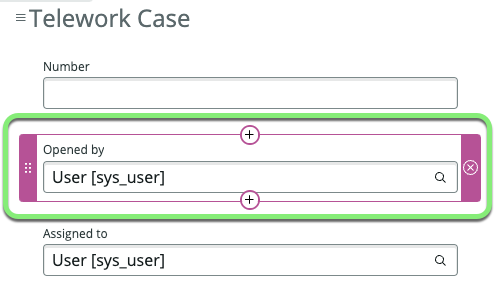
opened byin the search box and click on 'Opened by'.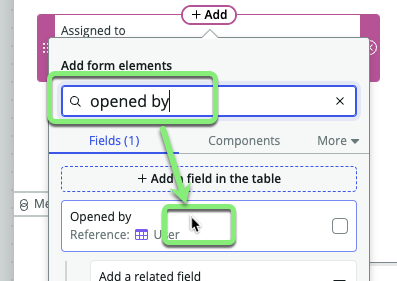 Result: The Opened by field has been added to the form.
- Hover your cursor above the field 'Assigned to' until the "+Add" button appears and click the button.
One field added. Three to go...
Opened by- Arrangement
- Days per week
- Justification
- Add the 'Arrangement' field to the form.
- Hover your cursor below the field 'Assigned to' until the "+Add" button appears and click the button.

- Type
arrangementin the search box and click on 'Arrangement'.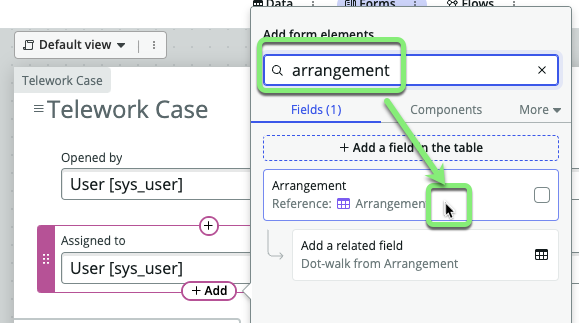 Result: The Arrangement field has been added to the form.

- Hover your cursor below the field 'Assigned to' until the "+Add" button appears and click the button.
Two fields added. Two to go...
Opened byArrangement- Days per week
- Justification
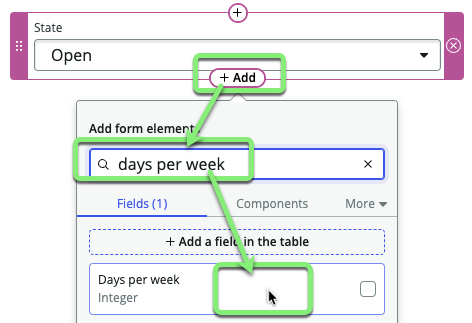
- Add the 'Days per week' field to the form.
- Hover your cursor below the field 'State' until the "+Add" button appears and click the button.
- Type
days per weekin the search box. - Click on 'Days per week'.
 Result: The Days per week field has been added to the form.
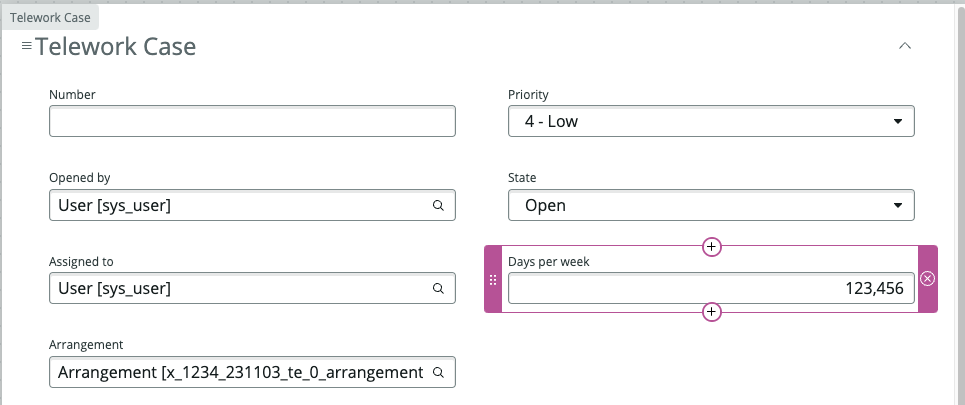
Three fields added. One to go...
Opened byArrangementDays per week- Justification
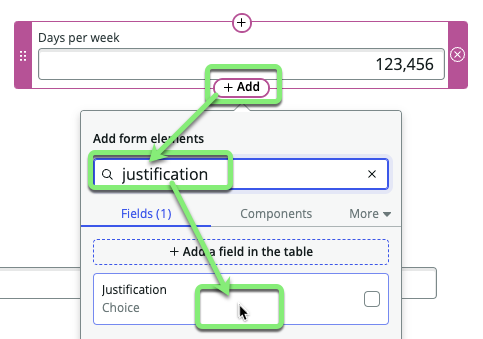
- Add the 'Justification' field to the form.
- Hover your cursor below the field 'Days per week' until the "+Add" button appears and click the button.
- Type
justificationin the search box. - Click on 'Justification'.
 Result: The Justification field has been added to the form.
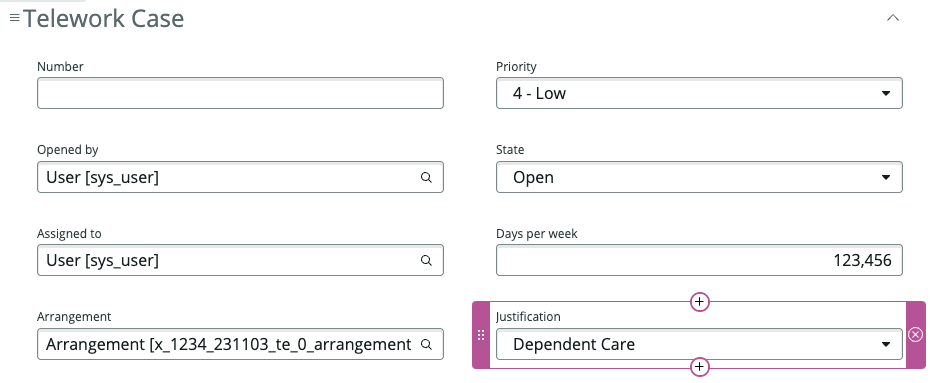
All four fields have been added to the form. The fulfiller users should be happy with the new form.
Opened byArrangementDays per weekJustification
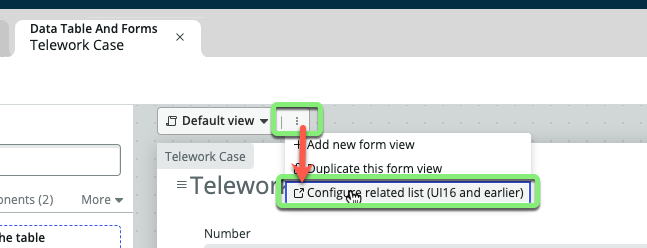
- Click the three dots to the right of Default view, then click Configure related list (UI16 and earlier).
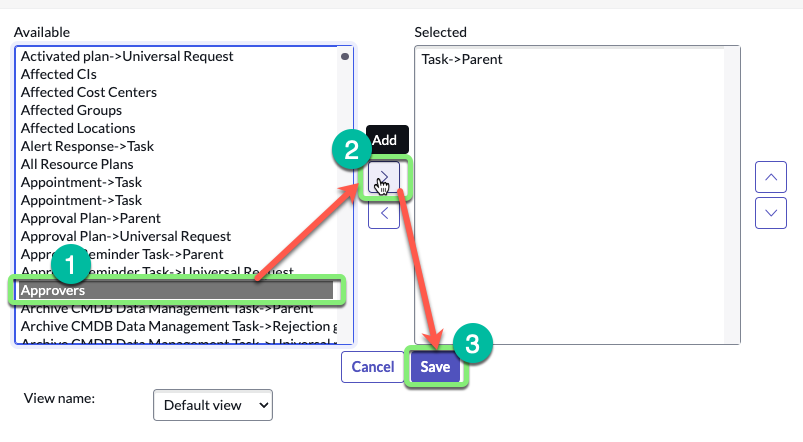
- Move 'Approvers' from the left side to the right side. Then click .
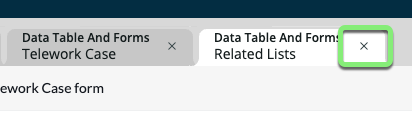
- Close the 'Related Lists' tab.
- Save your work.
- Click in the top right.
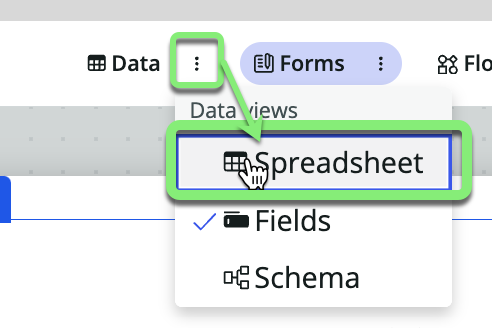
- Switch back to the 'Data -> Spreadsheet' view.
- Click the three dots next to the Data pill.
- Click Spreadsheet.
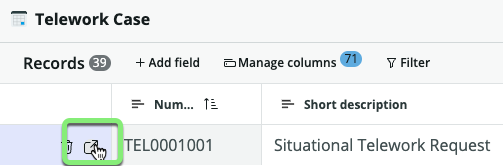
- Click the escape-hatch icon next to a record to open it.
Confirm the new form matches the requirements from the fulfiller users.
- Check out the new form for the
Telework Casetable. - It now should have the four fields requested by our fulfiller users on the form.
- Opened by
- Arrangement
- Days per week
- Justification

If you don't see the fields on the form, please review the previous steps or ask your instructor for assistance.
- Check out the new form for the
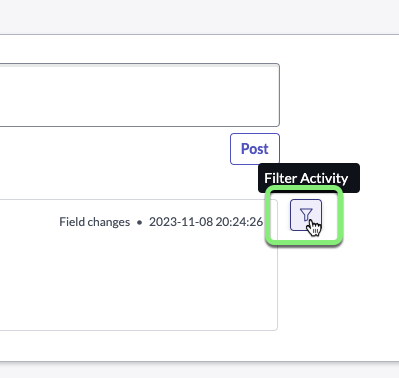
You can also adjust the fields that show in the activity history.
- Click the funnel button to the right of the 'Activities' box.
- Click 'Configure available fields'.
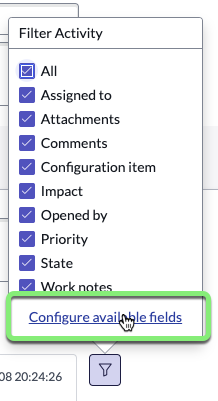
- Click 'Active', then press CTRL+A (CMD+A on Mac) to select all, then move all of the fields to the right side by clicking the right chevron.
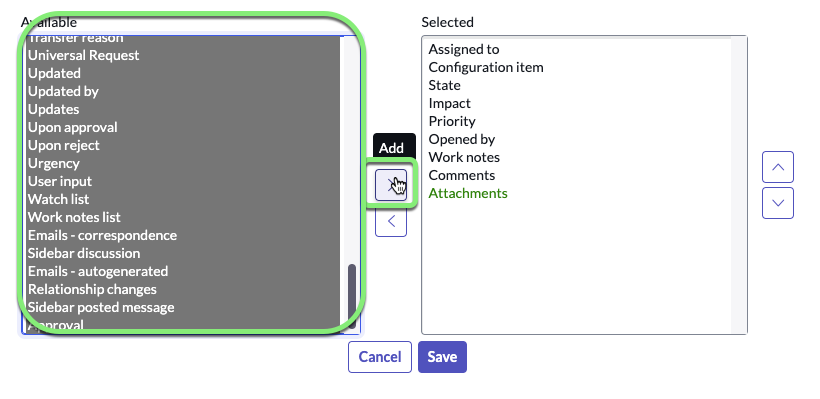
- Click .
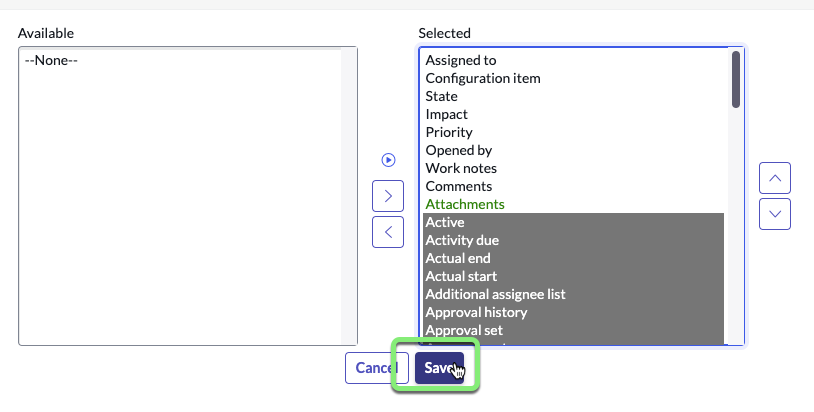
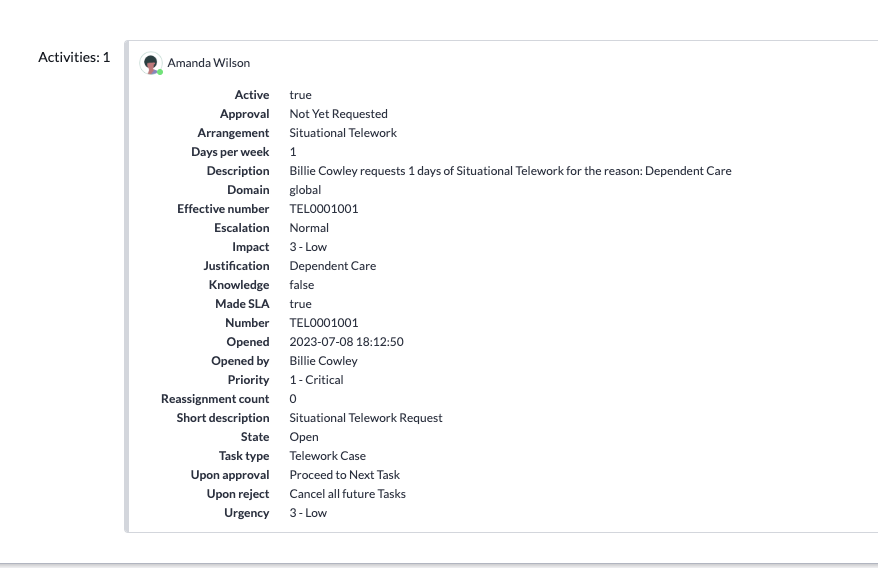
Now Amanda and her team will be able to see a running activity log of any fields that change on the Telework Case records. Typically, you would not add all of these fields, but this makes the lab easier.
- Close the Record tab.

- Close the Data Table and Forms tab.
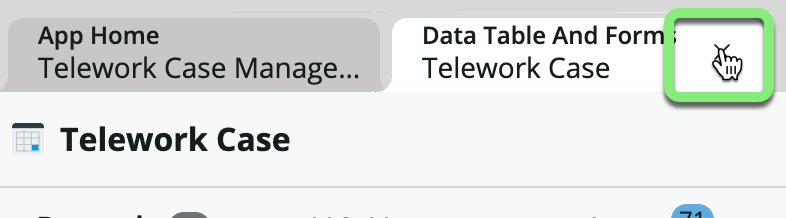
You should now be on the App Home page.
Exercise Recap
In this exercise, we learned how to modify the form view for our Telework Case table.