1.3 Import data
Overview
In this exercise, we will import data from the Telework_Data.xlsx spreadsheet directly into new tables.
Instructions
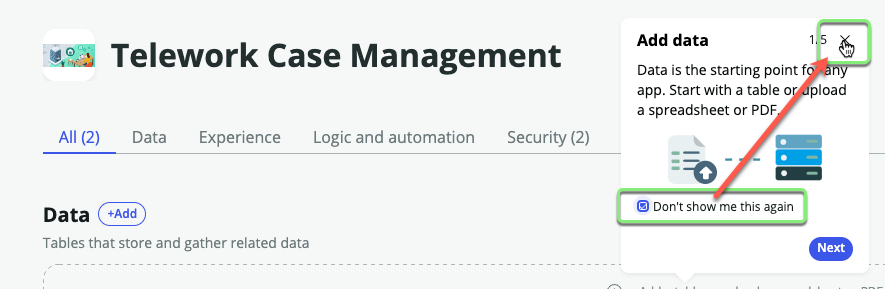
- Close the guided tour.
- Check "Don't show me this again"
- Click the 'X' in the corner.
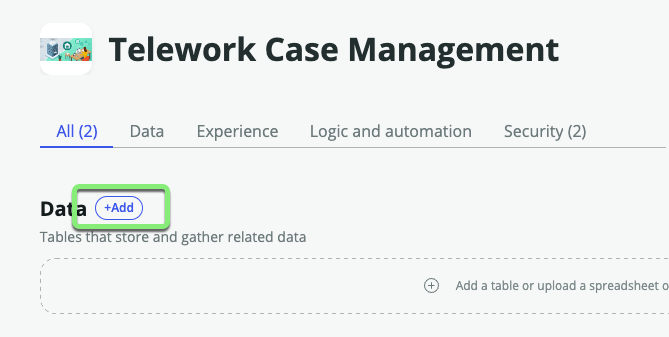
- Next to Data, click .
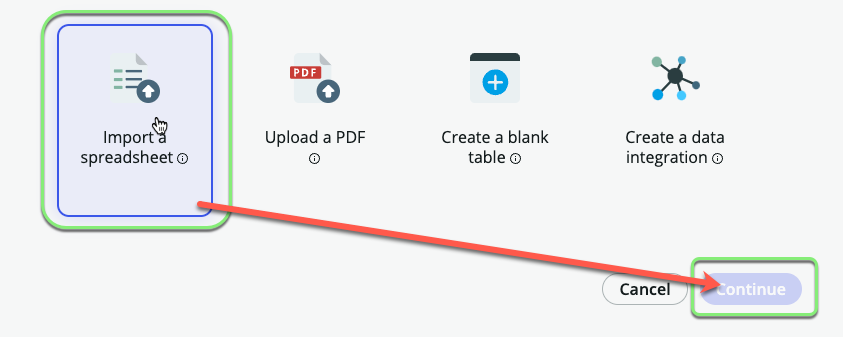
- Select "Import a spreadsheet".
- Click .
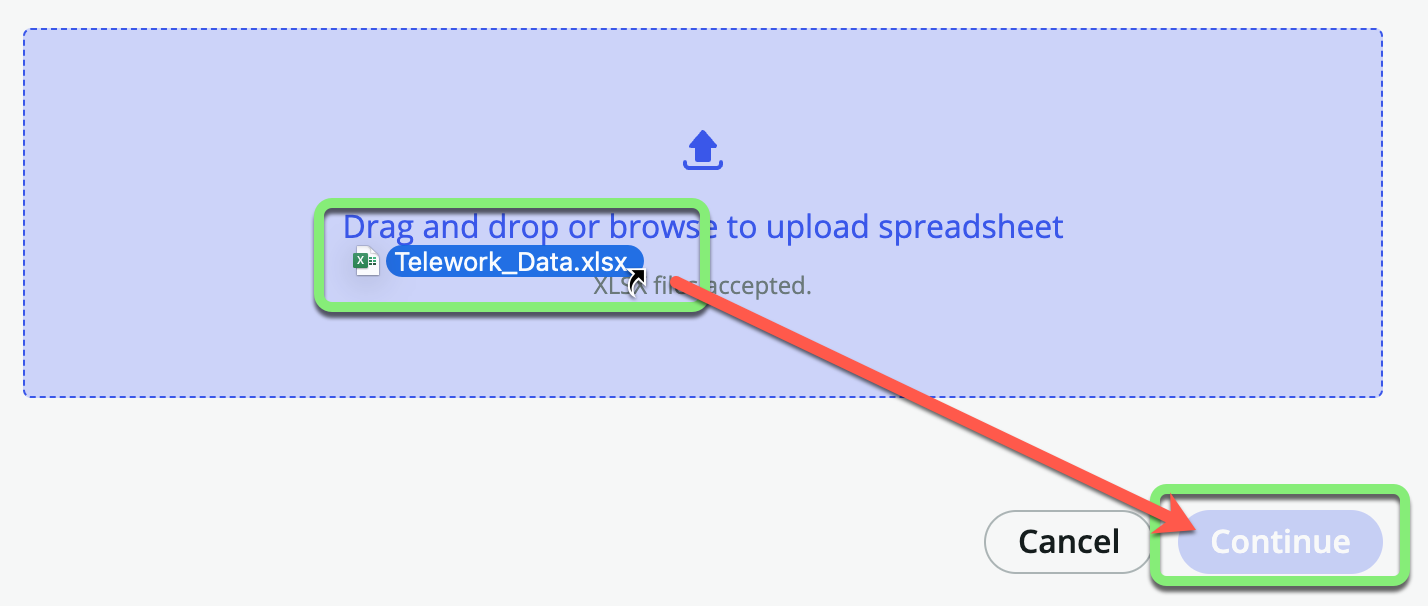
- Drag and drop the file
Telework_Data.xlsxonto the boxnoteIf you have trouble with the drag and drop, just click '..browse to upload a spreadsheet' and select the file.
- Click .
- Drag and drop the file
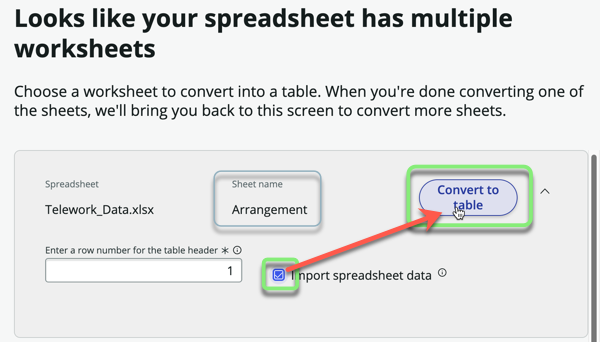
Looks like the spreadsheet has multiple worksheets.
- Start with the
Arrangementworksheet.- Check 'Import spreadsheet data'.
- Click .
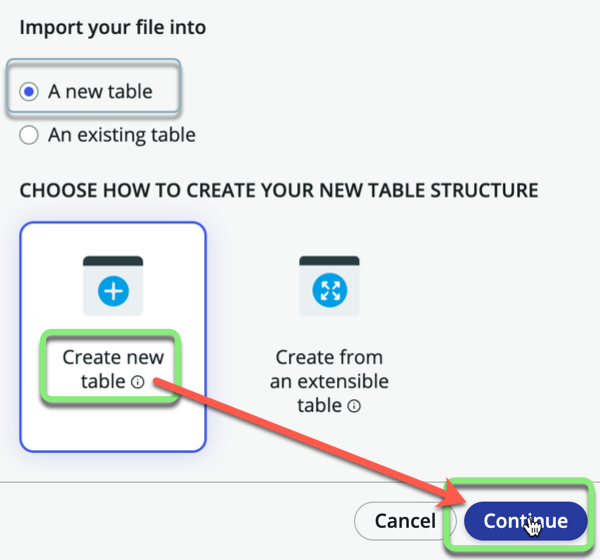
- Leave 'A new table' selected.
- Click Create new table.
- Click .
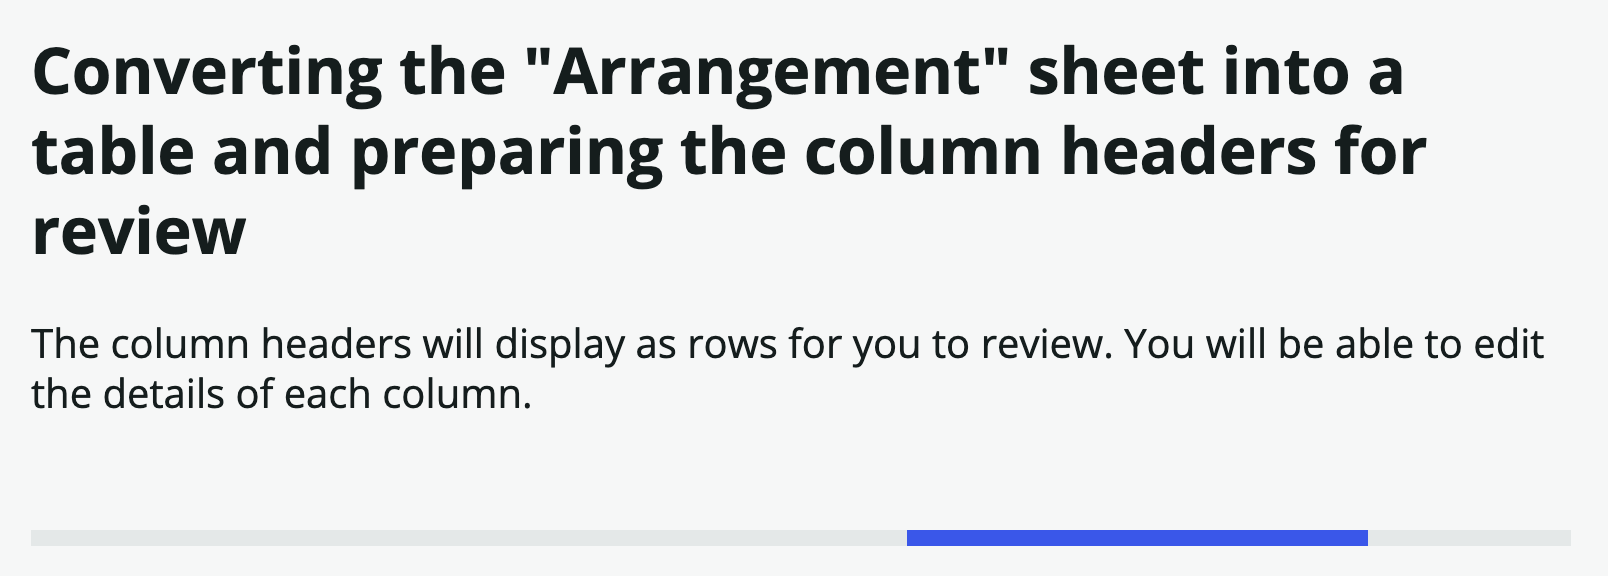
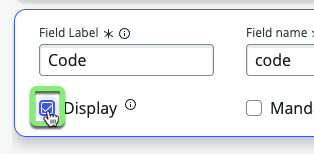
- Set the Display field for the table.
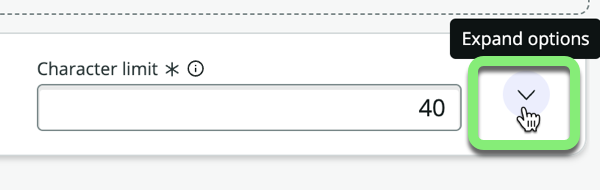
- Click the chevron at the end of the Code row to expand options.
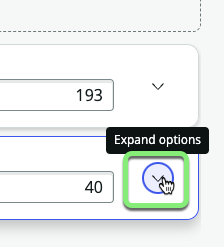
- Check the Display checkbox under Code.
- Click .
- Click the chevron at the end of the Code row to expand options.
- The Display field is the one that appears when referencing this record from another table. Each table can have only one field marked as the Display field.
- For example, if you reference this table in a dropdown, it will display the Code and not the Description.
- Fields are also known as table columns.
- Table Label:
- Set the "Table label" to
Arrangement. - Click .
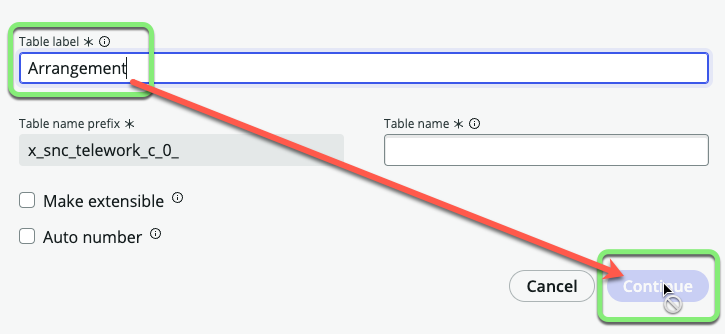
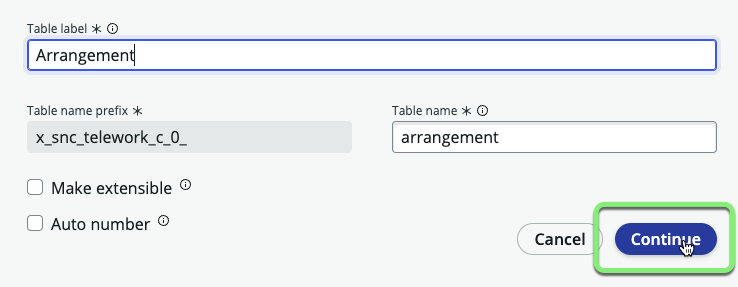
- Notice that "Table name" has been auto-populated with 'arrangement'.
- Click again.
- Set the "Table label" to
Always give your table a singular name and not plural. ServiceNow will automatically make it plural when viewing multiple records.
For example, if you name the table 'Arrangements', then later you will see it in ServiceNow as 'Arrangementss' with two s's.
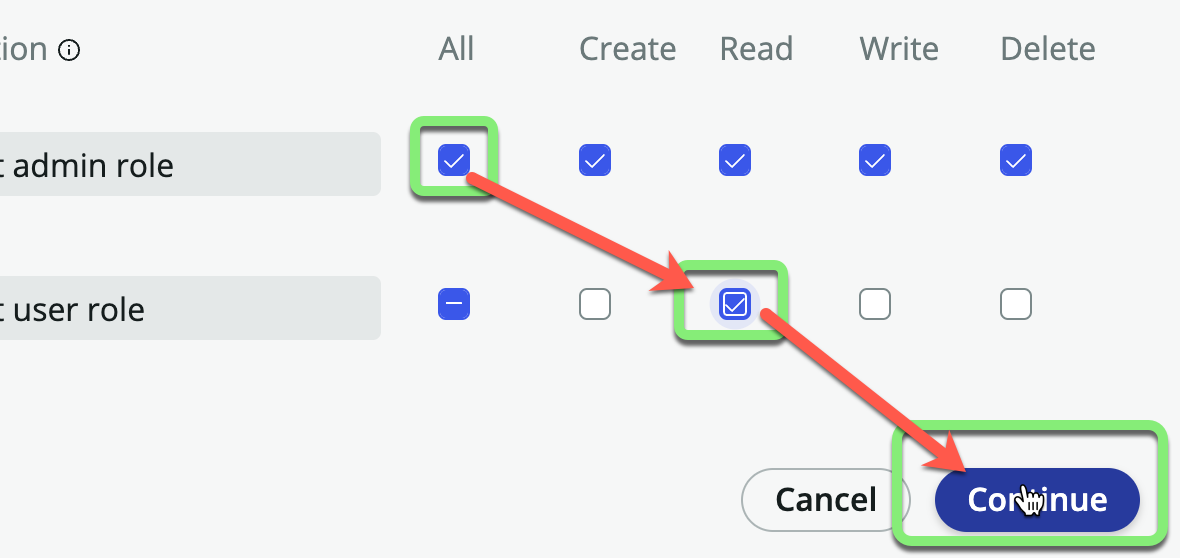
- Set the Table Permissions.
- For the admin role, check "All".
- For the user role, check "Read".
- Click .
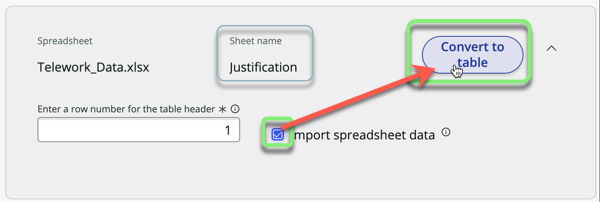
Next import the Justfication worksheet.
- Click the chevron next to 'Justification'.

- Check 'Import spreadsheet data'.
- Click .
- Leave 'A new table' selected.
- Click Create new table.
- Click .
- Click the chevron to expand options.
- Check Display.
- Click .
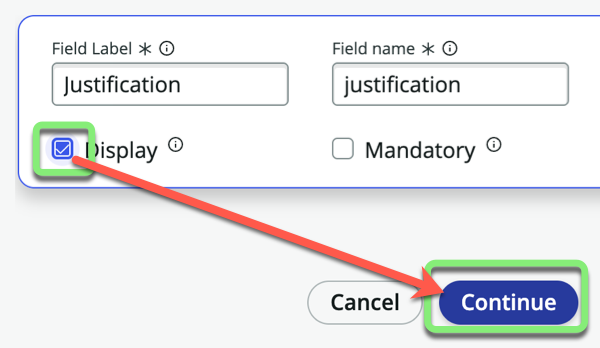
- Table Label:
- Set the "Table label" to
Justification. - Click .
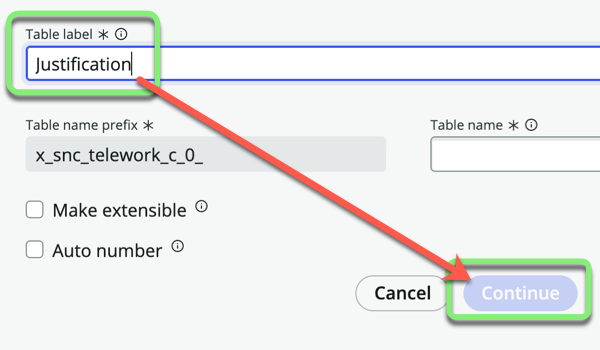
- Notice that "Table name" has been auto-populated with 'justification'.
- Click again.
- Set the "Table label" to
- Set the Table Permissions.
- For the admin role, check "All".
- For the user role, check "Read".
- Click .


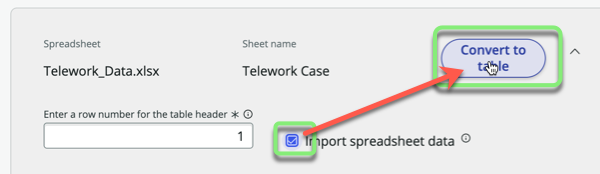
Next import the Telework Case worksheet.
- Click the chevron next to 'Telework Case'.

- Check 'Import spreadsheet data'.
- Click .
Pay close attention to the next step!
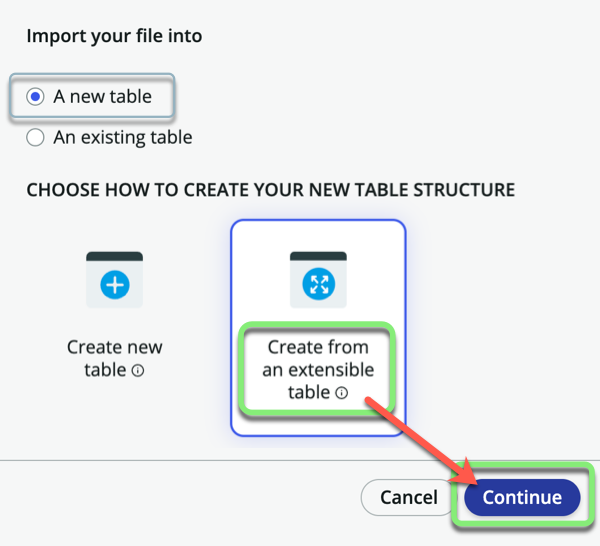
- Leave 'A new table' selected.
- Click Create from an extensible table.
- Click .
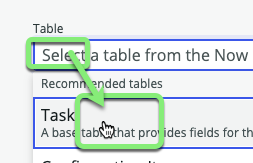
- Select the Table:
- Click in the search box.
- Click on the Task table.
- Click .
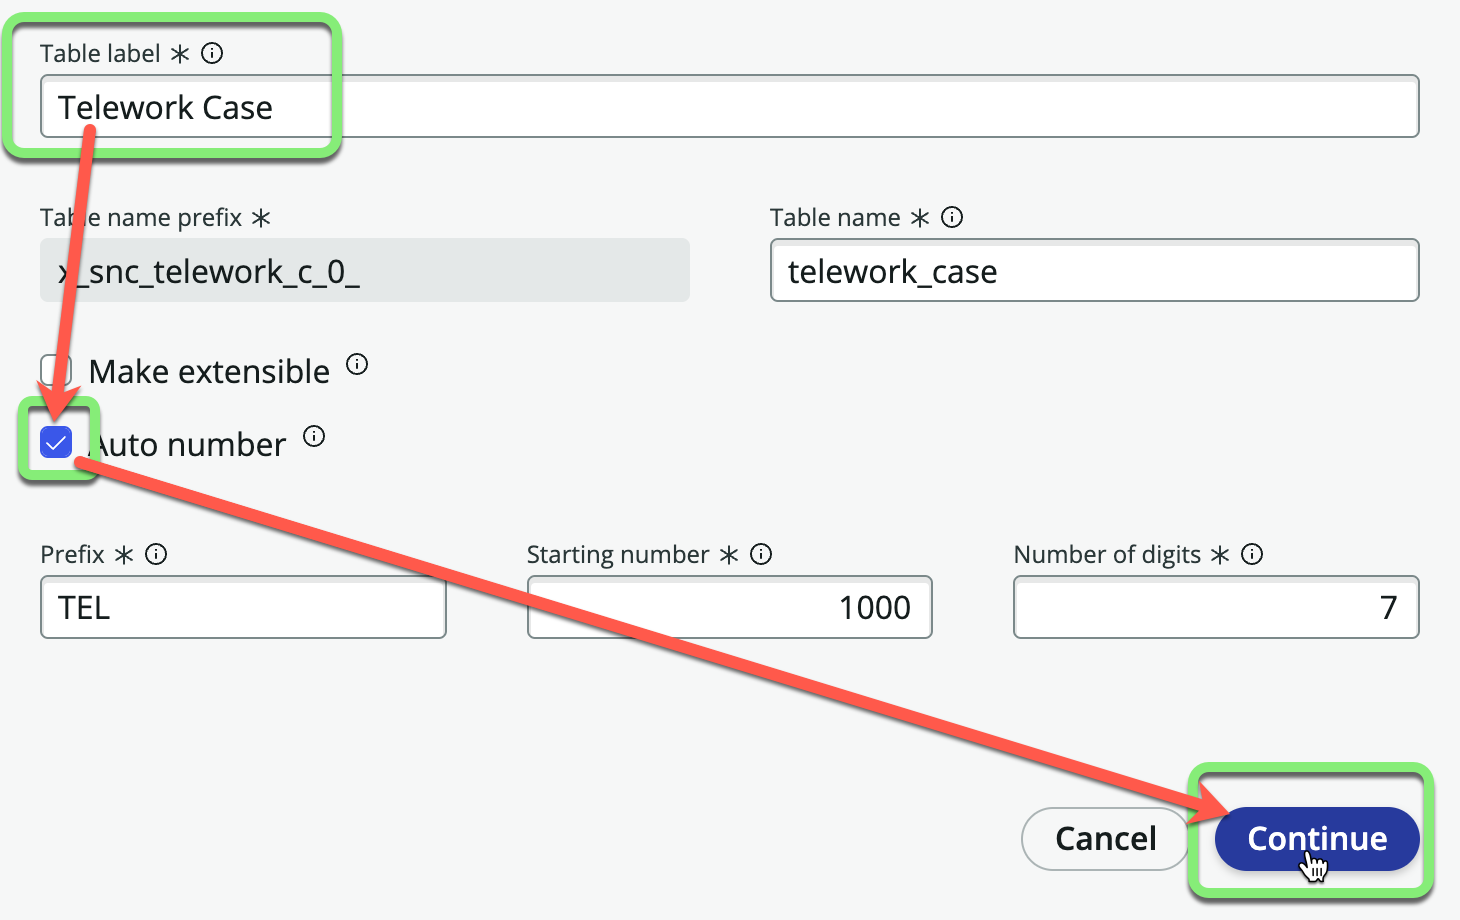
- Table Configuration:
- Set the "Table label" to
Telework Case. - Check 'Auto number'.
- Click .
- Set the "Table label" to
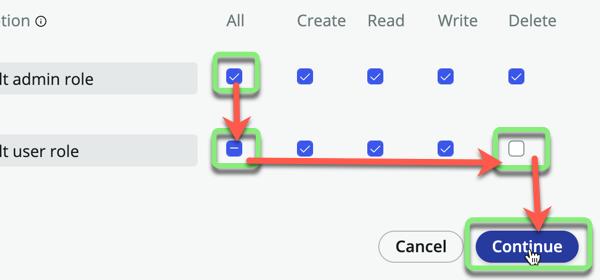
- Set Permissions:
- For the admin role, check All.
- For the user role, check All and uncheck Delete.
- Click .


In the next steps, you will match fields from your import with the fields on your newly extended table. You’ll have an opportunity to create new fields from your import in the new table.

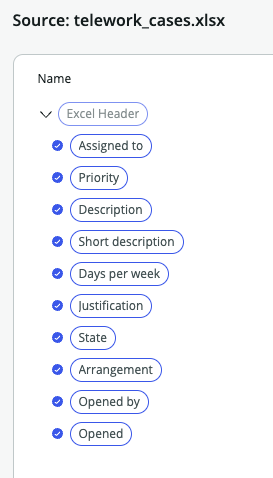
- On the left side of the page are the source fields from the spreadsheet.
- The system was able to Auto map some of the fields with matching names in the Target table.
- Auto mapped fields have a checkmark next to them.
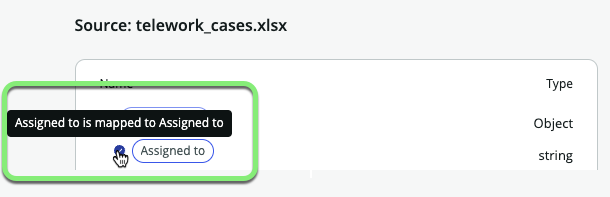
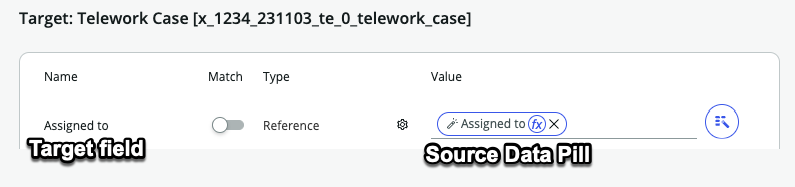
- On the right side of the page are the target fields in the Telework Case table.
- When the system was able to Auto map a field, it added a Data pill from the Source table.
- On the left side of the screen, you can see that some of the spreadsheet columns do not exist in the target table.
- You will create these new fields in the next few steps.
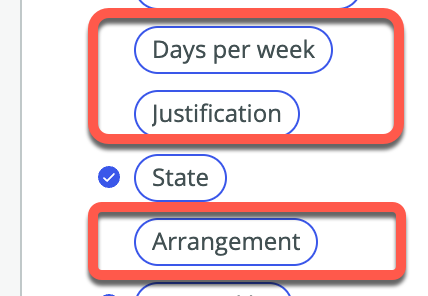
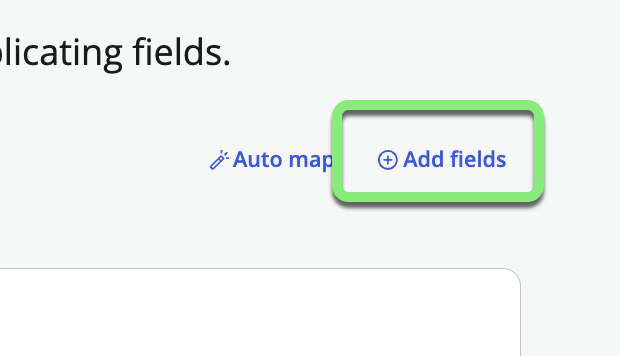
- Add the the missing fields.
- Click the Add Fields link on the right.
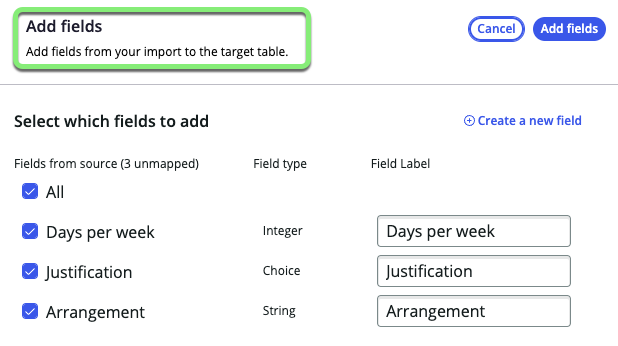
 You will be given the option to 'Add fields from your import to the target table'.
- Click the Add Fields link on the right.
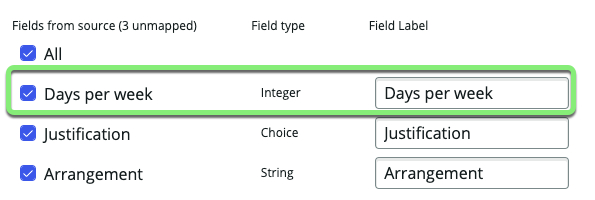
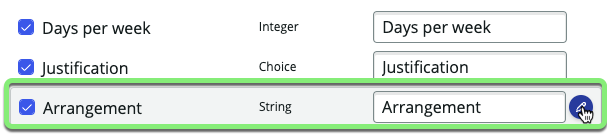
Days per week is ok as an integer. Do not do anything to it.
- Modify Field Type: Change 'Justification' from
StringtoReference.- Hover over the row and edit the field Justification by clicking on the pencil icon.
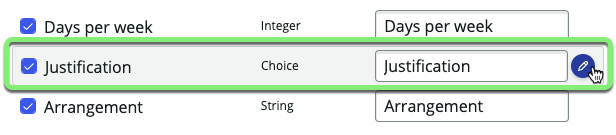
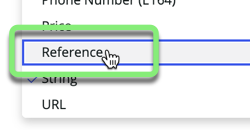
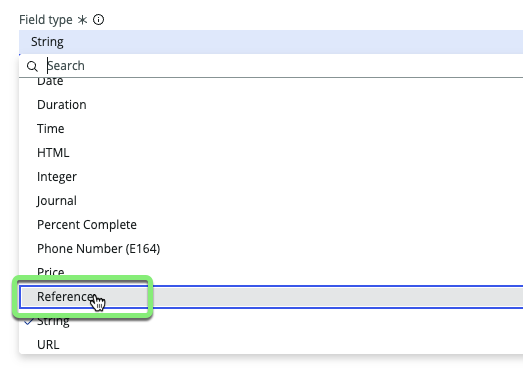
- Click "String" under Field type and change it to Reference.

- In 'Reference table', type
just. - Click the
Justificationtable in the search results.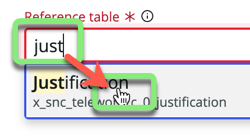
- Click
- Hover over the row and edit the field Justification by clicking on the pencil icon.
- A
Referencefield points to another table. You want theJustificationfield to point to the theJustificationtable created earlier.
- Modify Field Type: Change Arrangement from
StringtoReference.- Hover over the row and edit the field Arrangement by clicking on the pencil icon.
- Click "String" under Field type and change it to Reference.
- Type
Arrangementinto the Reference table field and click on Arrangement in the drop-down.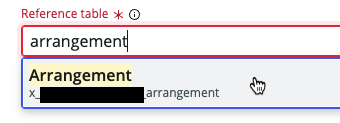
- Click .
- Hover over the row and edit the field Arrangement by clicking on the pencil icon.
- Finish adding new fields.
- Click to add the new fields to the Target table.
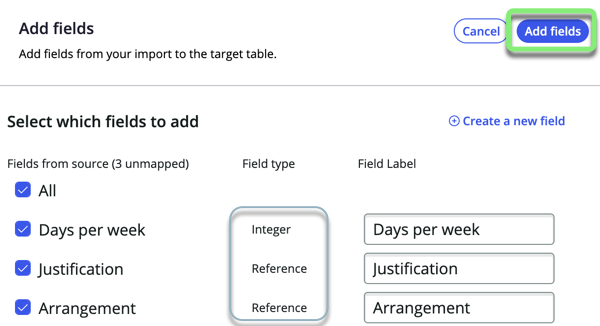
- Click to add the new fields to the Target table.
Each field on the left side of the page should now have a checkmark beside of it like below. If not, please review previous steps or ask an instructor for assistance.
- Click in the bottom right.
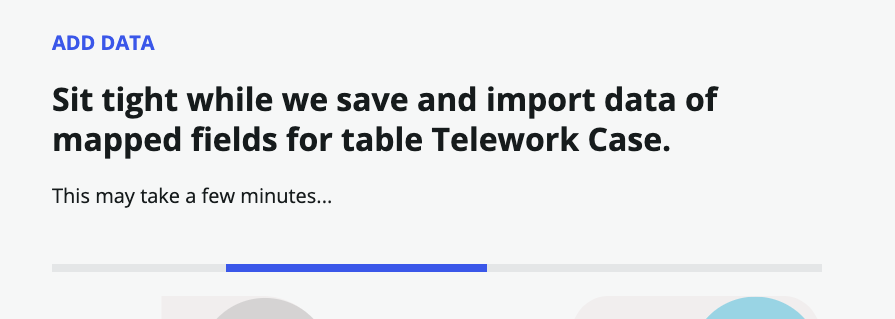
- Click .
Exercise Recap
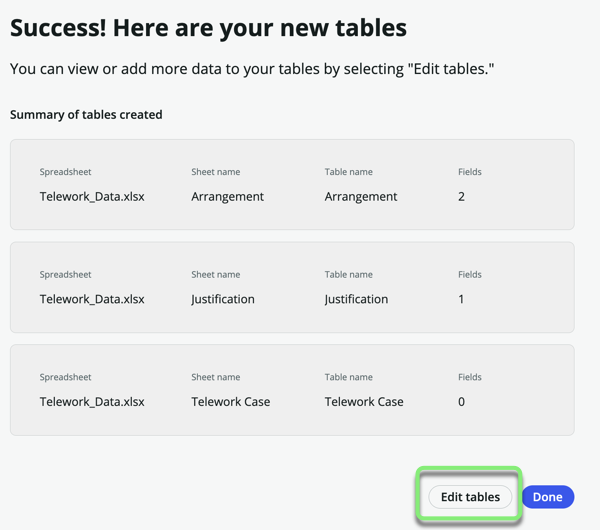
Well done! You've have imported the spreadsheet used by Amanda and her team to track Telework Cases into three new tables.
The Telework Case table references the Justification and Arrangement tables. This will help ensure data input consistency.
Since Justification and Arrangement are standalone tables, you can easily add or remove entries in production. This means the choices can be adjusted without the need to deploy a new version of the application.