Exercise 2.2: Create an Airport Table
Duration: 10 minutes
- Click the App Home tab to return to the main view
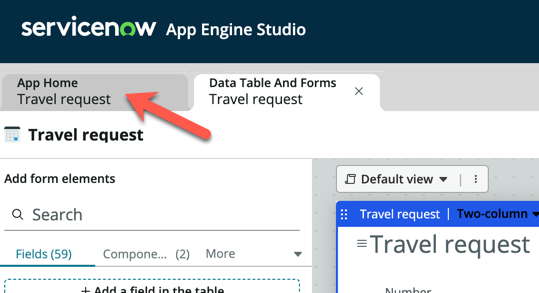
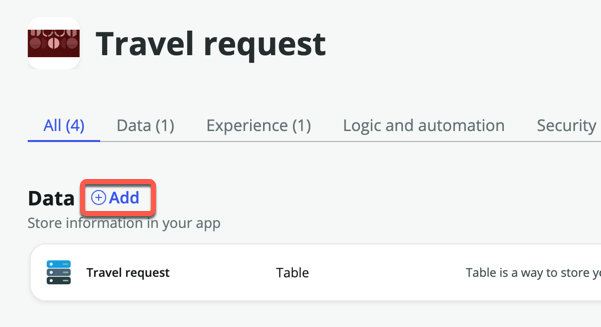
- Under Data, click Add
- Click Import a spreadsheet
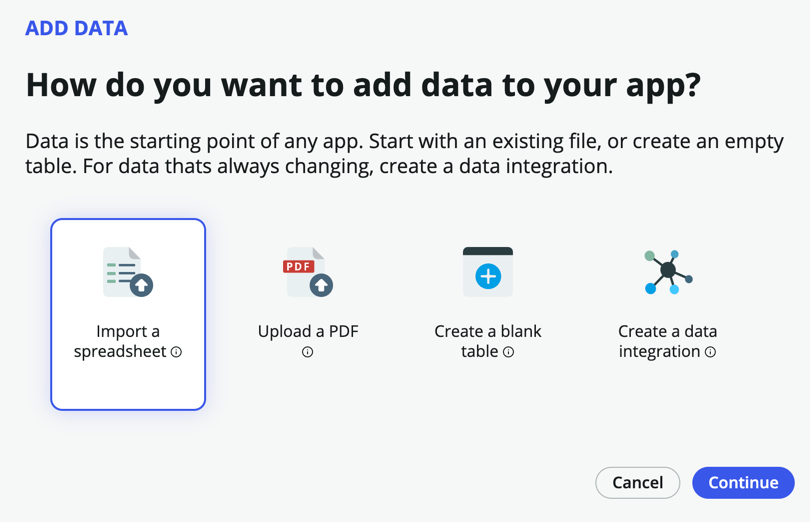
- Click Continue
- Download this file: airports.xlsx
- Upload the downloaded file to the upload box. You should see the following screen once the upload is successful
- Ensure that Enter a row number for the table header is set to 1
- Check the Import spreadsheet data box
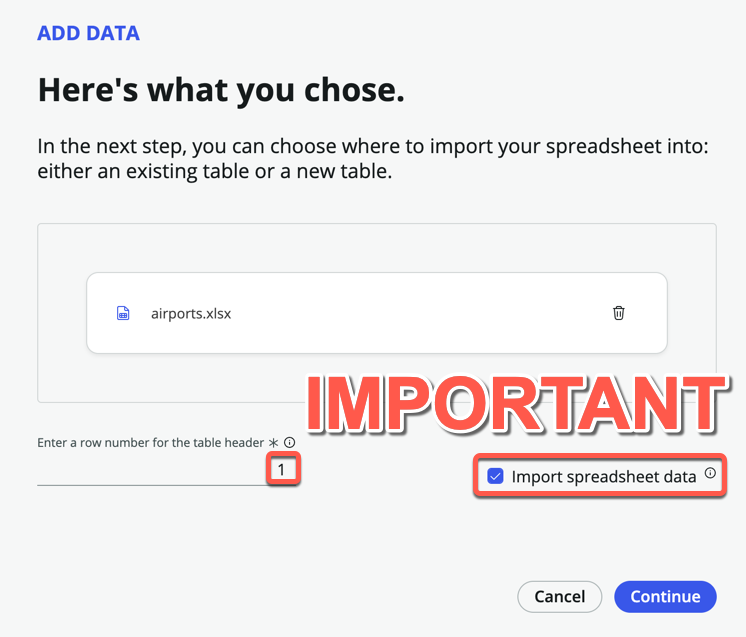
- Click Continue
- On the following page, click Create new table
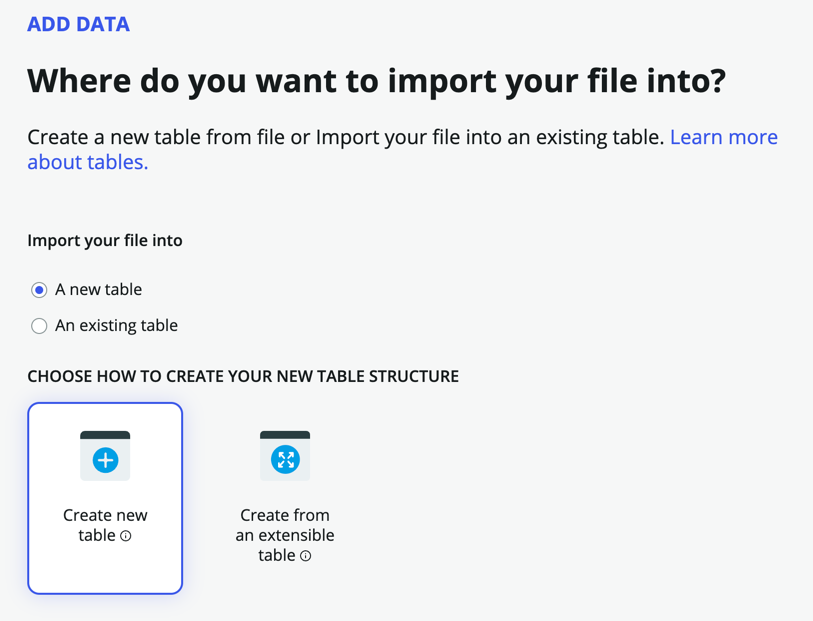
- Click Continue
- You should land on the page that says: "Great! Here's the info we brought over from your spreadsheet"
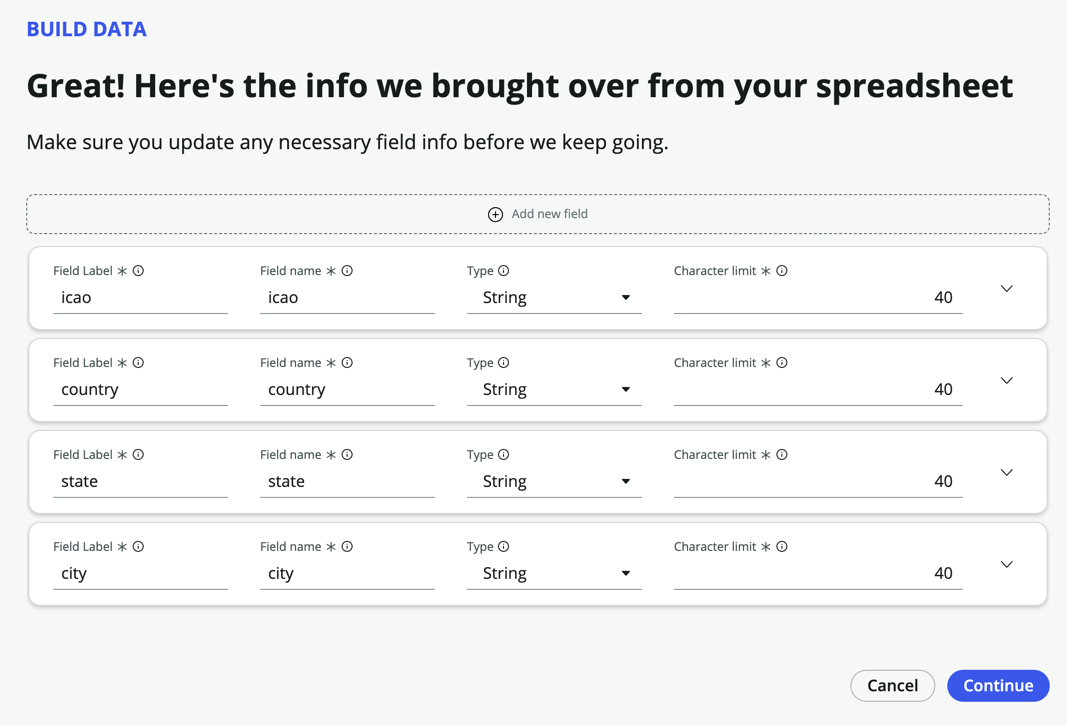
- Scroll through the list to see all the fields that will be created. Notice that you can change the data Type if necessary, but we can leave everything as String fields for now
- Click Continue
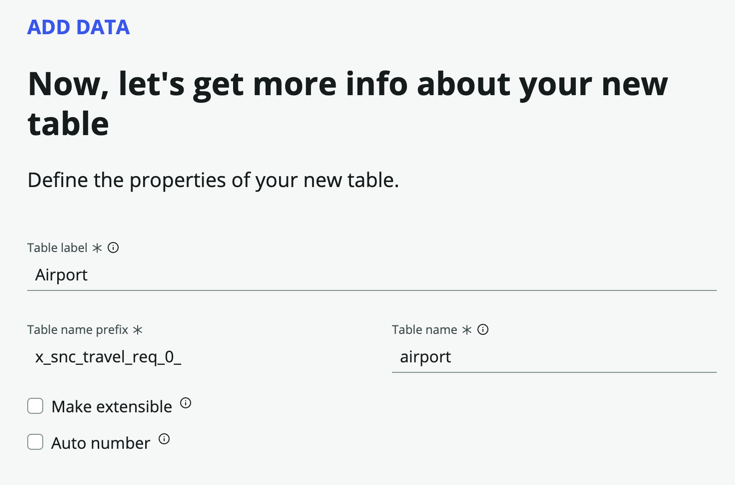
- Under Table label, enter Airport. Table name will be automatically populate
- Click Continue
- In the roles page, check All for admin, and only Read for user
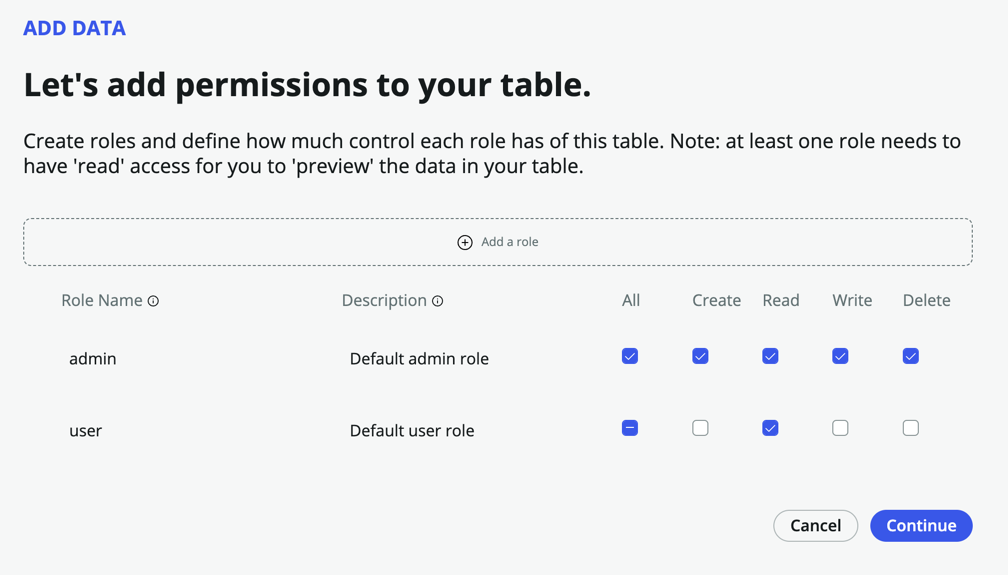
- Click Continue
- Click Edit table
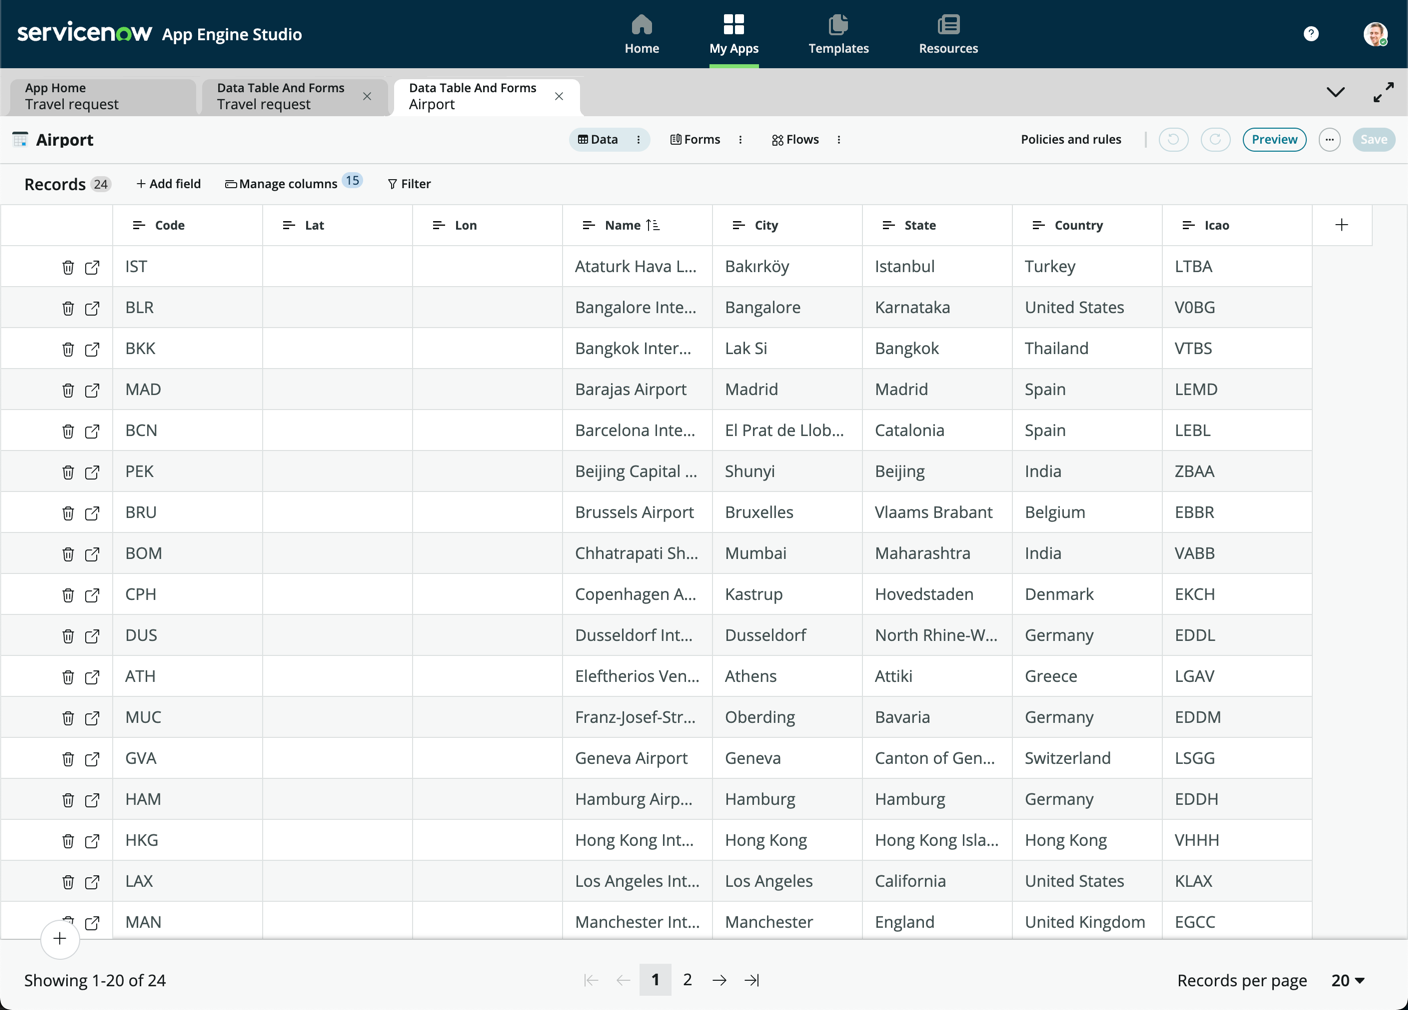
- You should see the imported data in the Table spreadsheet view
info
In case you were wondering, the Lat and Lon fields are deliberately left empty. In the optional bonus exercise, we will use an API to get these values, but has no impact on our exercises.
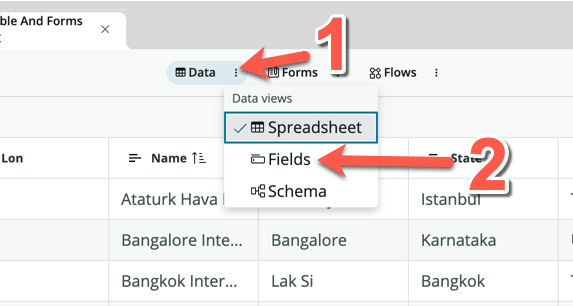
- Click more next to the Data pill, and change the Data views to Fields
- Toggle Display to true for the Name field
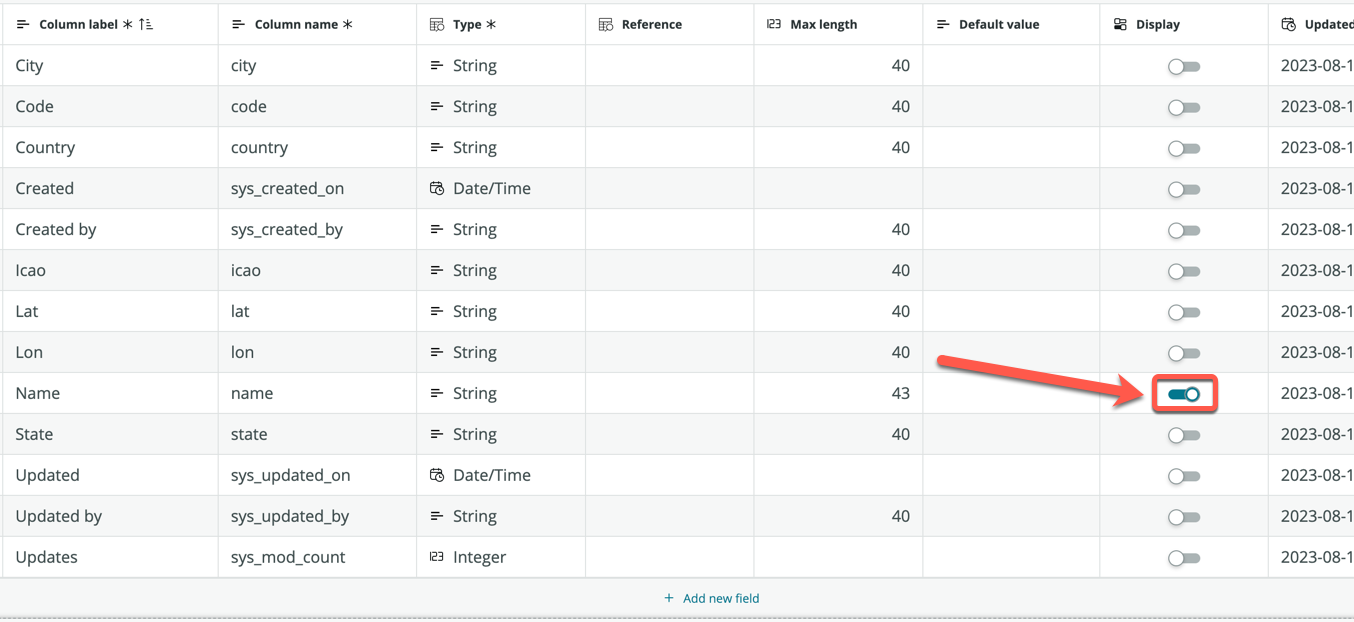
- Click Save
note
Great, you now have a table to store the list of Airports!